Maintenance
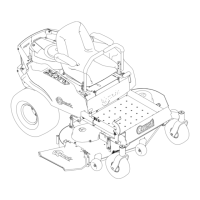
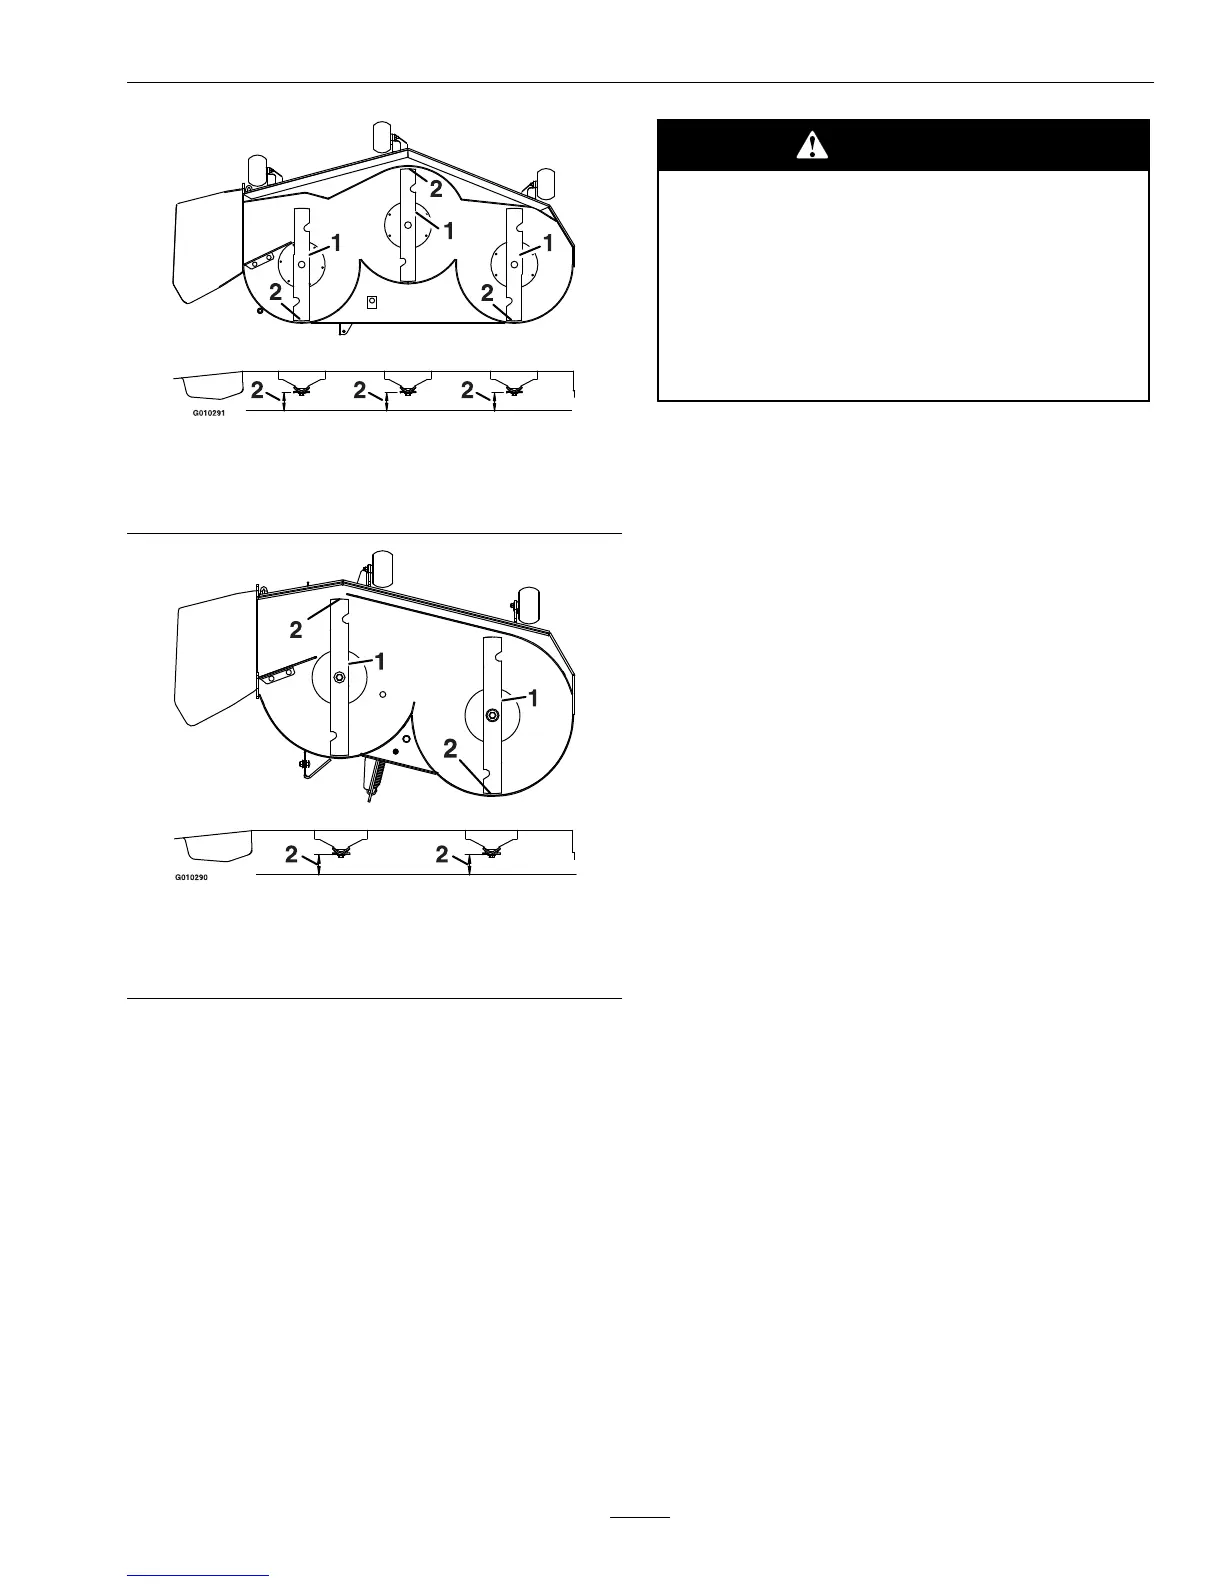
Figure33
48and52InchDeck
1.Bladesfronttorear
2.Measurehere
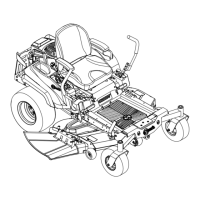
Figure34
42InchDeck
1.Bladesfronttorear
2.Measurehere
2.Rotatetheoppositeendsofthebladesforward.
3.Measurefromalevelsurfacetothecuttingedge
ofthebladesatthesamepositionasinstep1.
Thedifferencebetweenthedimensionsobtained
insteps1and3mustnotexceed1/8inch(3
mm).Ifthisdimensionexceeds1/8inch(3mm),
thebladeisbentandmustbereplaced.Refer
toRemovingtheBladesandInstallingthe
Blades.
WARNING
Abladethatisbentordamagedcouldbreak
apartandcouldseriouslyinjureorkillyou
orbystanders.
•Alwaysreplacebentordamagedblade
withanewblade.
•Neverleorcreatesharpnotchesinthe
edgesorsurfacesofblade.
CheckingforLooseBladesor
DamagedSpringDiscWashers
1.Placeawrenchonthebladeboltandtorqueto
32-42ftlb(43-57N-m).
2.Withthewrenchstillonthebladebolt,holdthe
bladespindlestationaryandusingaragorthickly
paddedglove,trytorotatetheblade.Iftheblade
rotatesrelativetothespindleguardwithout
furthertighteningthebladebolt,thespring
discwasherhasbeenattenedordamagedand
theboltandwasherassemblymustbereplaced
(Figure35).RefertoRemovingtheBladesand
InstallingtheBlades.
3.Oncethebladehasbeenremoved,inspectthe
springdiscwasher.Ifthewasherappearstobe
damaged(thewashersurfacehasbeenmarred)
orattened,theboltandwasherassemblymust
bereplaced.
RemovingtheBlades
Thebladesmustbereplacedifasolidobjectishit,if
thebladeisoutofbalance,orthebladeisbent.To
ensureoptimumperformanceandcontinuedsafety
conformanceofthemachine,usegenuineExmark
replacementblades.Replacementbladesmadeby
othermanufacturersmayresultinanunsafemachine.
Holdthebladeendusingaragorthickly-padded
glove(orplaceawrenchonthetopsheavenut).
Removethebladeboltandwasherassembly,washer,
andbladefromthespindleshaft(Figure35).
39