Colon Insufflator User Manual
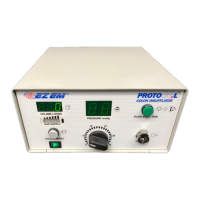
If not already connected, assemble the High Pressure Hose and Yoke using
end wrench on the hose fitting and a ¾
″ Open Ended wrench on the
Yoke’s hexagonal shaped surface. The complete Hose
in Figure 9.1. Identify the post valve Yoke positioning holes on the CO
tank (Tank not provided with s
ystem), as shown in Figure 9.2.
Yoke assembly over the top of the post valve and align the two
positioning pins from the Yoke with the two locating holes from the CO
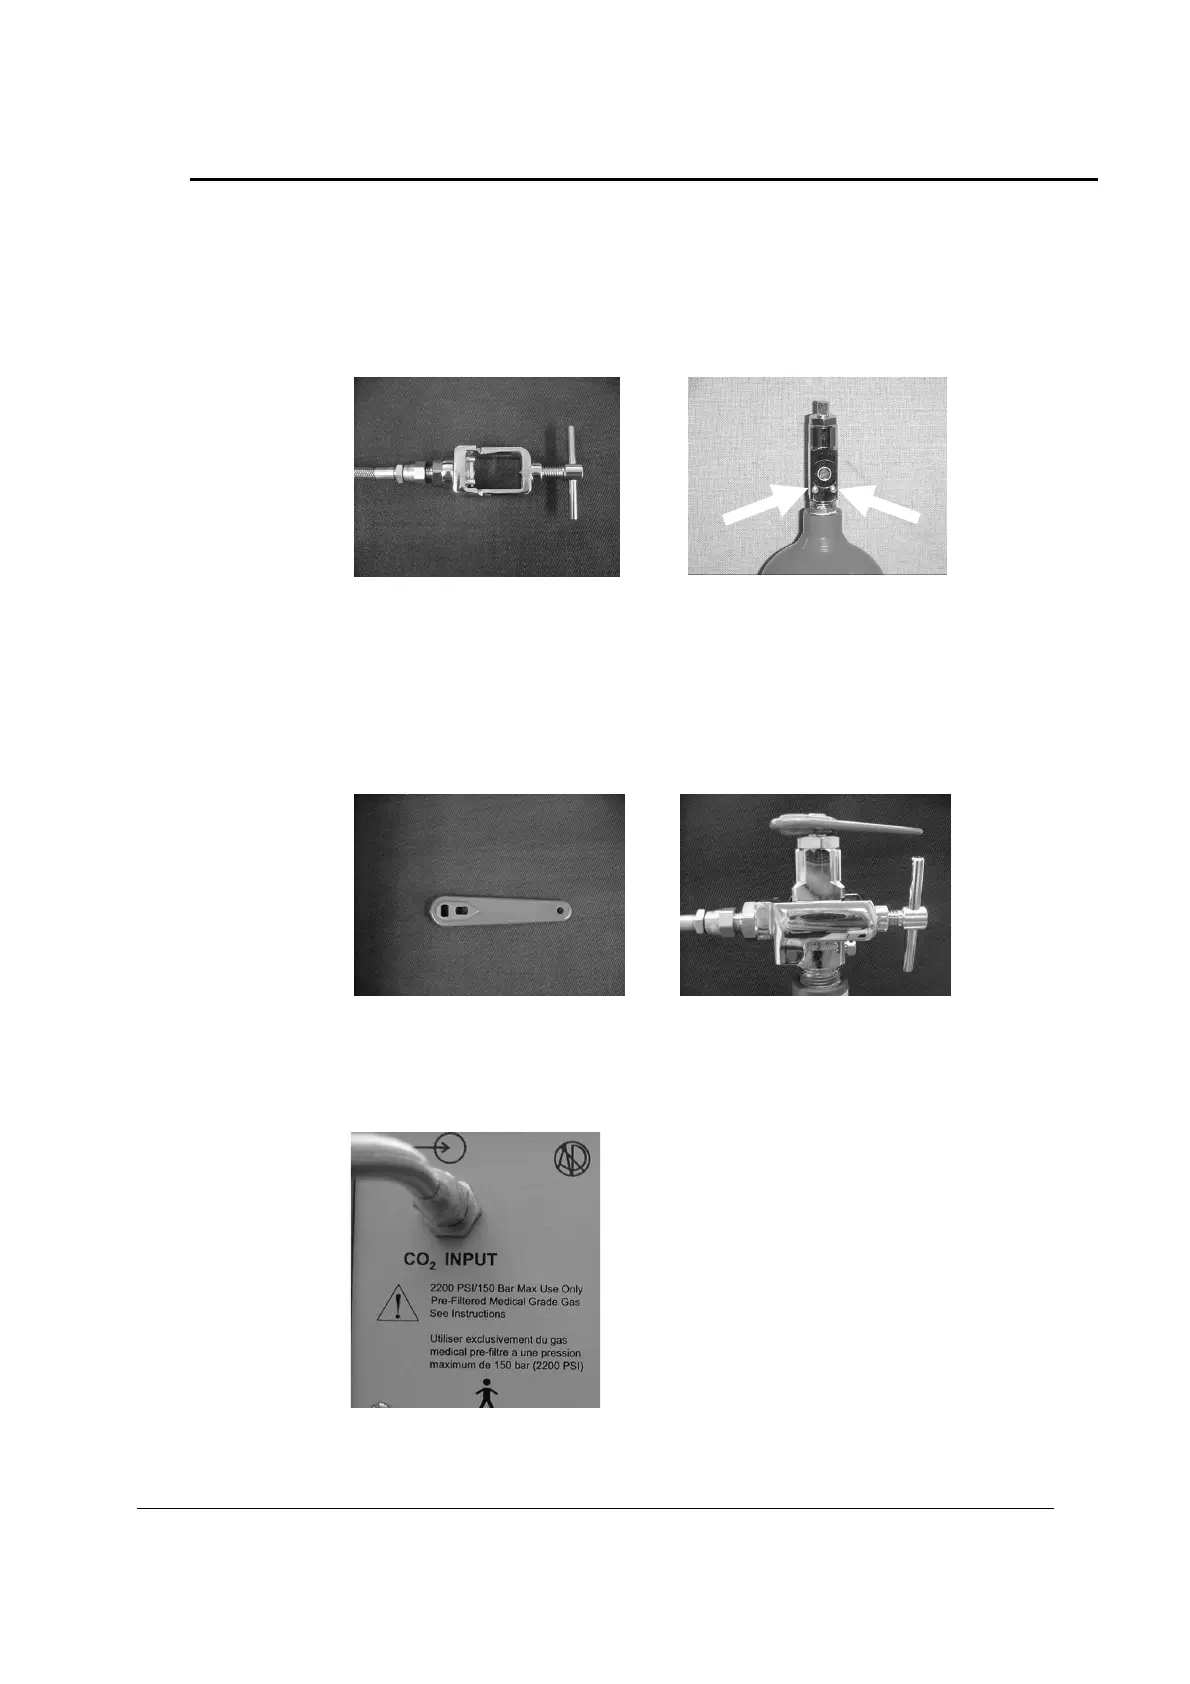
tank post valve. Insert the pi
ns into the locating holes and tighten the Yoke on
the post valve with the T
handle provided with the Yoke. Place the valve wrench
included with cart (see Figure 9.3), or equivalent open
end/adjustable wrench, on
the valve stem as shown in Figure 9.4
Input port on back of Insufflator. Tighten the other
Input port on the back of the Unit
Do not use any teflon tape or
thread sealing compounds on any