Lit. No. 96473/96474, Rev. 00 13 August 15, 2011
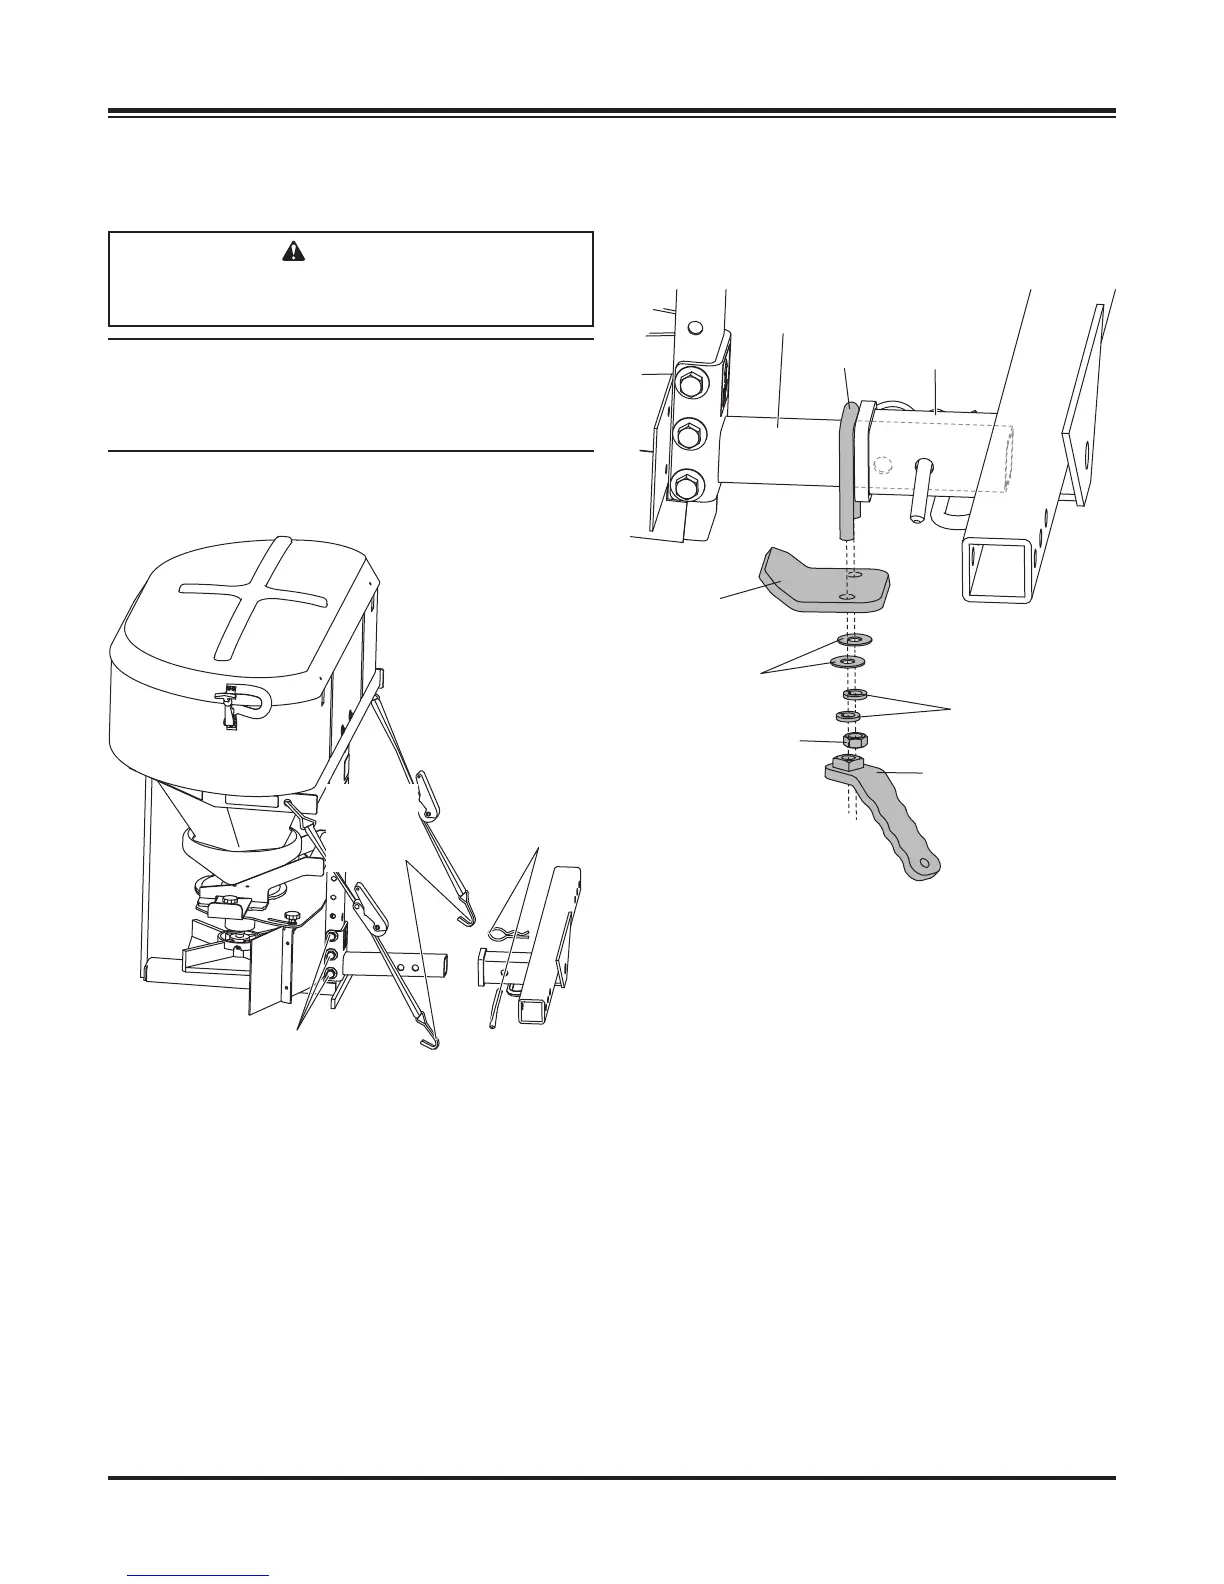
ANTI-WOBBLE CLAMP INSTALLATION
1. Place the U-bolt over the drawbar. Slide the U-bolt
tight to the truck hitch.
2. Install the clamp plate with the bend toward the
spreader unit. The fl at of the clamp plate is to sit
on the truck hitch.
3. Install a fl at washer, lock washer and nut onto one
leg of the U-bolt. Tighten by hand until the clamp
plate is slightly cocked.
4. Install a fl at washer, lock washer and nut handle
onto the other leg of the U-bolt. Tighten until the
clamp is tight and the hopper is secure.
5. Retighten nut handle after fi ve hours of use.
The Anti-Wobble Clamp Assembly is designed for use
only with this spreader.
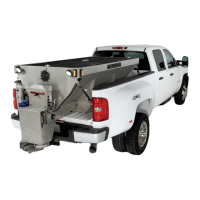
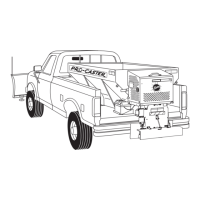
MOUNTING THE SPREADER
RECEIVER MOUNT SPREADER
NOTE: The spreader shall be installed according
to instructions supplied. Your local outlet is
trained to provide this service and service your
spreader with factory original parts.
1. Attach the spreader to the receiver mount with
three 1/2" x 4-1/2" cap screws.
2. Insert the assembled unit into the receiver hitch
and secure with pin (not included).
3. Use the supplied ratchet straps to secure the
assembly to the vehicle frame.
Attaching the straps to the vehicle bumper or
tailgate may result in vehicle or spreader damage.
Pins (not
included)
1/2" x 4-1/2"
Cap Screws
Attach
straps
to vehicle
frame
CAUTION
During removal or mounting, securely grip
spreader to avoid dropping.
U-Bolt
Hitch
Insert
Truck
Hitch
Clamp
Plate
1/2" Flat
Washer
1/2" Nut Handle
1/2" Hex Nut
1/2" Lock
Washer