Lit. No. 96473/96474, Rev. 00 16 August 15, 2011
There are two control options. They include the Variable
Speed (PWM) Control and the ON/OFF Control.
VARIABLE SPEED (PWM) CONTROL
Starting and Stopping the Motor
1. To start the spreader motor, press the
START/BLAST button and release. Both the
START/BLAST and OFF buttons will be backlit
when the motor is running. The spreader will
operate at the speed selected on the speed dial.
2. Press the OFF button to stop the motor.
The OFF button operates as an emergency stop
when required.
NOTE: The truck ignition must be ON to start the
spreader.
NOTE: If the truck ignition is turned OFF while the
spreader is running, the motor will stop.
Adjusting the Spinner Speed
The speed setting can be adjusted when the spreader
is either ON or OFF.
1. Turn the speed dial clockwise. The speed will
increase as the number of green LEDs illuminated
on the speed dial increase.
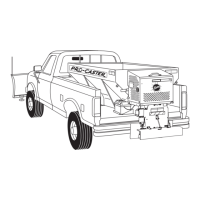
OPERATING THE SPREADER
WARNING
Before starting the spreader, the driver shall
verify all bystanders are a minimum of 25 feet
away from operating spreader.
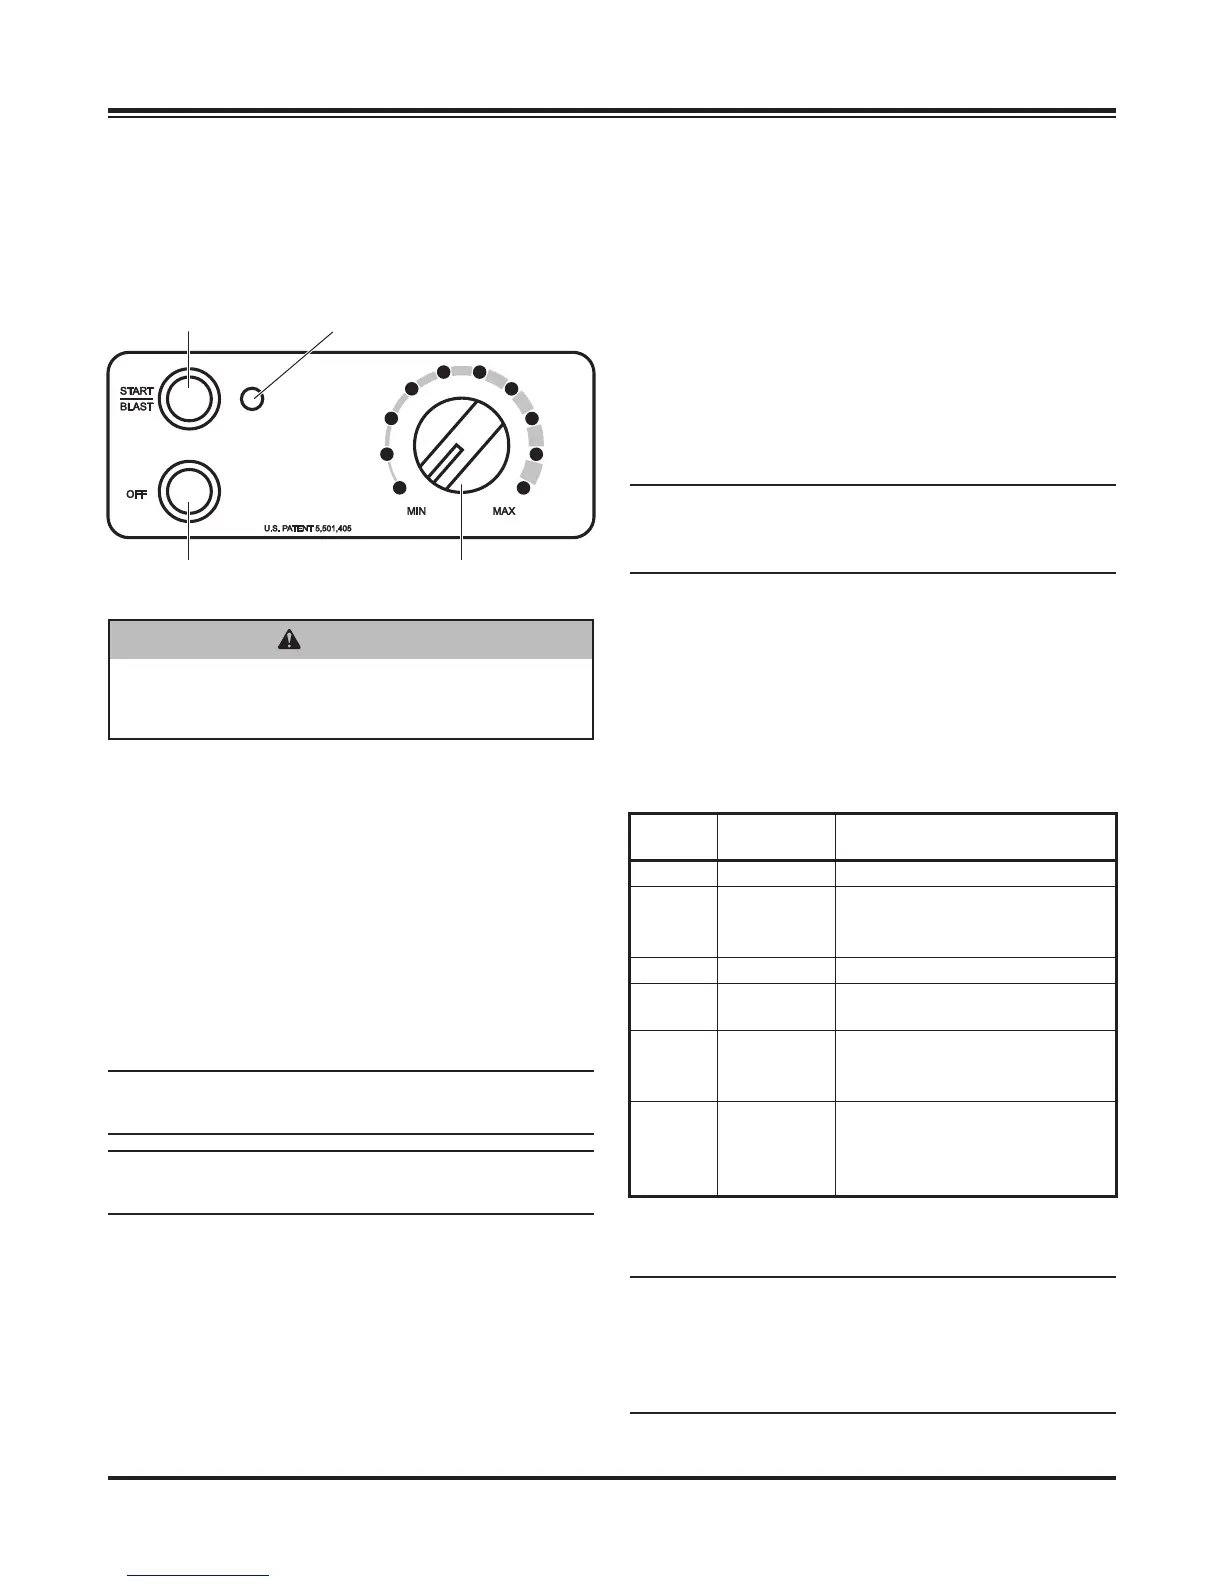
Speed Dial
ON/Maximum
Speed Button
Diagnostic
Indicator Light
OFF Button (Emergency
stop when required.)
2. Turning the speed dial counterclockwise will
decrease the speed.
Blast/Maximum Speed
1. Press and hold the START/BLAST button as long
as maximum speed is needed.
2. Release the button when maximum speed is no
longer needed. The control automatically returns
to the "ON" position and the speed shown on the
speed dial.
NOTE: When blast is used, the speed dial does
not move to the maximum speed setting, but
remains at the preset speed.
Diagnostic Indicator Light
The diagnostic indicator light located to the right of the
START/BLAST button remains dark unless a problem
with the motor or wiring is detected. The light will fl ash
a number of fl ashes in a row, pause, then repeat.
Count the fl ashes to determine the nature of the
malfunction and refer to the diagnostic chart below.
# of
Flashes Problem Possible Causes
0No Fault –
2 No Power
Battery fuse is blown, or
battery cable is disconnected
or faulty.
3 No Motor Motor is disconnected.
4No Ground
Spreader harness ground is
disconnected or faulty.
5Overheated
Motor OFF due to controller
overheat, possibly due to
frozen or jammed spreader.
6
Excess
Current
Over 35A for more than
1–2 seconds. (Higher
overloads are allowed for
shorter periods of time.)
If additional information is needed, refer to the
Troubleshooting Section of this manual.
NOTE: Always place the cover on the hopper to
prevent moisture buildup. Do not let the spreader
sit idle with material in the hopper for an extended
period of time. This can cause the material to
compact and reduce or stop the fl ow of material.