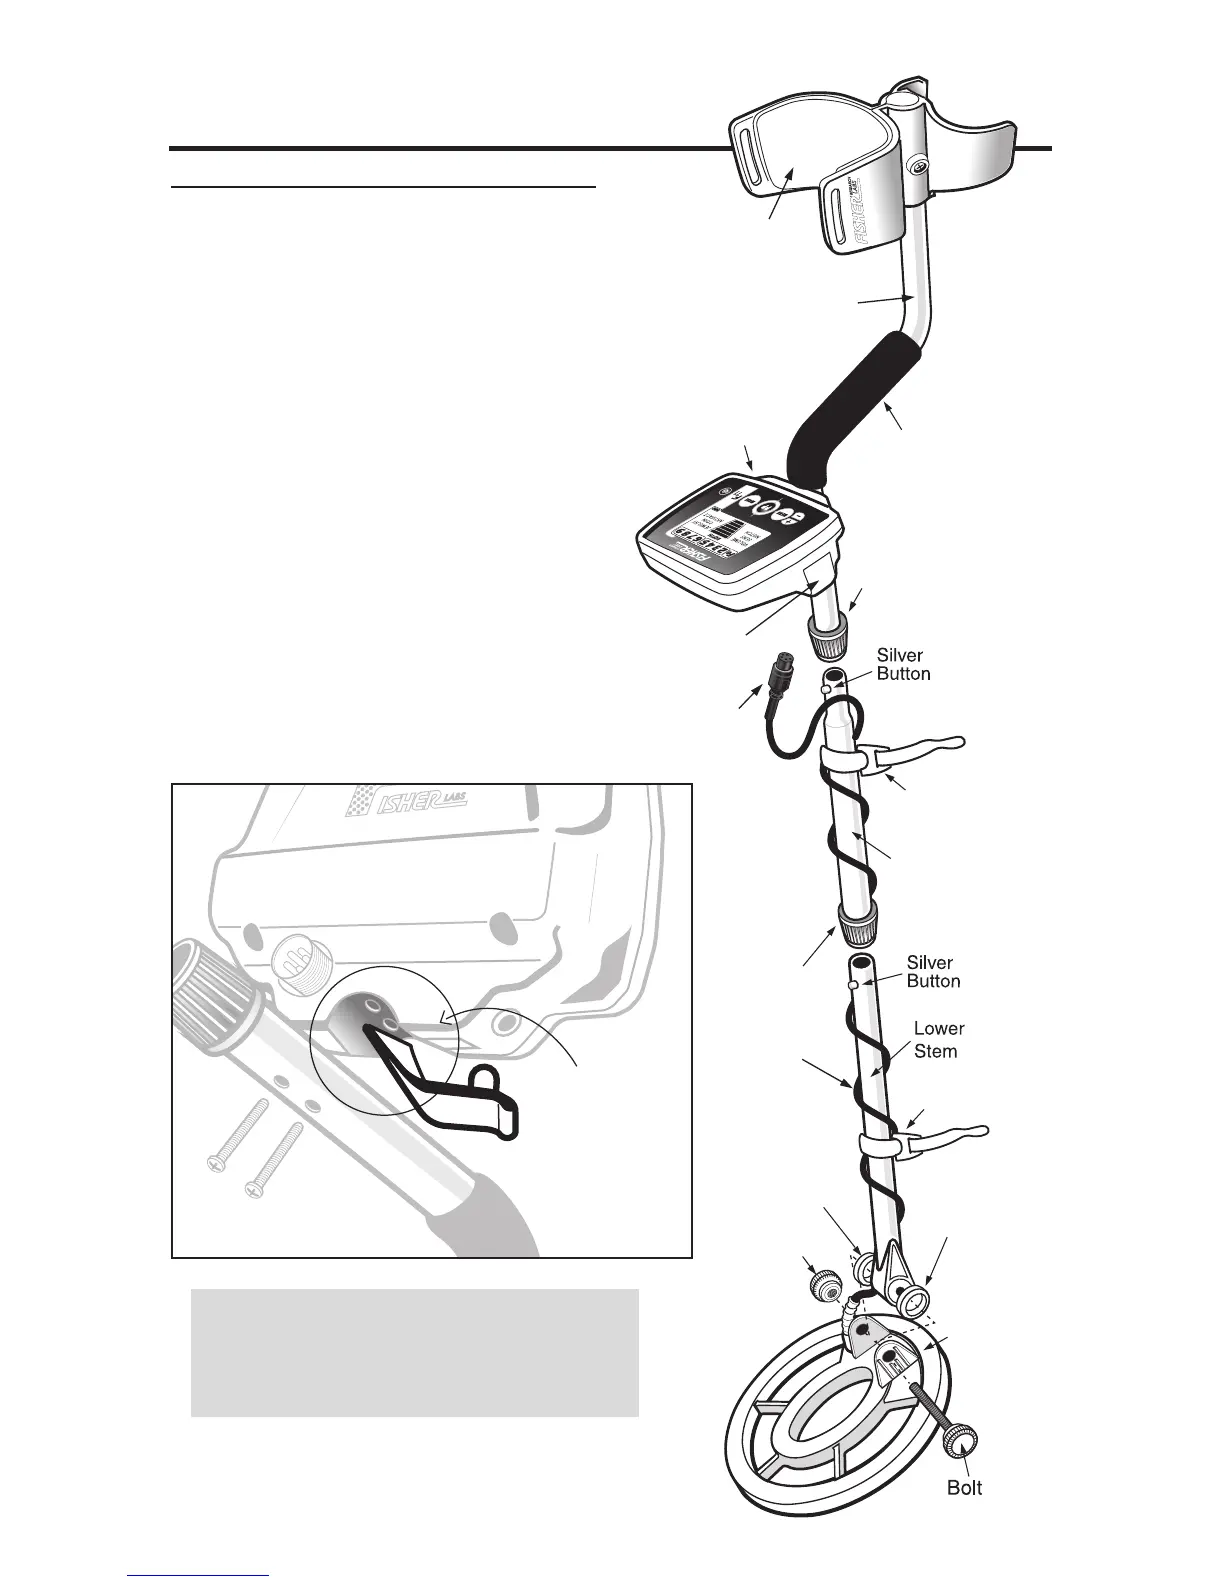
ASSEMBLY
Tool Required: #1 Phillips Screwdriver
●
1 • Remove the Screw from the Armrest.
• Slide the Armrest over the end
of the S-Rod.
• Attach with Screw and Lock-Nut.
●
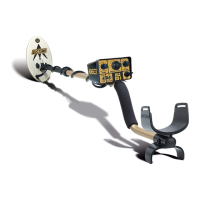
2 Attach Control Housing with Screws;
install back screw first.
NOTE:
• The Handgrip fits under the
Control Housing.
Handgrip may partially cover one
mounting hole. Peel back
Handgrip to expose the front
hole.
• Ensure the headphone jack
cover is properly seated before
attaching the control housing.
Caution:
Forcing in MIDDLE STEM with CAM LOCK raised may
form a burr on cam lock. If this happens, remove burr with
knife to allow insertion.
*
Note: Very tall users can purchase the optional
Extended Lower Stem (TUBE5X), for extended reach.
5