23
ARPEX 8704 en
Operating instructions 01/2019
6.8 Split spacers
Split spacers are fitted together according to length and tightened handtight or delivered as single parts.
6.8.1 Fitting split spacers
• Before assembly the fitting holes and the contact surfaces of the coupling parts must be degreased.
Fitting holes and contact surfaces of the coupling parts must be absolutely clean and
greasefree.
Observe the manufacturer’s instructions for handling the solvent.
• The inner and outer "recess" (centering pin, figure 15) and the fitting bores as well as the contact faces
of the individual parts of the split spacer must be inspected for any damage and, if necessary, reworked.
• Before fitting the connecting bolts note any balancing marks (see fig. 15 and fig. 16). If the spacers are
unmarked, the halves must be fitted so that the fitting holes of the outer flanges are correctly aligned
(see fig. 15 and fig. 16).
• The connection of the "recess" or closefitting bolt must be joined accurately and carefully.
• The connecting bolts must be tightened crosswise and evenly with the specified tightening torque
(see table 5, "Tightening torques for connecting and tensioning bolts").
• Care must be taken that the "recess" connection is straight.
Failure to observe these instructions may result in impairing the proper function of the
coupling.
1
2
3
4
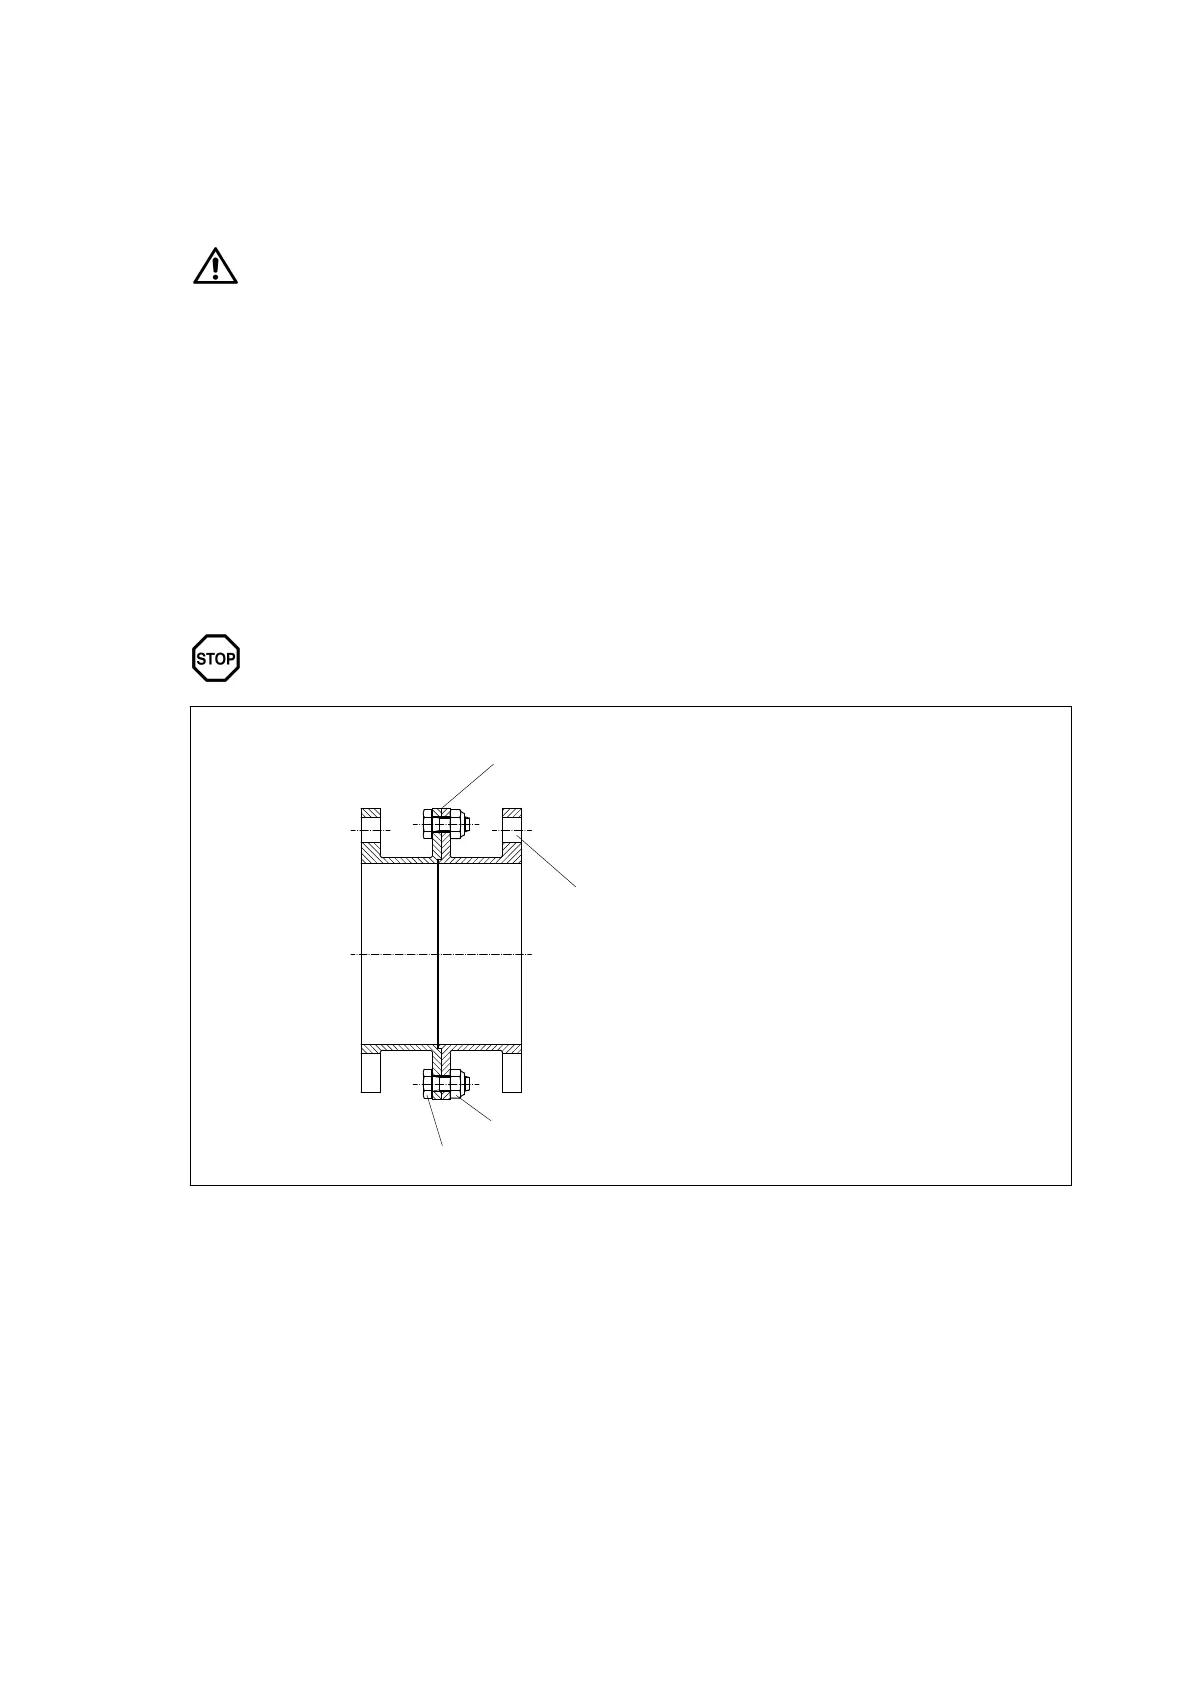
Fig. 15: Uspacer with "recess" (centering pin) (ARS6)
1 Marking on balanced spacer,
during fitting, the balance marks must be
one above the other
2 Fitting bore
3 All-steel locking nut to DIN 980 Form "V"
4 Hexagon bolt to ISO 4017 - 8.8