Page 10 © 2018 FlexRadio Systems, V1.2
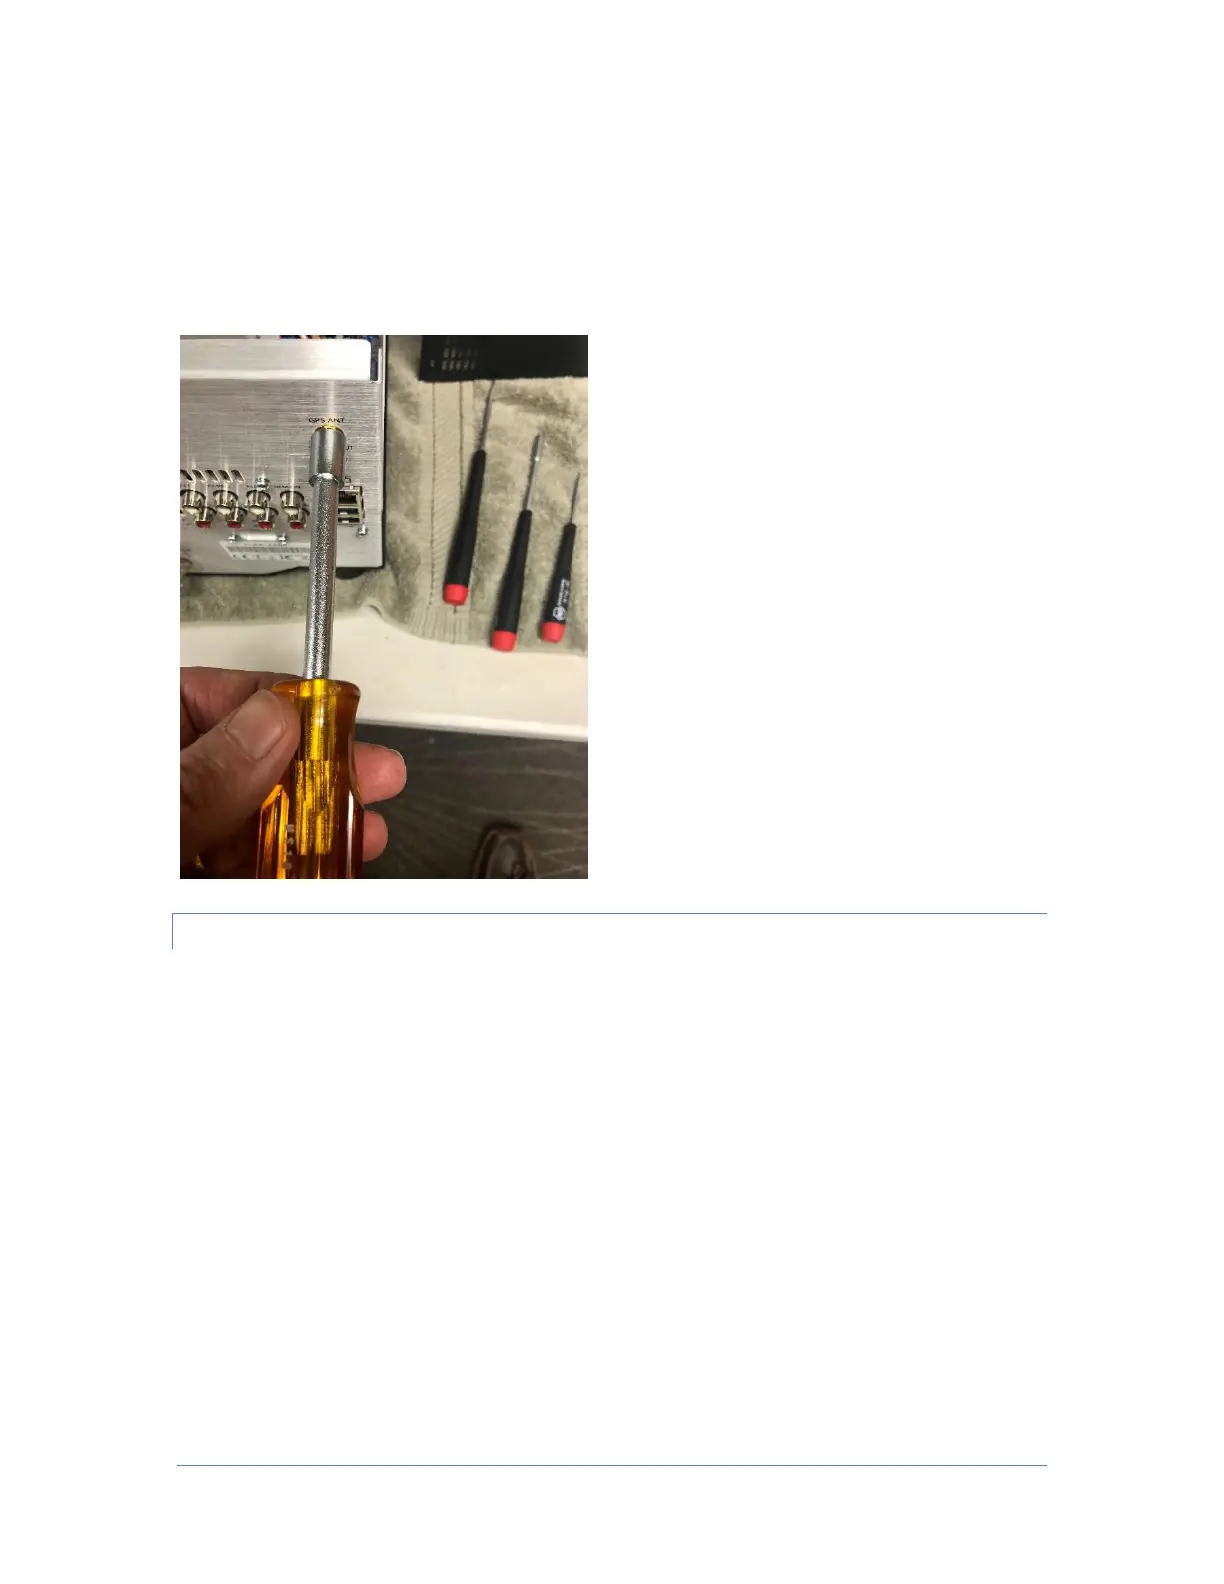
Orient the coax assemblies, as shown above, lying as flat as possible. While holding the coax assembly in
one hand, use either a 5/16” (4mm) open-ended wrench, socket or nut driver as shown below to slightly
tighten the SMA connector hex nut to prevent the SMA connector from rotating.
Tighten the SMA retaining nut on both coax assemblies.
Be careful not to scratch the back panel of the FLEX-6000 when tightening the SMA connector hex nuts.
Reinstalling the Top Cover
Replace the top chassis cover on the FLEX-6000. Orient the cover so that the row of vent holes on the top
cover is facing towards the front of the FLEX-6000 as shown below.

 Loading...