5
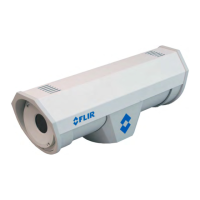
Camera Installation
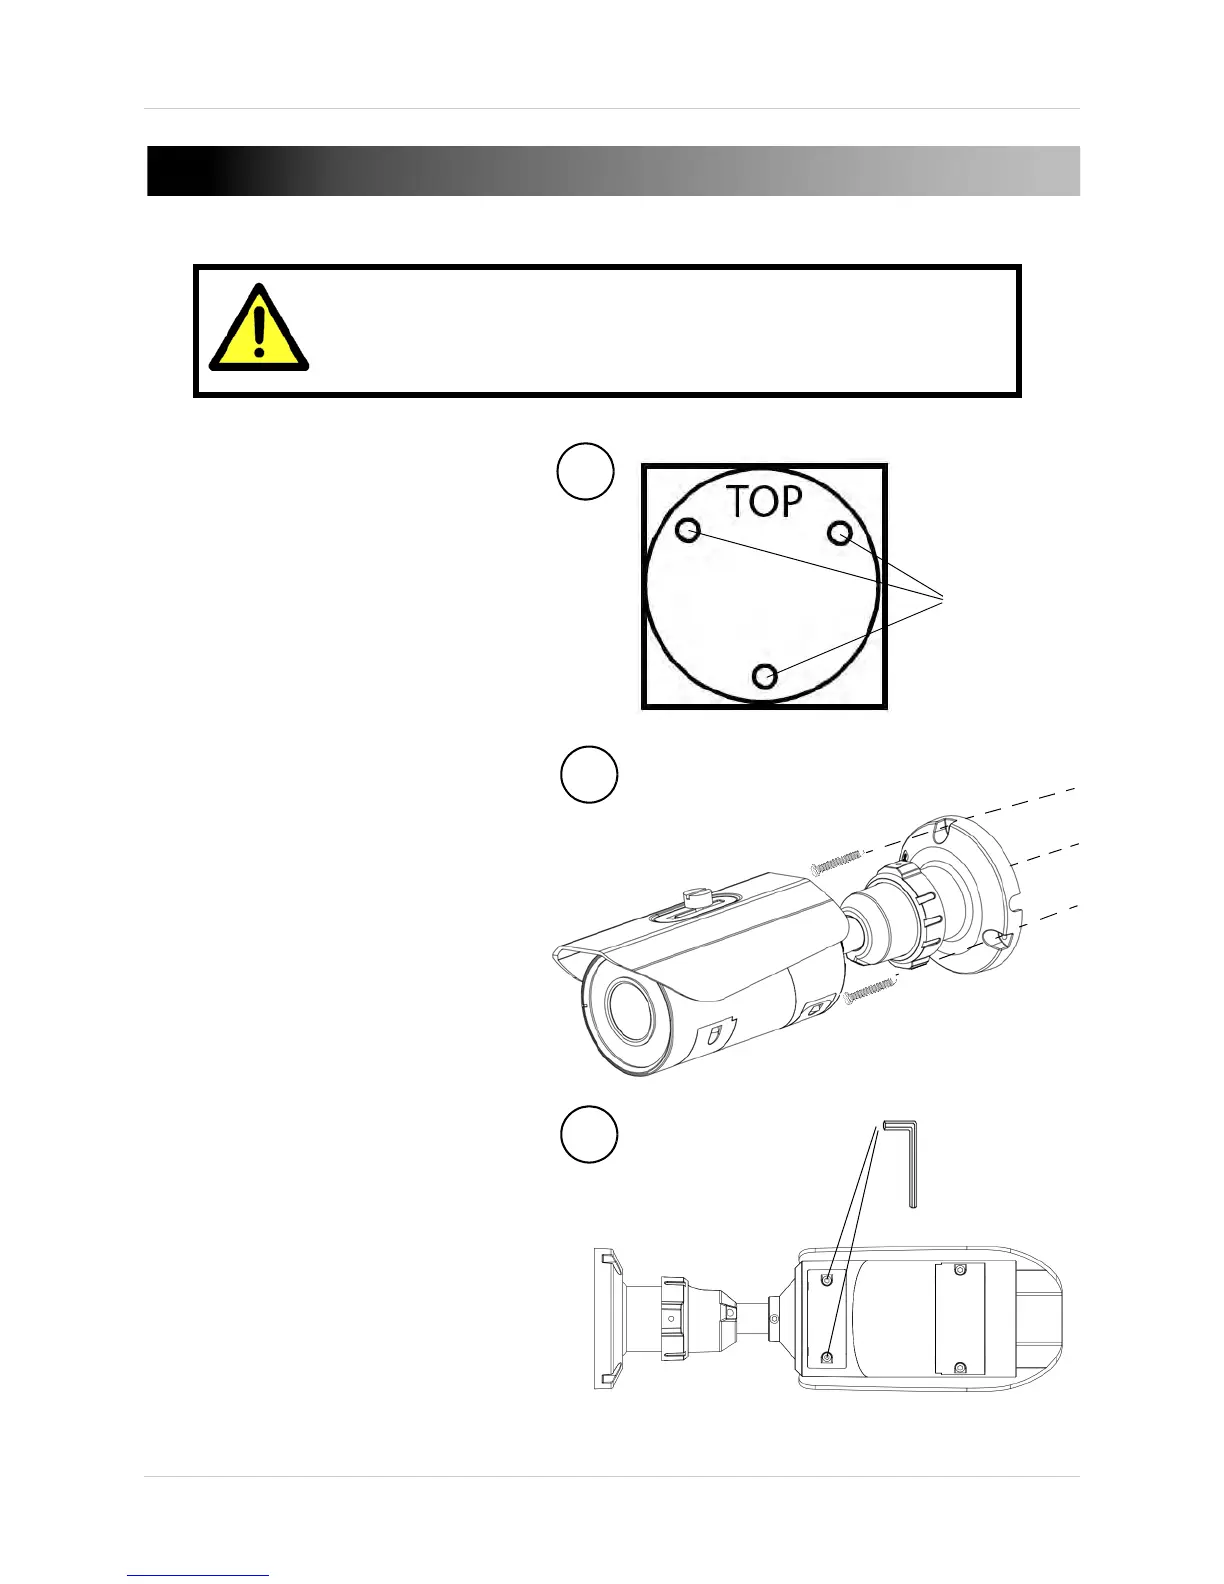
3. CAMERA INSTALLATION
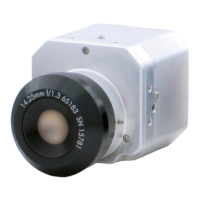
1. Use the included mounting
template to mark mounting
points for the camera.
NOTE: If mounting the
ca
mera on a wall, ensure
that the TOP label on the
template faces up.
2. Connect the cables, and then
mount the camera to the
wall using the included
screws (x3).
3. (Optional) To use a BNC test
cable or insert a microSD
card, open the service
compartment near the
camera base by loosening
the screws (x2) with the
included allen key.
Make sure to follow the correct polarity if connecting
the camera to DC power. Polarity is marked on the
power connector.