427-0030-00-12 Version 180 March 2018 7
1 F-Series Camera Installation
1.5.3 Camera Mounting
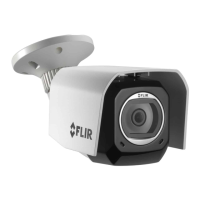
F-Series cameras must be mounted upright on top of the mounting surface, with the base below the
camera. The unit should not be hung upside down.
The F-Series camera can be secured to the mount with three to five 1/4-20 threaded fasteners as
shown below.
Once the mounting location has been selected, verify both sides of the mounting surface are
accessible.
Use a thread locking compound such as Loctite 242 or equivalent with all metal to metal threaded
connections.
Once the holes are drilled in the mounting surface, install three (3) to five (5) 1/4-20 threaded fasteners
into the base of the camera with thread-locking compound.
1.5.4 Removing the Back Cover
Use a 3 mm hex key to loosen the four captive screws,
exposing the connections at the back of the camera
enclosure. There is a grounding wire connected between
the case and the back cover as shown.
If the grounding
wire is temporarily disconnected during the installation, it
must be reconnected to ensure proper grounding of the
camera.
1.5.5 Cable Gland Sealing
Proper installation of cable sealing glands and use of
appropriate elastomer inserts is critical to long term
reliability. Cables enter the camera mount enclosure
through liquid-tight compression glands. Be sure to insert
the cables through the cable glands on the enclosure
Not to scale
Figure 1-2: F-Series Camera Mounting Holes
 Loading...
