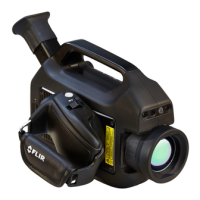
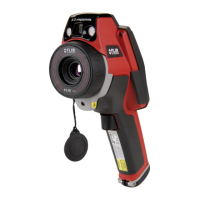
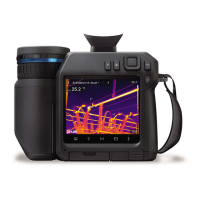
Quick start guide
11
7. Wait until the cooling procedure is completed. Then turn the mode wheel to
to
enter video mode.
8. Push the temperature range button, then do the following:
8.1. Move the joystick up/down to choose a suitable temperature range for your
object.
8.2. Push the temperature range button to confirm and leave the setup mode.
9. Aim the camera toward the target of interest.
10. Adjust the infrared camera focus by doing the following:
• For far focus, rotate the focus ring counter-clockwise (looking at the front of the
lens).
• For near focus, rotate the focus ring clockwise (looking at the front of the lens).
11. If there is a gas leak, and the gas is one of the gases that the camera can detect, you
will now see the leak on the screen. The leak will resemble a smoke plume emanating
from the point of the leak.
12. To start recording a video clip, push the
button.
13. To stop recording a video clip, push the
button again. This will display a preview
dialog box.
14. To save the video clip, move the joystick to select
and push the joystick.
15. To move the video clip to a computer, do one of the following:
• Remove the memory card and insert it in a card reader connected to a computer.
• Connect a computer to the camera using a USB Mini-B cable.
Note To enable file transfer via the USB port, the USB mode setting must be set
to Mass Storage Device. The setting is made in setup mode
in the Camera
tab. Select USB mode > Mass Storage Device.
16. Move the video clip from the card or camera using a drag-and-drop operation.
17. To turn off the camera, push and hold the
button until the progress bar that is
displayed on the screen reaches the end.
11.2.2 Related topics
• 18.1.1 Charging the battery using the power supply cable, page 51
• 18.1.2 Charging the battery using the stand-alone battery charger, page 51
• 18.2.1 Installing the battery, page 52
• 17 Connecting external devices, page 49
• 20.1 Laying out a measurement tool, page 63
• 19.1 Saving infrared images, page 60
• 22 Recording video clips, page 67
• 37 Detectable gases, page 106
11.3 Detecting a temperature
11.3.1 Procedure
Follow this procedure:
1. Before operating the camera, you must read, understand, and follow the warnings,
cautions, and notes in sections , page and 5 Conditions of Use for Ex Equipment,
page 15.
2. Charge the battery until the green battery condition LED glows continuously.
Note Do this at room temperature.
3. Put the battery into the battery compartment.
4. Insert a memory card into the card slot.
#T810169; r. AN/42241/42268; en-US
28