Before Using the Machine
30
14/03/2023 212601
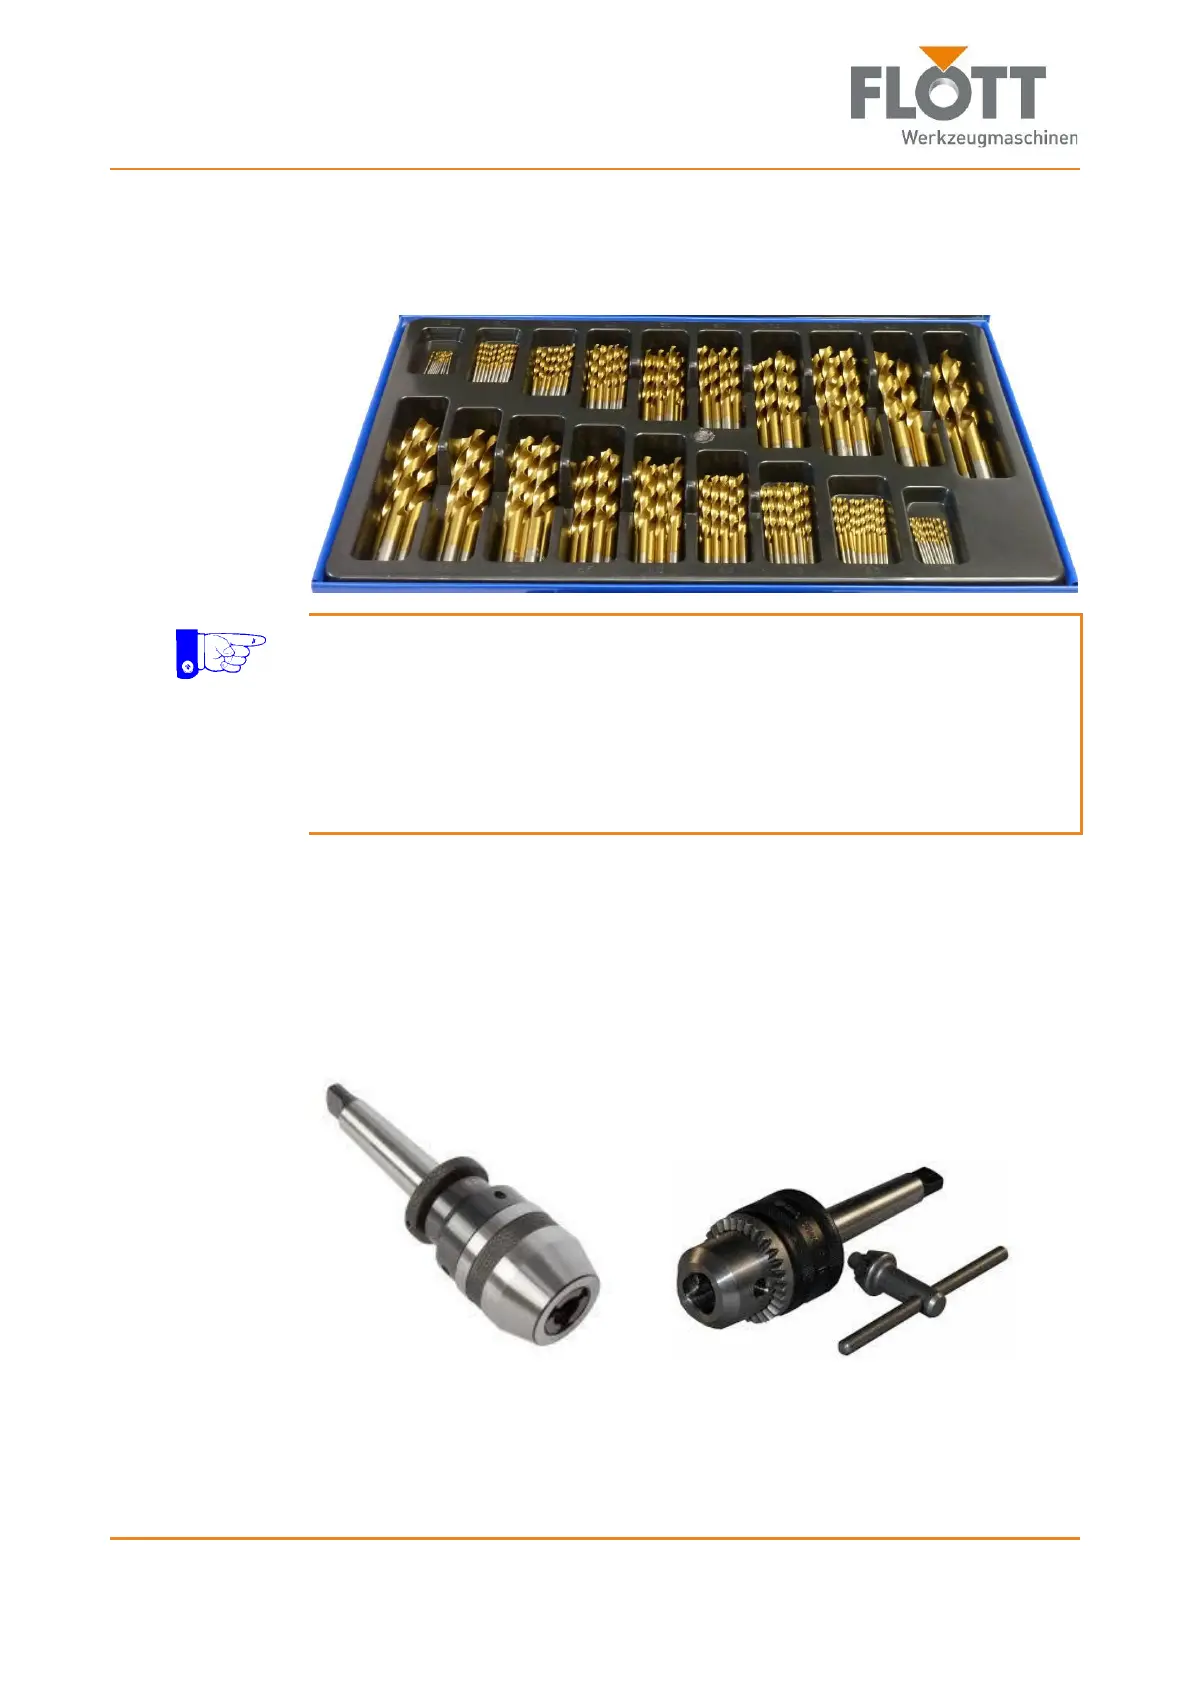
5.1.2 Installing the Cutter
Depending on how the workpiece is to be machined, the appropriate cutter
(drill, countersink, reamer or tap) must be inserted into the chuck.
Note
Please note
The technical data of this operating manual, in particular with regard to the
performance limits and
The technical data of the cutter manufacturer.
These must be strictly adhered to in order to ensure safe working on and with
the machine to obtain the desired machining result.
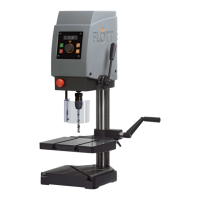
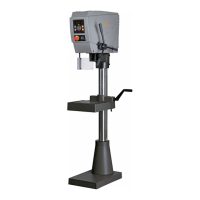
1. Turn the drill chuck by hand or with a chuck key until you can easily insert
the cutter into the chuck.
2. Insert the cutter into the chuck and hold it in place.
3. Clamp the cutter in the drill chuck by
fixing it by hand in case of a quick-action drill chuck
fixing it with a chuck key in case of a keyed chuck.
The cutter will thus be clamped by the three clamping jaws.
Quick-action drill chuck Keyed chuck