Operating the Machine
44
14/03/2023 212601
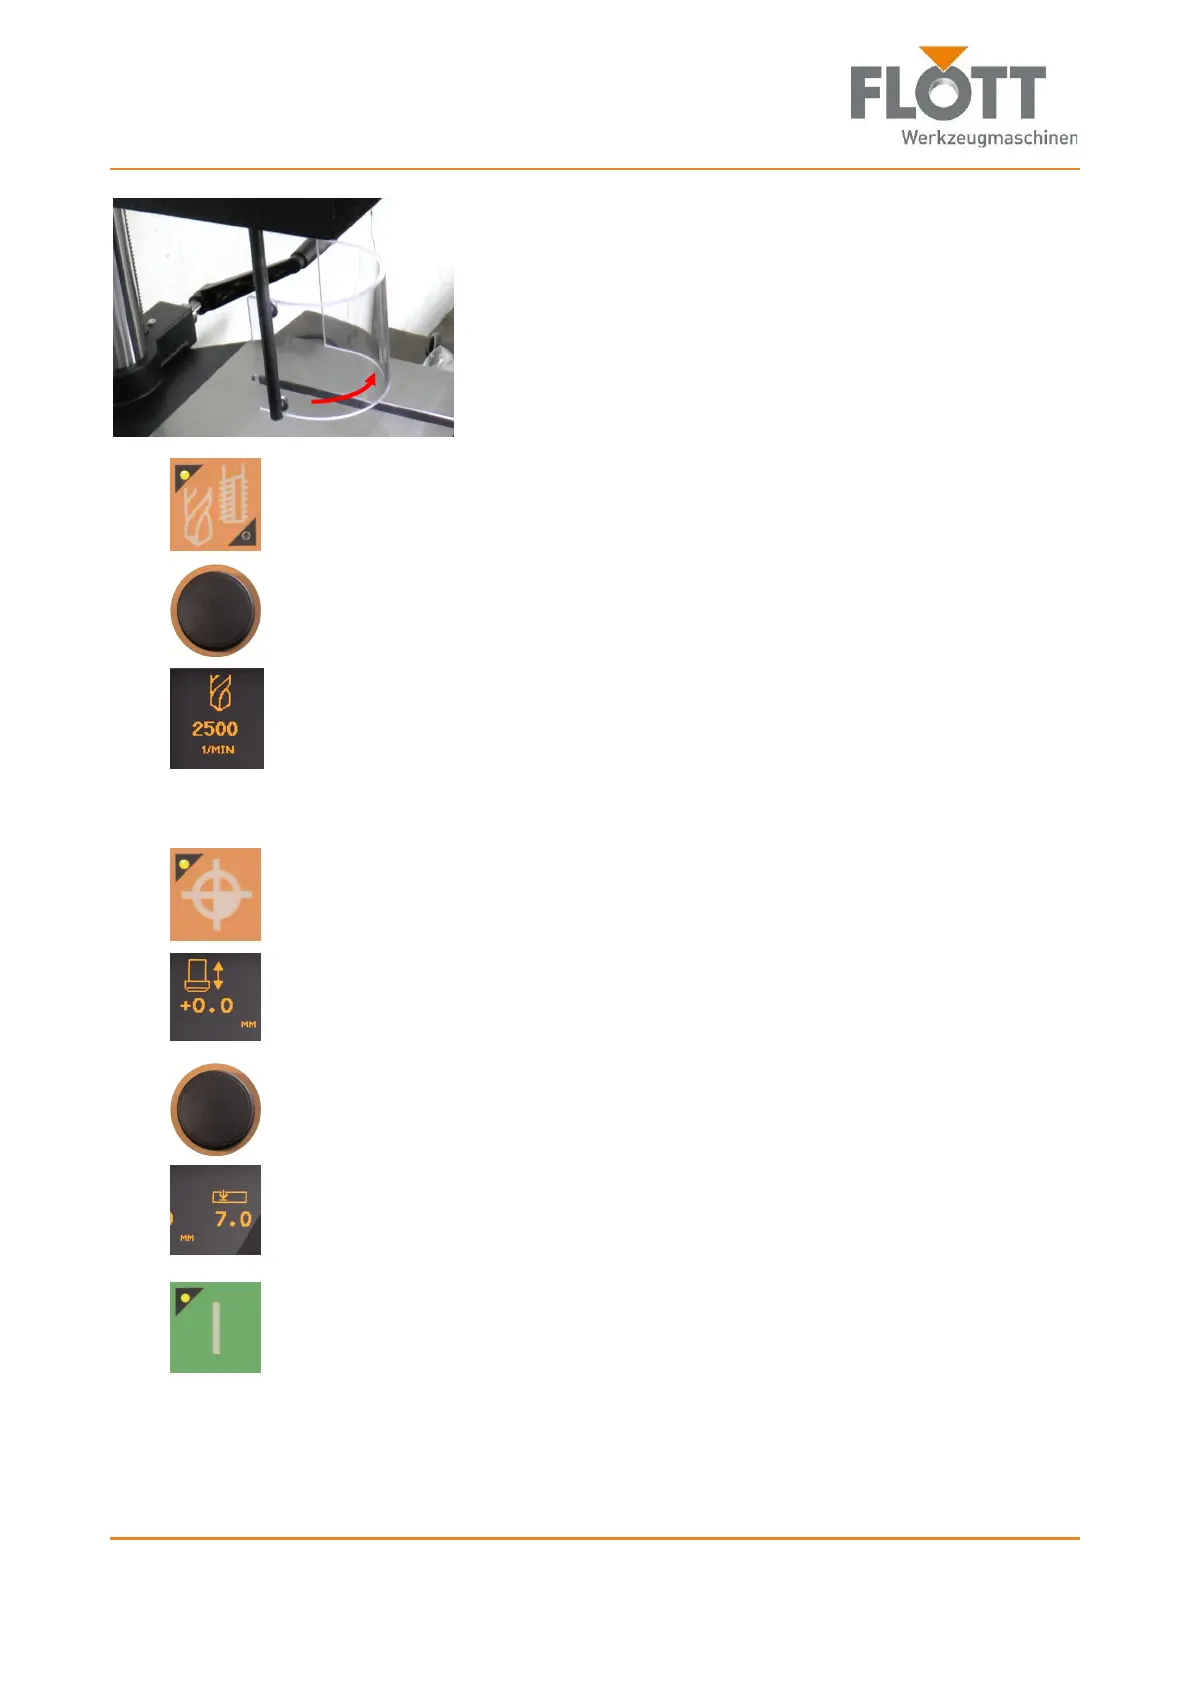
4. Before starting the machine, swivel the drill guard into its
protection position in front of the cutter.
This will activate the protective switch, which releases the
operation of the machine.
5. If necessary:
Press the push-button to select the drill type Drilling.
The top left lamp lights when the drilling mode is selected.
6. Select the appropriate speed for the inserted drill bit and workpiece by
pressing the rotary switch/push-button
Set the speed (rpm) by turning slowly and
Apply the speed in the control system by pressing.
The set speed is shown in the display.
7. Use the drill lever to slowly more the drill bit tip to the workpiece surface
while pressing down on the drill lever.
8. Press the push-button to transfer the zero point to the control system.
The lamp lights up when the zero point is stored in the control system.
The set zero point is shown in the display.
9. Set the required drilling depth by pressing the rotary switch/push-button
Set the drilling depth (mm) by turning slowly or
move the drill lever to the desired drilling depth and
Push to apply the drilling depth in the control system.
The set drilling depth is shown on the display.
10. Press the push-button to start the machine.
The lamp lights when the drive is turned on and the spindle is rotated.