Do you have a question about the Flowserve Logix 520MD Series and is the answer not in the manual?
Provides instructions for installing the Logix 520MD Digital Positioner.
Details how to operate the Logix 520MD Digital Positioner.
Outlines procedures for maintaining the Logix 520MD Digital Positioner.
Instructions for unpacking, installing, and maintaining Flowserve products.
Explains safety terms like DANGER, WARNING, CAUTION, NOTE used in instructions.
Recommends protective clothing for handling products in problematic applications.
Defines qualified personnel for performing work on the equipment.
Safety warnings and requirements before installation.
Information on using original Flowserve spare parts and checking for deterioration.
Safety precautions and procedures for service and repair operations.
Guidelines for storing Flowserve products to protect them from corrosion.
States instructions may not cover all product variations; seek clarification.
Instructions for unpacking, checking packing slips, and reporting damage.
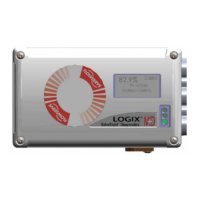
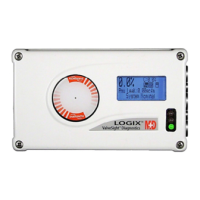
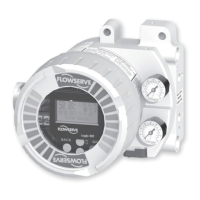
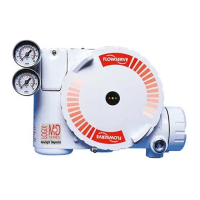
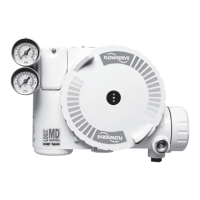
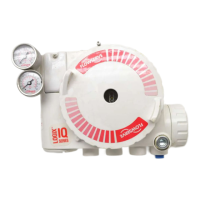
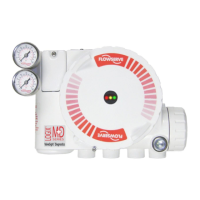
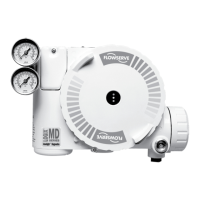
Introduces the Logix 520MD as a two-wire, 4-20 mA digital valve positioner with HART.
Details input signal range, compliance voltage, and minimum operating current.
Specifies operating and storage temperatures, and humidity ranges.
Lists ATEX, FM, and CSA certifications and classifications.
Details specifications for optional limit switches.
Explains the microprocessor, piezo valve, and position sensor modules.
Details how the positioner uses a two-stage algorithm for responsive control.
Instructions for connecting tubing from the positioner to the actuator.
Details signal cable requirements, polarity, and grounding.
Explains compliance voltage requirements for the current loop system.
Discusses cable capacitance, length restrictions, and conductor size.
Explains operation in industrial environments and EM field precautions.
Describes the Quick-Cal button, jog buttons, LEDs, and rotary switch.
Instructions for setting DIP switches in the "Configuration" and "Cal" boxes.
Details DIP switch functions for Air Action and Signal at Closed settings.
How to set the Cal DIP switch for Auto or Jog Quick Calibration modes.
Procedure for initiating and performing a local calibration using the Quick-Cal button.
Explains the rotary gain selector and stability switch functions.
How to control valve position locally using jog buttons and Quick-Cal.
Steps to reset the positioner to factory defaults and recalibrate.
Mentions parameters requiring ValveSight DTM or HART handheld.
Explains the optional analog feedback signal for stem position.
Step-by-step instructions for replacing the analog output board.
States the Logix 520MD can be equipped with an additional limit switch unit.
Explains how the limit switches operate using a vane and proximity sensors.
Instructions for fitting the limit switch unit to the positioner housing.
Procedure for adjusting the switching points of the limit switches.
Indicates normal operation, active modes, and interface status.
Covers warnings for temperature, pressure, and limit exceedances.
Shows status of calibration, jog command, and jog calibration.
Explains how to interpret blink codes by summing assigned values for color.
Demonstrates calculating version numbers from example blink codes.
Probable causes and corrective actions for when no LED is blinking.
Causes and solutions for erratic communication issues.
Troubleshooting steps for when the unit does not respond to analog commands.
Diagnosing and correcting unexpected valve position readings.
Solutions for when the position is driven fully open or closed and unresponsive.
Troubleshooting steps for sticking or hunting operation of the positioner.
Lists item numbers, descriptions, and part numbers for spare parts kits.
Details available mounting kits and their corresponding part numbers.
Provides dimensional drawings for the main unit, including front and back views.
Details dimensions for standard "D" shaft and "N" shaft options.
Shows dimensions for the auxiliary option with a single gauge adapter.
Displays dimensions for the auxiliary option with a gauge manifold.
Provides dimensions for the auxiliary option with a domed position indicator.
| Output Signal | Pneumatic |
|---|---|
| Temperature Limits | -40 to 85°C (-40 to 185°F) |
| Communication Protocol | HART |
| Enclosure Rating | NEMA 4X, IP66 |
| Input Signal | 4-20 mA, HART |
| Supply Pressure | 20 to 100 psig (1.4 to 6.9 barg) |
| Hazardous Area Certification | ATEX, IECEx, FM, CSA |
| Accuracy | ±0.5% of span |
| Repeatability | ±0.1% of span |