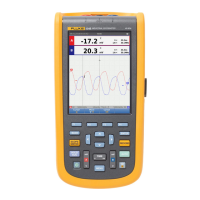
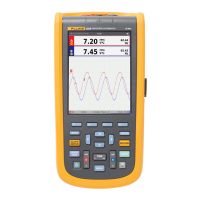
Fluke 123/124
Getting Started
10
Manually Changing the Waveform
Representation
Changing the amplitude:
Enlarge or Reduce the waveform
amplitude; there are separate keys for
Input A and Input B.
Changing the Time Base:
Increase or Decrease the number of
periods.
Positioning the traces:
/
Select A MOVE or B MOVE.
Position the selected waveform to the
desired screen position.
Trigger adjustments: Triggering tells the Test Tool when to
begin displaying the waveform. The trigger point on the
waveform is indicated by the Trigger Identifier (
). Trigger
Level and the Trigger Slope can be adjusted to your
personal taste. This may help to get certain signal details
within the viewing area:
Enables the arrow keys for Trigger
Level and Slope.
Adjust the Trigger Level.
Select Negative / Positive Slope.
Making Cursor measurements
Cursors are present in Fluke 124. Cursors allow you to
make precise digital measurements on live and on saved
waveforms.
Display the cursor key functions:
Select Cursor measurement type:
Measure signal height at one point of
time.

 Loading...