2635A
Users Manual
2-18
Setting the Measurement Rate
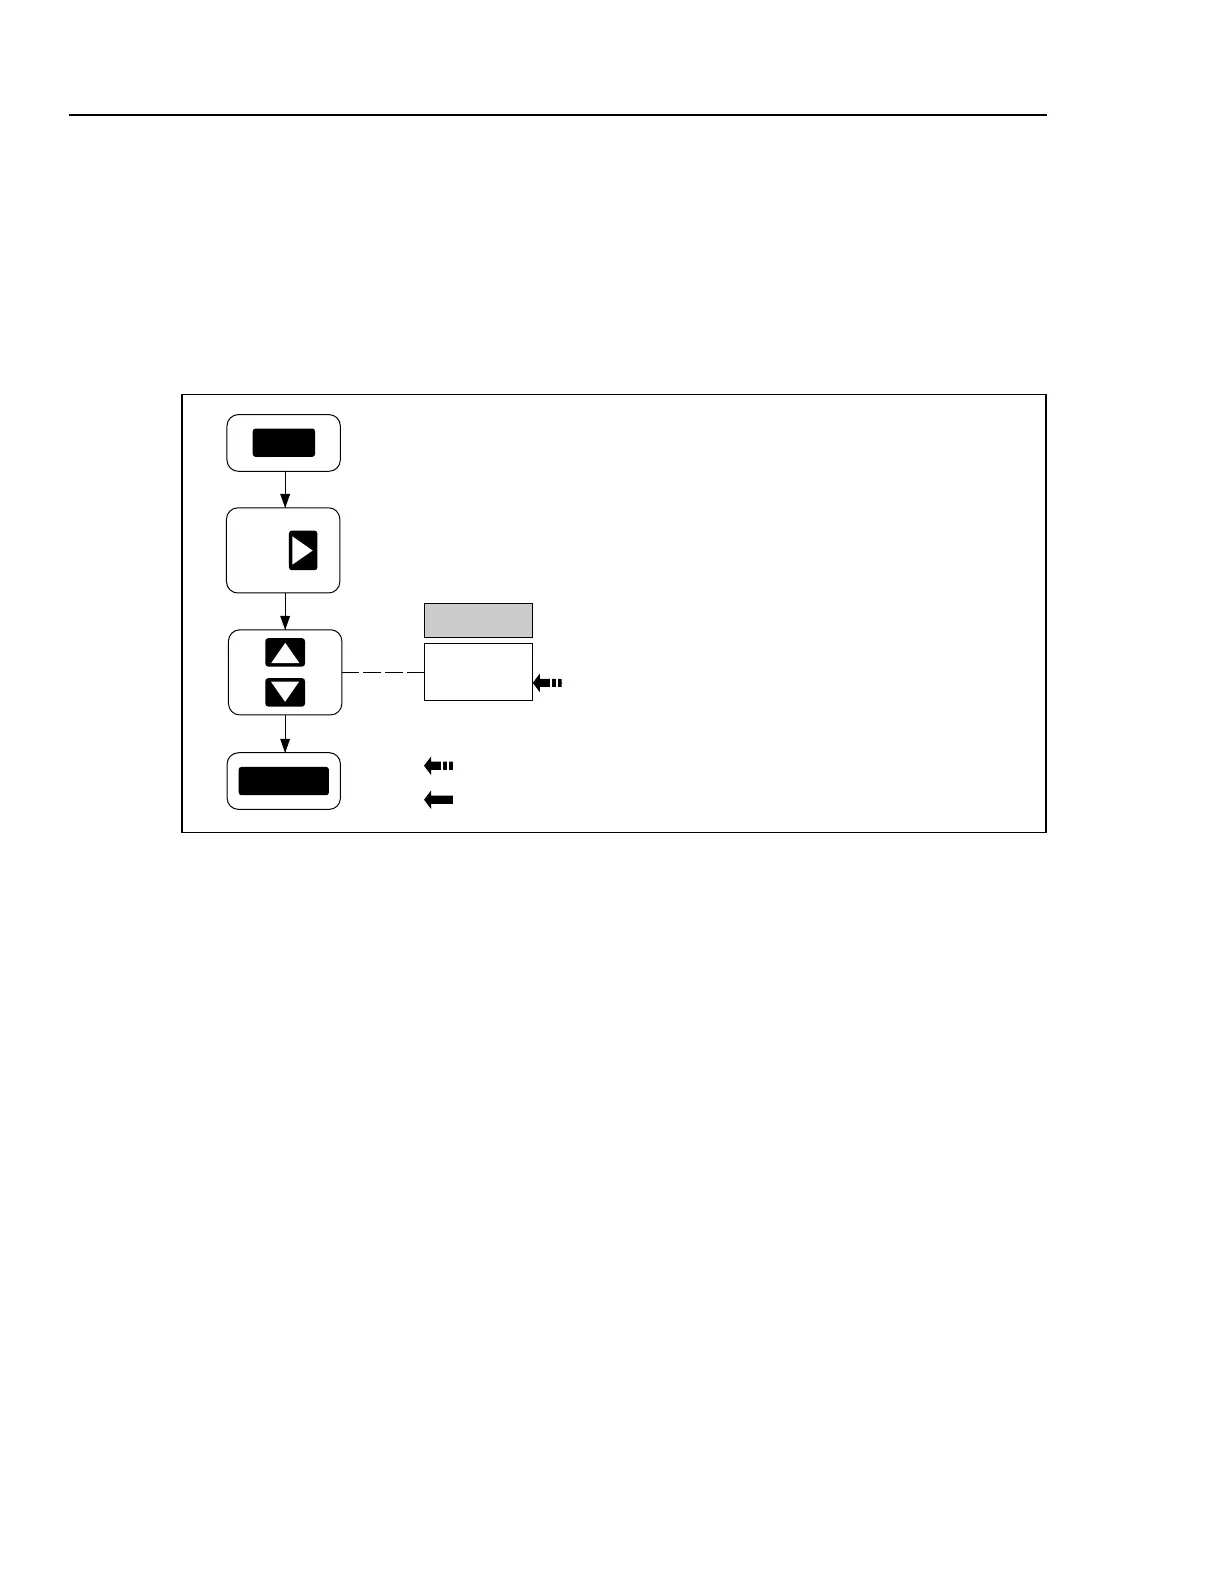
Perform the procedure in Figure 2-12 to set a fast or slow [default] measurement rate.
The measurement rate affects the time required to scan the configured channels.
However, the fast mode sacrifices one digit of measurement resolution. For example, a
temperature reading of 22.4ºC in the slow mode would become 22ºC in the fast mode, or
27.858V dc in the slow mode would become 27.86 V dc in the fast mode. The fast mode
is normally used to capture rapidly changing measurements or to speed up the
measurement portion of the scan interval.
Typical
Required
RAtE
ENTER
Setting the Measurement Rate. Press the
SHIFT key and then the right-arrow key to access
the measurement rate menu. Press the up/down
arrow keys to select either SLO (Slow) or FASt
(Fast), then press the ENTER key.
FASt
SLO
SHIFT
op24f.eps
Figure 2-12. Setting the Measurement Rate
Setting the Alarms
Perform the procedure in Figure 2-13 to set alarm limits for any configured channel. In
preparation, the instrument must be in the inactive mode (not scanning or monitoring)
and the desired channel must be configured with a measurement function (see Figures 2-
4 to 2-9) and selected (see Figure 2-3). To exit at any time, press the C key; however,
any alarm parameters previously entered will remain. Two alarm limits, alarm 1 and
alarm 2, can be defined for each channel. If applied to a channel with Mx+B scaling, the
alarm is based on the scaled values. An alarm occurs when the measured value on the
channel moves above the HI (High) or below the LO (Low) value. Alarms can start
autoprinting (Figure 5-3), start scanning with the Monitor-Alarm trigger option (Figure
2-19), or trigger other functions via the rear panel digital outputs. In the inactive mode,
any selected channel that is programmed with alarm limits will display LIMIT plus 1
and/or 2 to show which alarms have been set. In the different operating modes, the front
panel will provide an indication of a channel in an alarm condition. Each is discussed
below.
Alarm Indications While Scanning
If a scanned channel is in an alarm condition during the scan, the ALARM annunciator is
turned on (dim display). If all alarm conditions clear during the next scan, the ALARM
annunciator is turned off. See Figure 2-15 for information about the Scan Mode.

 Loading...


