9
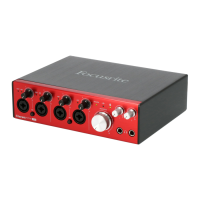
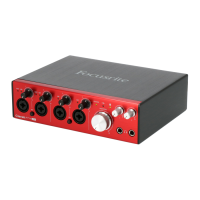
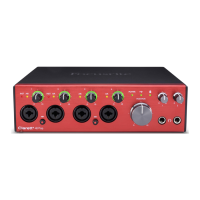
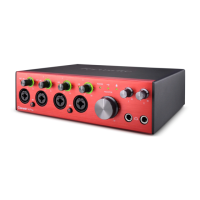
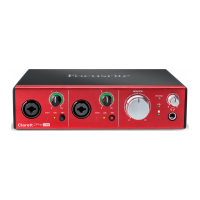
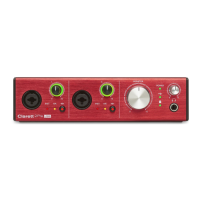
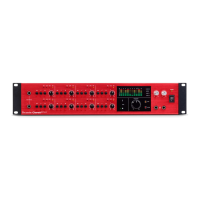
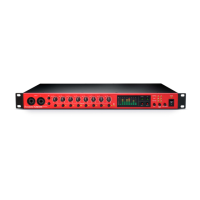
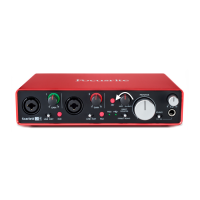
Connecting your Clarett 4Pre USB
IMPORTANT: Before you connect the Clarett 4Pre USB to your computer, please
complete the software installation according to the instructions on page 6.
This will ensure that the hardware uses the correct drivers, and will
prevent unexpected behaviour.
The Clarett 4Pre USB must be powered using the supplied AC adaptor (PSU). Connect the PSU to the
rear panel power socket and turn the unit on with the power switch.
The Clarett 4Pre USB has a USB-C™ port (on the rear panel). Once the software installation is
complete, simply connect the Clarett 4Pre USB to your computer using one of the supplied USB-C
cables.
Computer audio setup
When you connect your Clarett 4Pre USB to your computer for the first time, you will need to select
the Clarett 4Pre USB as the audio input/output device.
• Mac OS: selection is made in System Preferences > Sound: select the Focusrite device on
both the Input and Output pages.
• Windows: selection is made in Control Panel > Sound: right-click on the Focusrite device
and select Set as Default Device in both Recording and Playback tabs.
In case of difficulty, full details of how to select the Clarett 4Pre USB as the audio device on all
operating systems can be found at www.focusrite.com/get-started/clarett-4PreUSB.
On all subsequent connections, your OS should automatically select the Clarett 4Pre USB as the
default audio device.
Audio Setup in your DAW
After installing the drivers and connecting the hardware, you can start using the Clarett 4Pre USB
with the DAW of your choice.
Please note - your DAW may not automatically select the Clarett 4Pre USB as its default I/O device.
In this case, you must manually select the driver on your DAW’s Audio Setup* page, and select
Focusrite 4Pre USB (Mac) or Focusrite USB ASIO (Windows). Please refer to your DAW’s
documentation or Help files if you are unsure where to select the Clarett 4Pre USB as your audio
device.
* Typical name – page names may vary with DAW