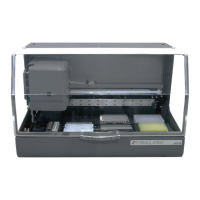
Setting up a hanging drop experiment with the NT8 involves six groups of steps:
● Turning on the NT8
● Setting up the hardware
● Setting up the software
● Adding protein to the protein block
● Running the dispense
● Transferring the hanging drops to the experiment plate.
When you set up a hanging drop experiment with the NT8, you must be careful to set up the
dispense in the opposite direction by clicking the dispense direction arrow. This is because you
will flip the plate when you put the plate seal on the MRC 2 Well Crystallization Plate. We've
highlighted this step with a red text in the steps that follow.
Power On the NT8 and Start the Software
● Connect the NT8 to your computer using the USB cable.
● Find the power switch located on the back-right of the NT8 and turn it on.
● Double-click the NT8 icon on your computer’s desktop. It will take a few moments for
the NT8 software to load while the NT8 initializes. The instrument indicator on the
bottom-left corner of the software will turn green when the NT8 is connected and
ready to use.
Set Up the NT8 Hardware
● Place the LV tip caddy in its station and the MRC 2 Well Crystallization Plate on
microplate station 2. Each well of the MRC 2 plate should contain about 50 µl.