EasyManuals Logo

Foxconn H67M Series User Manual

Foxconn H67M Series
109 pages
To Next Page IconTo Next Page
To Previous Page IconTo Previous Page
Page #16 background imageLoading...
Page #16 background image
9
2
9
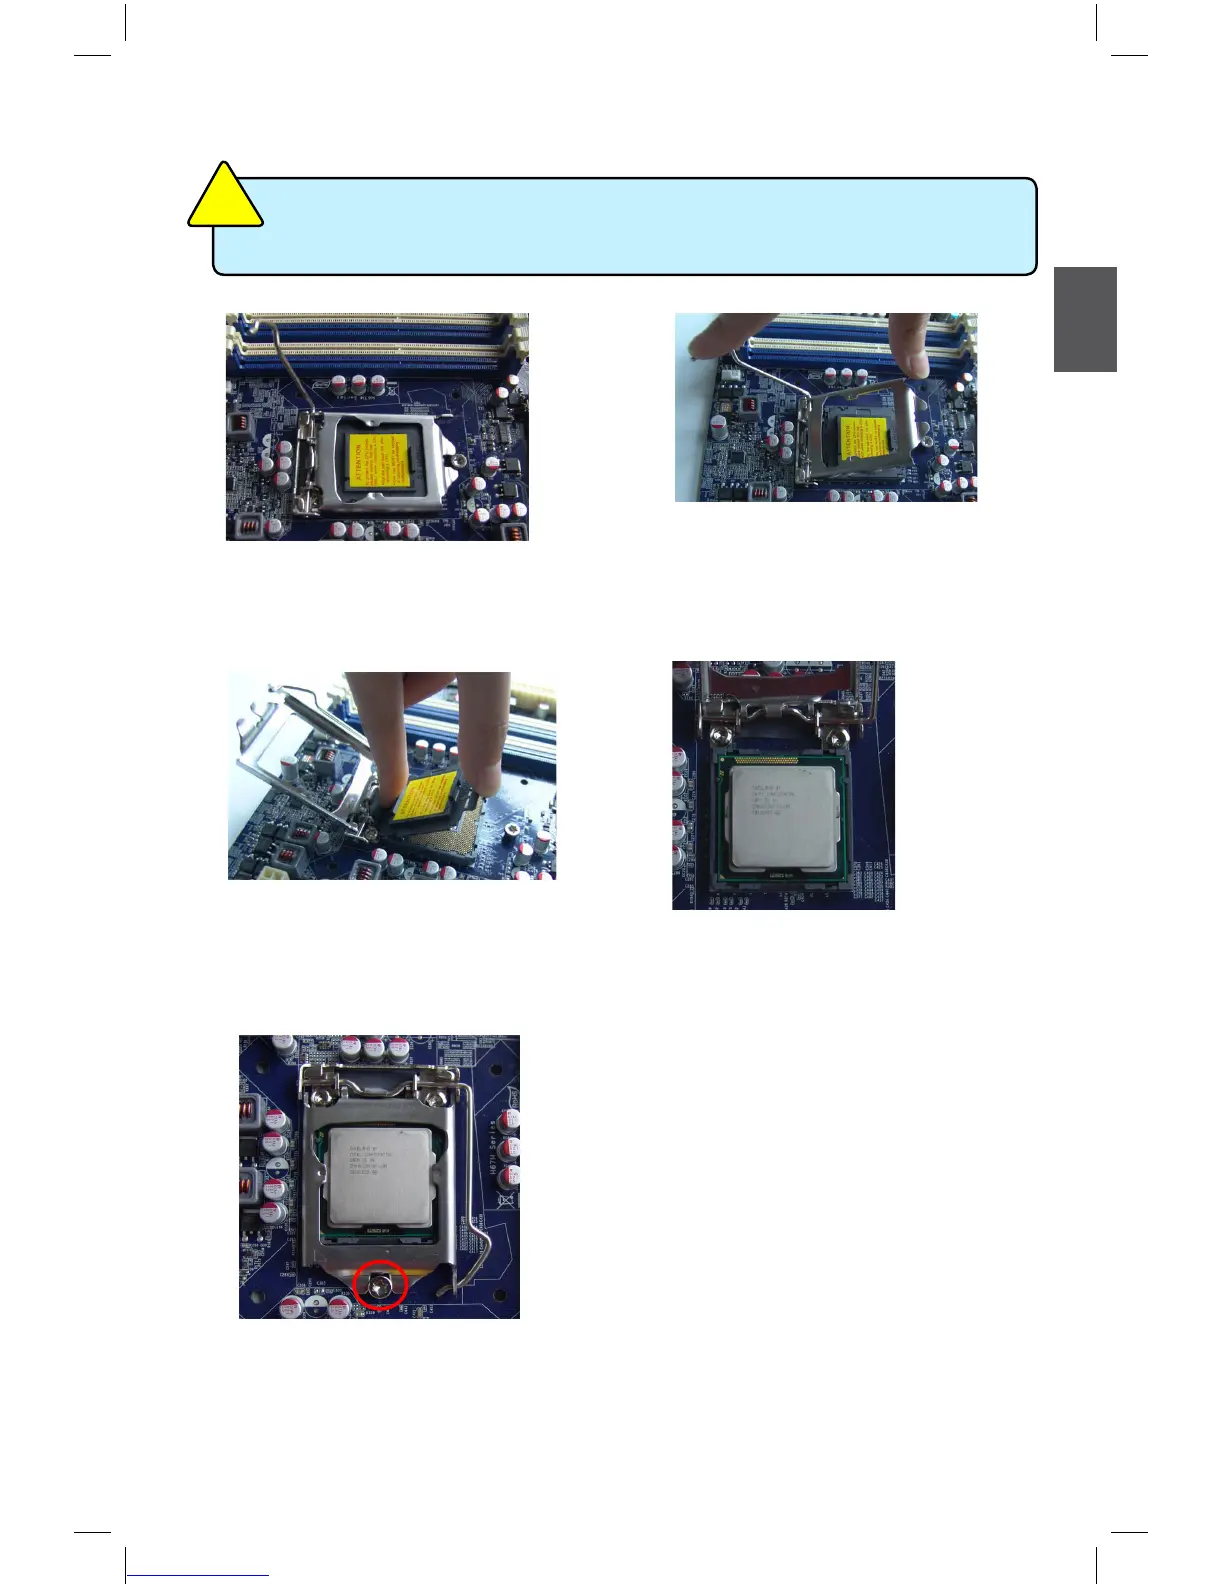
Follow the steps to install the CPU onto the CPU socket :
2. Lift the metal cover on the CPU
socket.
3. Remove protective socket cover.
5. When CPU is properly seated,
replace the metal cover and push the
CPU socket lever back to its locked
position.
4. Check pin one marking (triangle)
with the pin one corner of the CPU
socket, align the CPU notches with
the socket alignment keys and gently
put the CPU onto the socket.
Before installing the CPU, make sure to turn off the computer and unplug the power
cord from the power outlet to prevent damage to the CPU.
CA
UTI
O
N
!
1. Release the CPU socket lever.

Table of Contents

Questions and Answers:

Question and Answer IconNeed help?

Do you have a question about the Foxconn H67M Series and is the answer not in the manual?

Foxconn H67M Series Specifications

General IconGeneral
Form FactorMicro ATX
ChipsetIntel H67
SocketLGA 1155
Memory TypeDDR3
Maximum Memory32GB
Memory StandardDDR3 1333/1066
Memory Slots4
PCIe x1 Slots2
PCI Slots1
SATA Ports4 (SATA II), 2 (SATA III)
AudioRealtek ALC887 8-Channel HD Audio
LANRealtek 8111E Gigabit LAN
Video Ports1 x HDMI, 1 x DVI, 1 x VGA
USB Ports10

Related product manuals