13
Cleanliness and hygiene during
installation
Contamination of water-bearing parts (e.g. seals,
avoided during installation. We recommend
thorough hand cleaning and avoiding skin contact
with surfaces that will later be in contact with
drinking water.
Installation
General points for installation
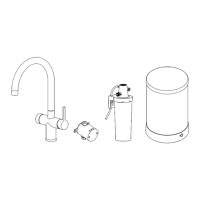
Placement of Franke Mythos Water Hub
easy accessibility for service and maintenance
work. There must be enough space at the back of
the unit for the warm air from the exhaust to escape
Ventilation of the kitchen cabinet
For a good performance of Franke Mythos Water
Hub, the kitchen cabinet in which the unit is installed
panel of the cabinet or similar openings in the base
the sides must be provided.
We recommend installing Franke Mythos Water Hub
in the following order:
1. Prepare the installation.
3. Connect the water supply.
4. Connect device.
Install the pressure relief valve as high as
possible in the kitchen cabinet (only for All-in-One
.
During installation, tight each connection
carefully.
Installation steps
When transporting Franke Mythos Water Hub
back, the device may only be switched on following
Note: The installation can be prepared, but the
power supply for the device must not be switched
on at this stage.
Check the details in the “Installation manual“,
Prepare the installation (only for All in One
unit)
1.
e.g. space, connections etc.
angle valves. If not available, mark the existing
cold and hot water connection.
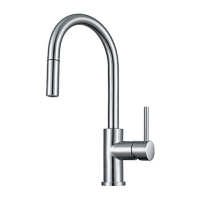
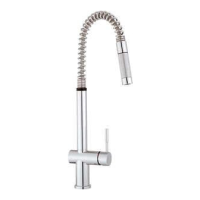
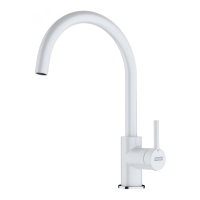
3. Install tap.
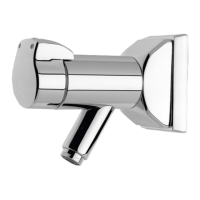
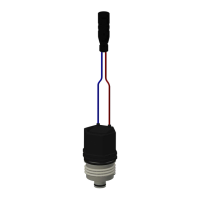
Install the safety valve (only for All in One
unit) (“Installation manual“, page
1.
closed. Check by turning the cock to the right.
The expansion relief valve of the safety group is
factory calibrated to 8 bar.
Notice: For safety reasons, water may escape
operation.
Notice:
direction indicated by the arrow on the backside
of the safety group.
3.
EN