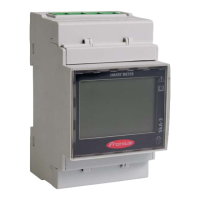
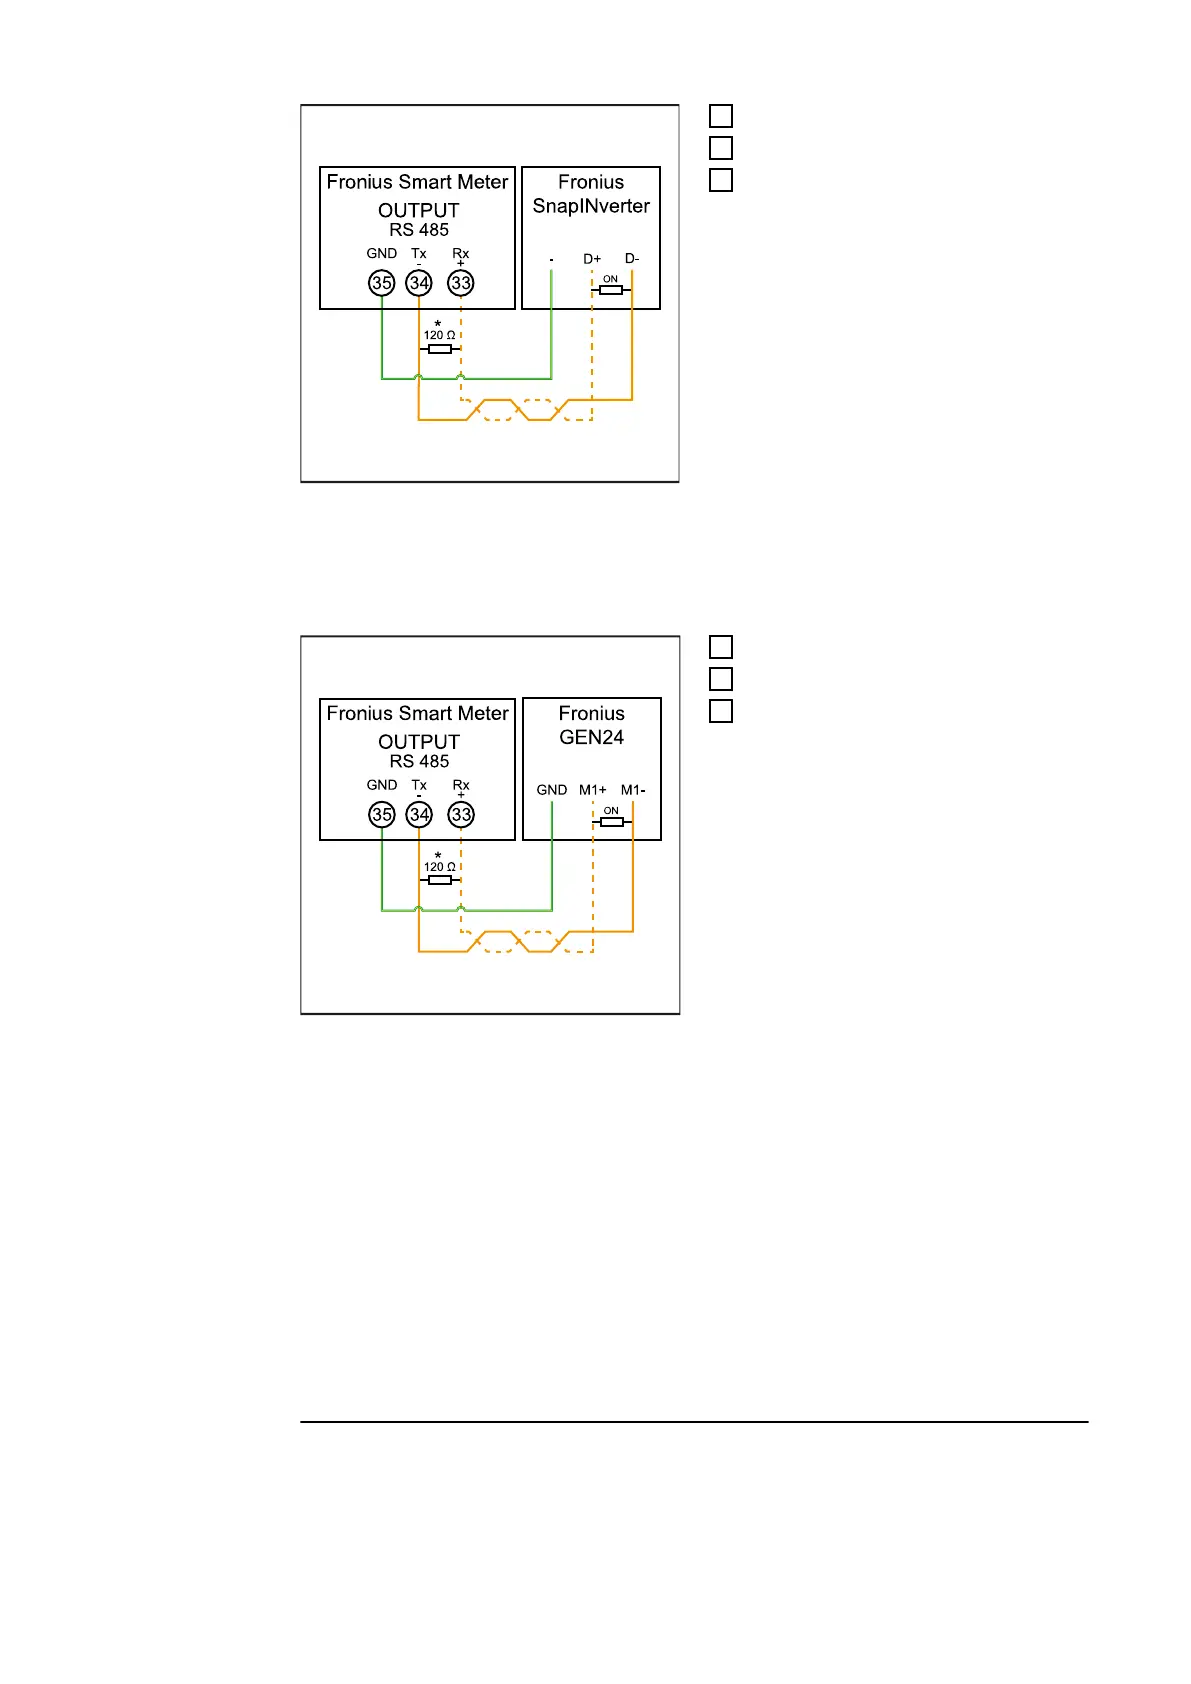
1
Connect 35 to -.
2
Connect 34 to D-.
3
Connect 33 to D+.
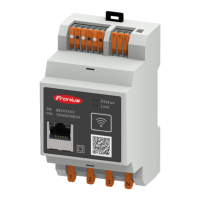
Fronius GEN24 inverter:
Connect the data communication connections of the Fronius Smart Meter to the Modbus
interface of the Fronius GEN24 inverter. Several Smart Meters can be installed in the
system, see chapter Multi-meter system - Fronius GEN24 inverter on page 16.
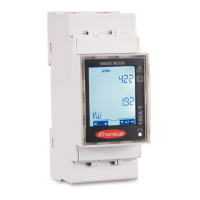
1
Connect 35 to GND.
2
Connect 34 to M1-.
3
Connect 33 to M1+.
ATTENTION! ?
More information on successful commissioning.
Note the following information about connecting the data communication cable to the
inverter.
▶
Use cables of type CAT5 or higher.
▶
Use a mutual twisted cable pair for data lines that belong together (D+, D- and M1+,
M1-).
▶
If the output cables are close to the mains cabling, use wires or cables that are
designed for 300 V to 600 V (never less than the operating voltage).
▶
Use double-insulated or sheathed output cables when they are close to bare con-
ductors.
▶
Use shielded twisted pair cables to avoid faults.
▶
The outputs of the Fronius Smart Meter are electrically isolated from hazardous
voltages.
10