141
EN
Thread/engage the front panel at the
top
To avoid distorting the front panel, fit
with five 5x12 TX25 screws (4-8) in the
correct sequence
[3 Nm]
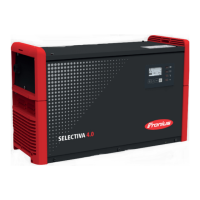
Closing the Se-
lectiva 16 kW
Closing the housing cover:
Insert the housing lid
Thread/engage the rear panel at the
top
Fit the rear panel with eight 5x12 TX25
screws (4)
[3 Nm]
Fit the five 5x12 TX25 screws (2)
[3 Nm]
Engage the AC/DC connecting plate
and fit it with six 5x20 TX25 screws (1)
[3 Nm]
(7) (8)
(5) (4) (6)
NOTE! Insert/connect the LED dif-
fuser strips, if present
4
5
(4)
(4)
(4)
1
2
3
(1) (1)(2) (1) (1)(1) (2) (1)
(3)(2) (3) (3) (3) (3) (2) (3)
NOTE! If the device frames were
removed, they must be fitted with
six additional 5x12 TX25 screws
(3) [3 Nm]
4
5
 Loading...
