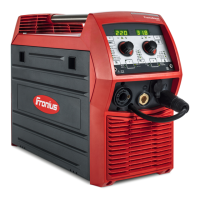
6
TIG welding
1. Insert the current plug of the TIG welding torch into the (-) - current socket and turn
it clockwise to latch it
2. Insert the current plug of the earthing cable into the (+) - current socket and turn it
clockwise to latch it
3. Set up the welding torch (see the Instruction Manual for your torch)
4. Make an earthing connection to the workpiece
5. Attach a pressure regulator to the shielding-gas cylinder
6. Connect the gas-hose to the pressure regulator
7. Open the valve on the gas cylinder
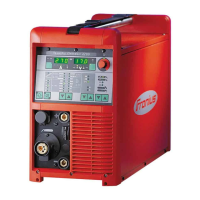
8. Turn the arc force dial (5) on the machine (i.e. not on the remote-control unit) to
TIG welding by turning it completely anticlockwise
9. Plug the machine into the mains
10. Shift the mains switch (1) into the "I" position
11. Operational readiness indicator (2) is lit up
TIG welding
Warning! An electric shock can be fatal.As soon as you shift the mains switch
(1) into the "I" position, the tungsten electrode becomes LIVE. Make sure that
when this happens, the tungsten electrode does not touch any electrically
conducting or earthed parts such as e.g. the workpiece, machine housing etc.
14. Place the gas nozzle on the ignition
location so that there is a gap of 2 - 3
mm between the tungsten tip and the
workpiece (see Fig. 7a)
15. Gradually tilt up the welding torch until
the tungsten tip touches the workpi-
ece (see Fig. 7b)
16. Raise the torch and pivot it into the
normal position - the arc ignites (see
Fig. 7c)
17. Start welding
12. Open the gas cut-off valve on the torch and/or press the torch trigger and set the
desired gas flow rate on the pressure regulator
13. Select the desired amperage on the welding current dial (3)
Important! If the TP 2000 R.C. welding machine is used with a remote-control unit, then
it is only possible to adjust the welding current on this r.c. unit. The maximum welding
current that can be selected is indicated by the welding dial on the machine (3) .
Fig.7 Torch tilt angle
Important! To interrupt the welding operation, simply lift the torch away from the workpi-
ece until the arc goes out. In this case, there will be no filling of the end-crater at reduced
current, and no gas-shielding of the end-crater.
a) Fit gas
nozzle
b) Touch
workpiece to
ignite arc
c) Arc is
ignited