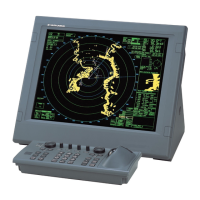
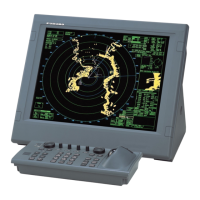
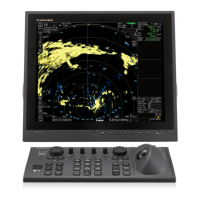
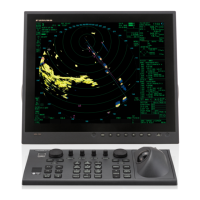
4.17 Connecting to the FEA-2x07
4-83
4.17 Connecting to the FEA-2x07
When FEA-2x07 is connected with FAR-2xx7, the setting items required on the
FAR-2xx7 side are as shown below. For the setting of installation parameters on the
FEA-2x07, see the Installation Manual of FEA-2x07.
Procedure
1. Call up the INITIALIZE menu. Press [MENU] key 5 times while holding down the
[HL OFF] key.
2. Make the following setting on the INITIALIZE menu.
1) Set 4 INSTALLATION -> 7 TYPE to “B”.
2) Make the setting of 5 OWNSHIP INFO -> 3 SCANNER POSN.
Note: Make the setting of GPS1 ANT POSN, GPS2 ANT POSN and
CONNING POSN as appropriate.
3) Set 6 ARP PRESET -> 2 TTM OUTPUT to “TRUE”.
4) Set 8 OTHERS -> 5 INS” to “SERIAL or “LAN”.
5) “7 NETWORK”
- Checking of IP address
When FAR-2xx7 and FEA-2x07 are interfaced with each other, set the IP
address as the installaion parameter (LAN RADAR) of FEA-2x07.
3. Select [MAIN MENU].
Set “2 MARK” to “7 INS MARK” and make the setting of the following items as
appropriate.
- USER CHART
- CURVED EBL
- CHART SYMBOL
- ROUTE
Note:
- OFF: NOTE BOOK is not displayed.
- ON: NOTE BOOK is displayed but NOTE BOOK display disappears when
any operation is performed.
- DISPLAY: Select this to recheck disappeared NOTE BOOK.
4.Call up [OS POSN] icon menu and set “1 NAV AID” to GPS2.
The conning position data of FEA-2x07 is inputted as the position data. Talker (II
and EC) set on ECDIS side is displayed as the talker.
 Loading...
