GALaxy eHydro Elevator Controller Section 2 –Installation
2-7
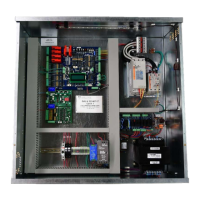
Step 2: Run down on inspection while unrolling the encoded tape.
• Run down on inspection while unrolling the tape. See Figure 2-4.
• Make sure you do not kink the tape or bend it in too tight of a radius. The tape can be
damaged, and it should be handled with care.
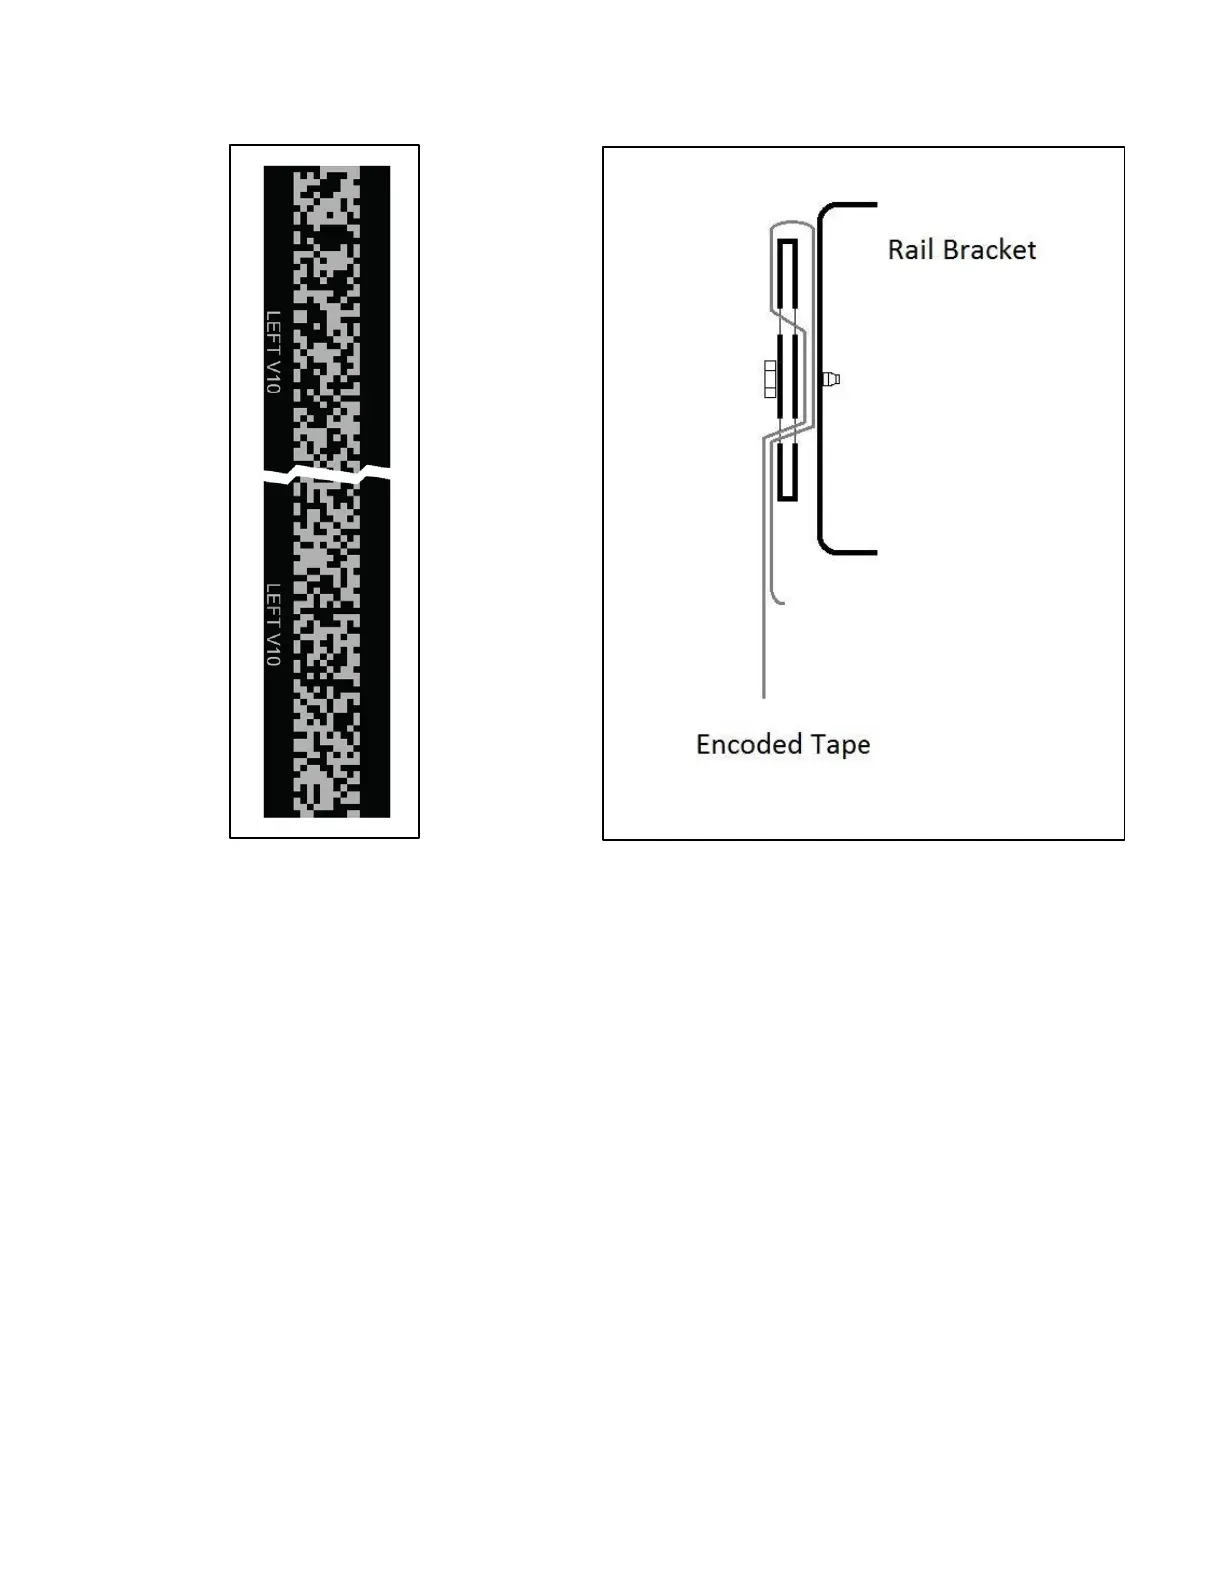
• Mount a J-hook selector bracket and guide clip with a door zone bridge for each floor. See
Figures 2-5 and 2-10.
• When the elevator is at floor level the door zone bridge should be positioned at the midpoint
between the two APS cameras. See Figure 2-14. The exact positioning of this bracket and guide
clip will be set in section 2.7.2.4.
• Where there are tall floor heights or blind hoistways, mount J-hook selector brackets and guide
clips without door zone bridges, at locations as needed, that will hold the encoder tape at the
proper position with respect to the guide rails and APS camera. See Figure 2-6.
• Make sure your hands are clean and you do not leave any grease or dirt on the front of the tape.