The wiring diagram above shows how to wire a GarageSmart GS100-CR Device to the Open,
Close, Stop and Com screw terminals of a garage door motor control board.
1. Remove the existing mechanical 3-button wall switch from the wall.
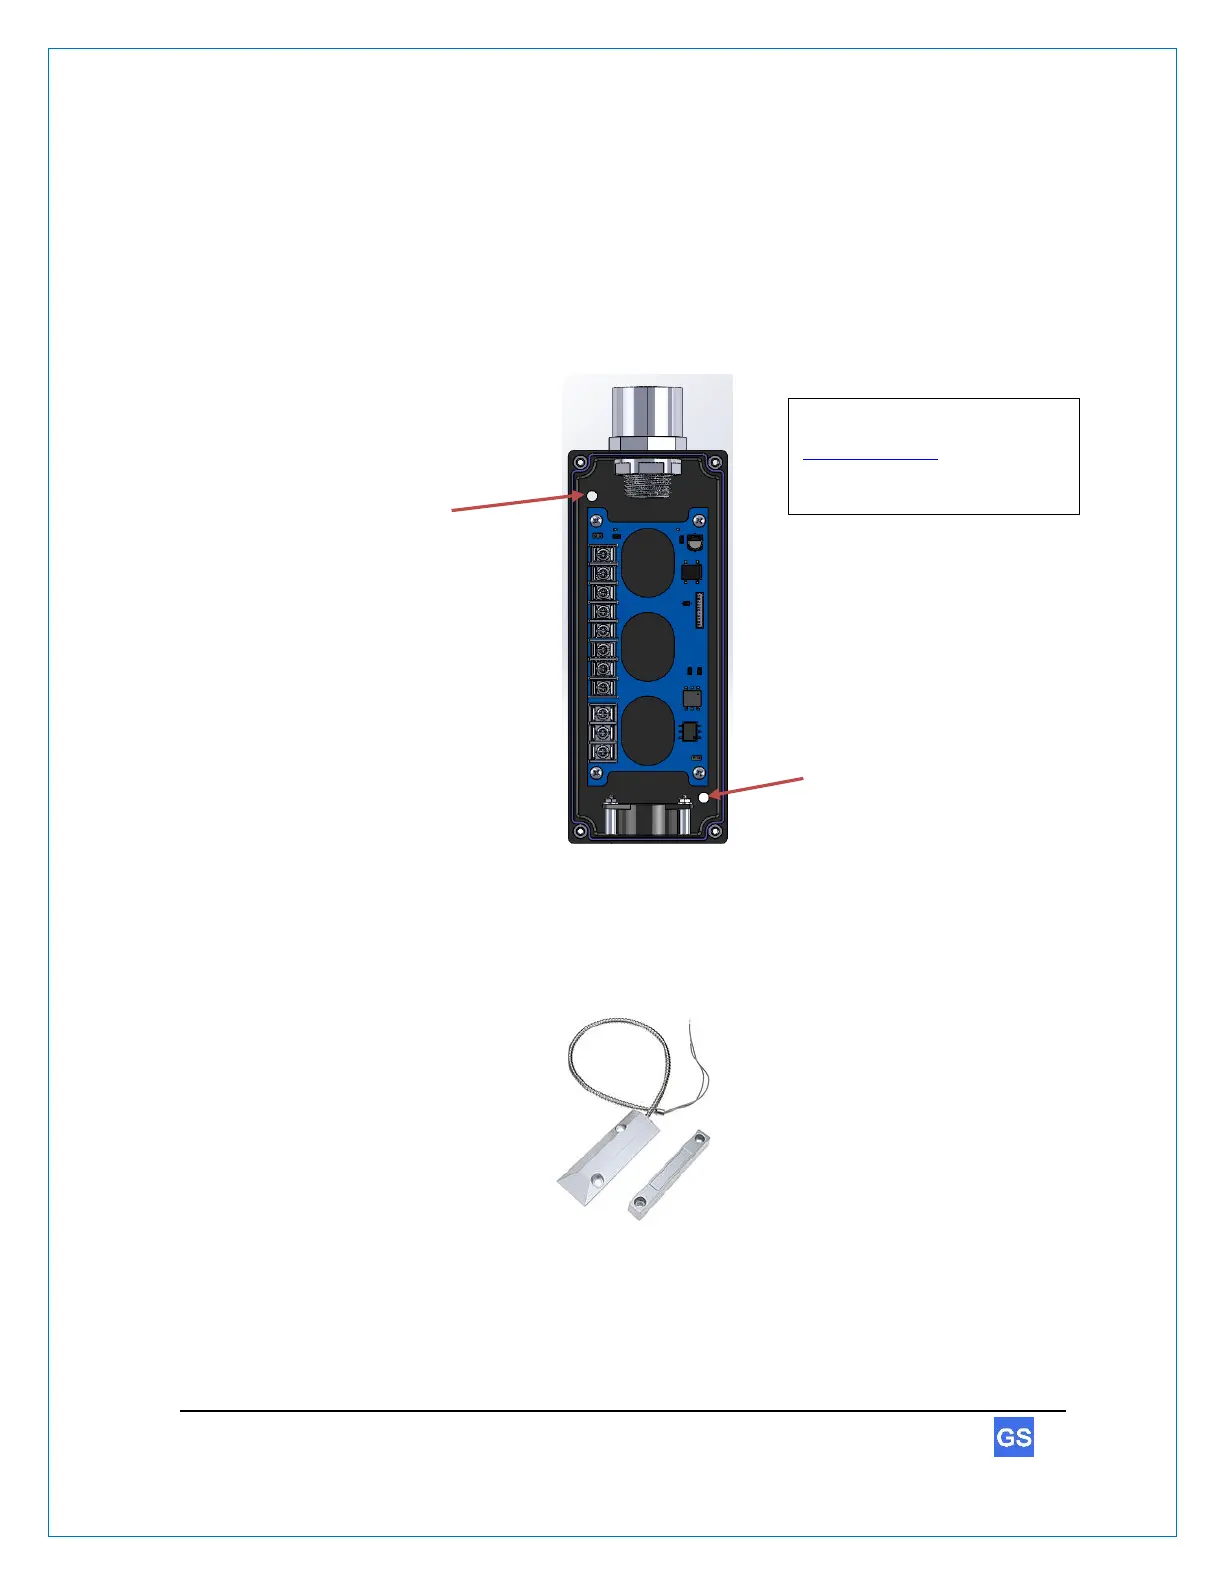
2. Remove the cover of the GarageSmart™ device and using screws (not included),
secure the GarageSmart™ GS100-CR to the wall using the mounting holes as shown
below.
3. Choose the best and most practical location to install the GarageSmart Sensor.
The sensors must also be mounted in which they are no more than 0.5” apart from each
other (or close enough in which the sensor closes) when the garage door is closed.
Sensors may vary and is for show only

 Loading...