Installation
Installation and wiring
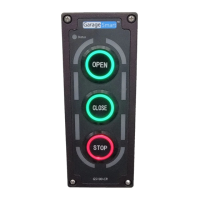
Installation of a GarageSmart GS100-CR is for controlling and monitoring commercial garage
doors (typically found in businesses or factories), that have a 3-button wall mounted pushbutton
(in which each pushbutton individually opens, closes and stops the garage door).
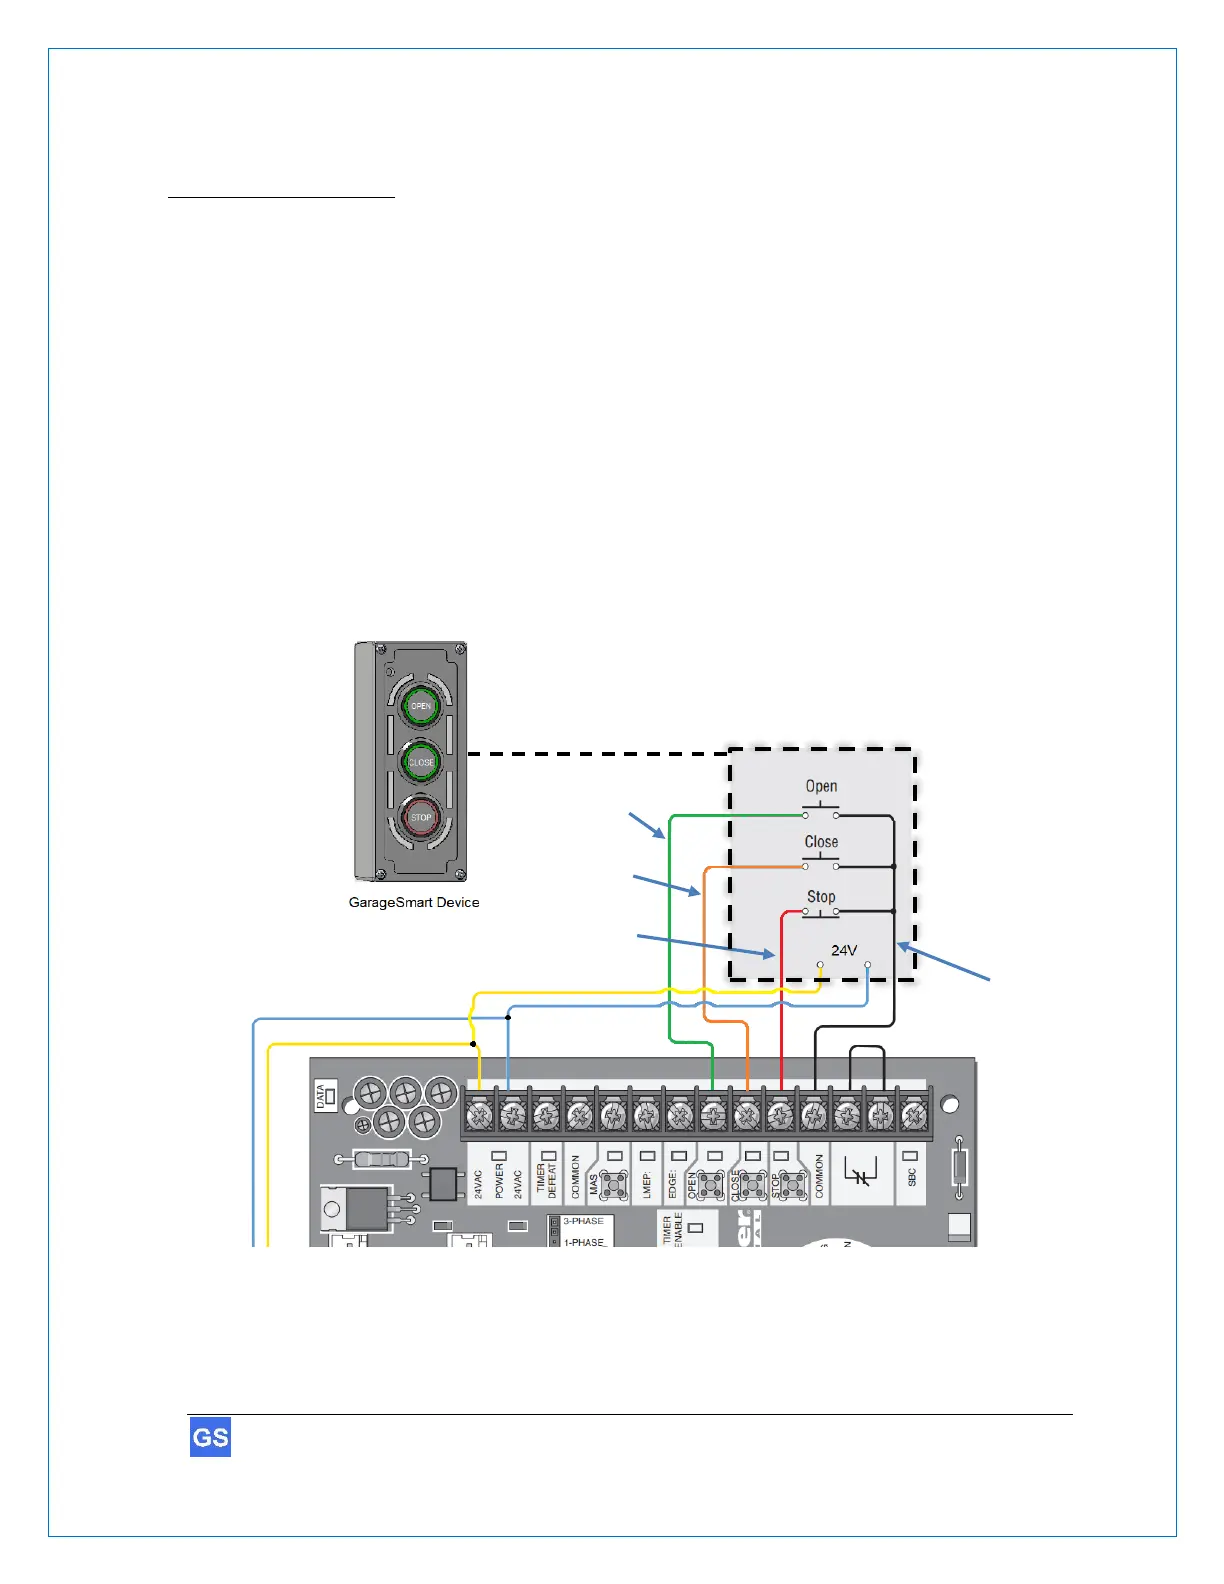
In existing installations, the GS100-CR will replace your existing 3-button mechanical controller
but it can also be added as a second door controller.
For cabling, regular Cat 5 Ethernet wire (or equivalent) is recommended to use, as this wire is low
cost, readily available and already contains 4 twisted pairs of wire (for OPEN, CLOSE, STOP,
COM, and 24VAC/DC power connections), making installation from the garage door motors
control box to the GarageSmart
™
device faster and easier.
Depending on the application, additional parts may be required for proper installation.
 Loading...