34 Document: GAR_SM_4601777 (4/16)
Installation Section 2
Startup Procedure
This Garland 1, 2 & 3-platen grill comes with a factory
startup at no additional charge. A startup is required to take
place BEFORE the unit is put into operation. It is the
end-user responsibility to schedule the startup with their
local Factory Authorized Service Agent.
A factory startup is a comprehensive grill check in which
a factory certified technician will document all final
settings programmed in the controller once various other
performance checks are complete. The estimated time to
complete a startup is approximately 1.5 – 2 hours. Please
keep in mind this estimated time when scheduling the
startup. After hours or overtime is not covered under
warranty and will be billed at a charge which is the
difference between the Garland Reimbursement rate and
the Factory Authorized Service Centers overtime charges.
A factory startup is necessary to start the warranty period.
The Authorized Service Center is required to complete
the paperwork during the startup process, and send it
to Garland Commercial Ranges. At the time of receipt,
Garland will start the warranty period which will conclude
at the end of 1 years
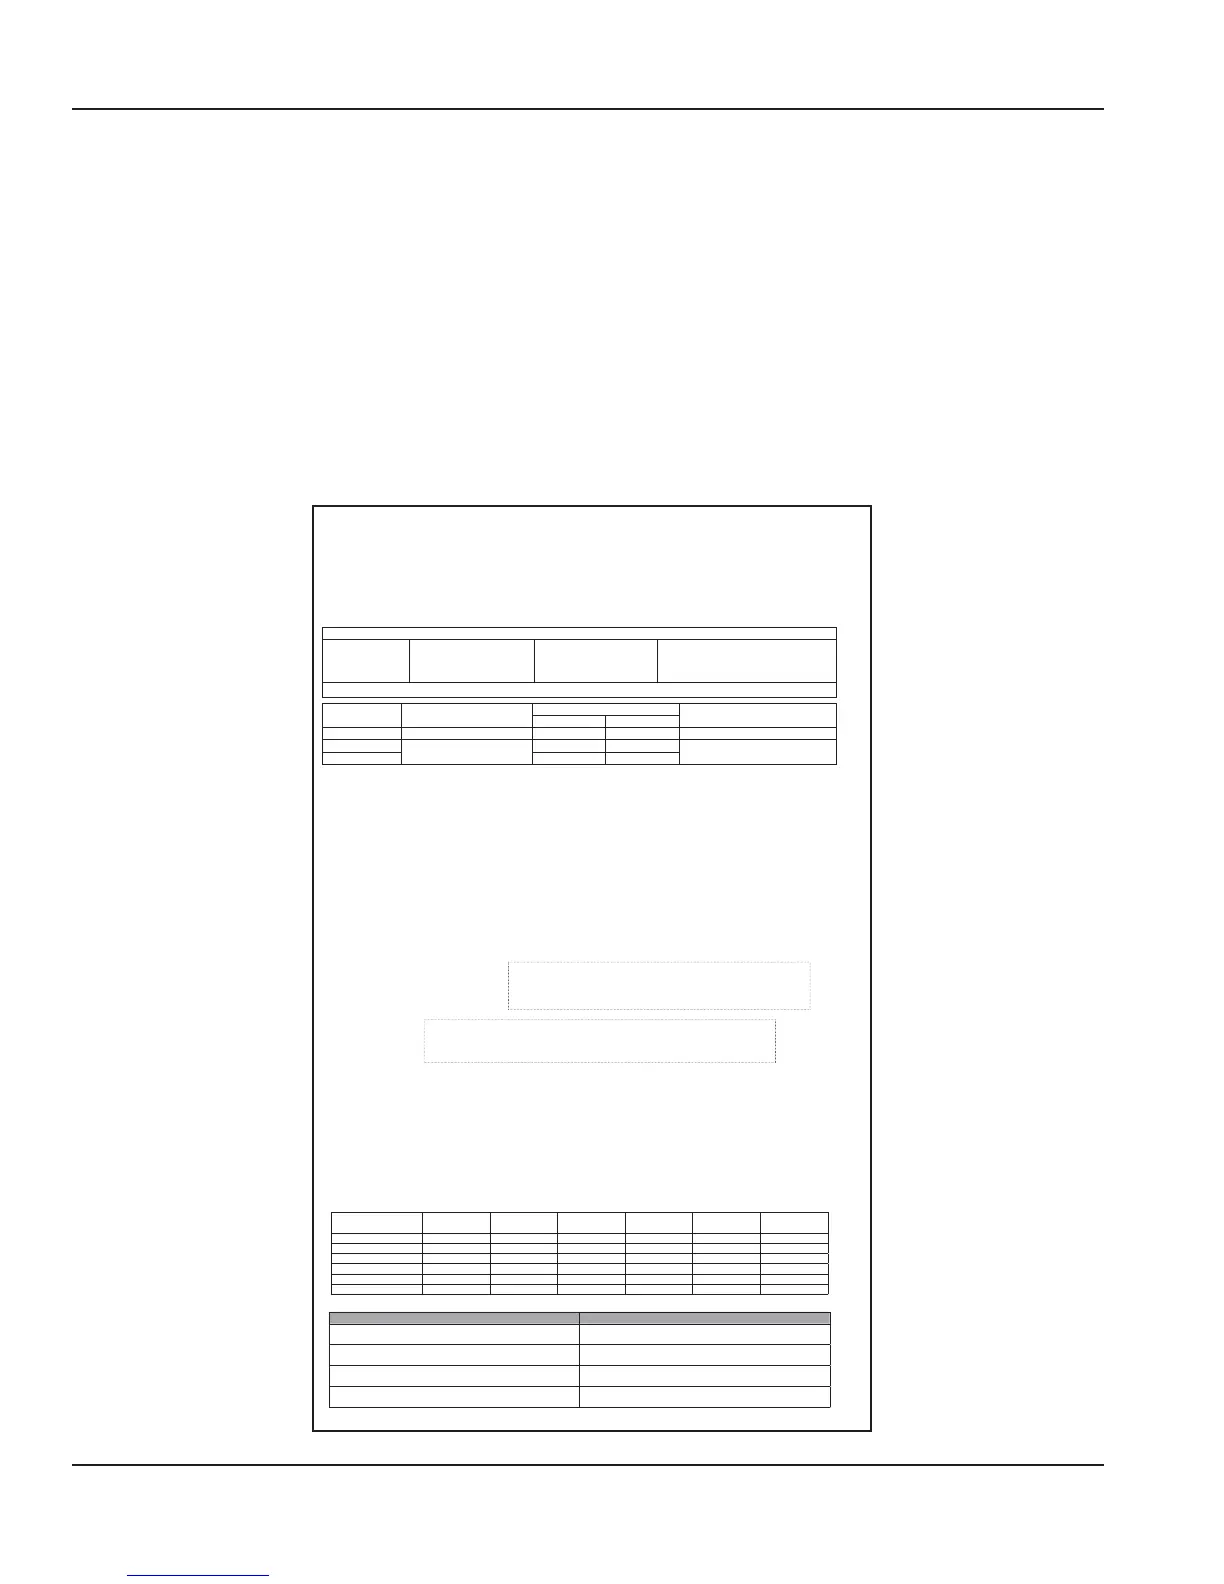
GARLAND XPRESS PLUS CLAMSHELL GRILL START – UP FORM
ELECTRIC OR COMBINATION GAS / ELECTRIC
(TOP COPY MUST BE RETURNED TO THE FACTORY FOR PAYMENT)
Company Name _________________________ Store # ___________________ Start-up Date________________________
MM / DD / YY
Address _______________________________ City ________________________ Model # ____________________________
State / Province
(US / Canada ONLY)____________________ Zip Code __________ Serial Number# ______________________
F United States F Canada F Other International ____________________ Phone #_____________________________
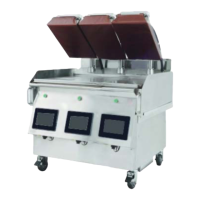
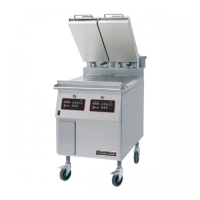
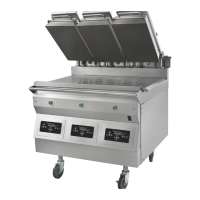
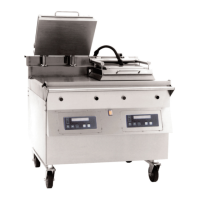
Grill Type (Check One)
F XP12” 1 Platen
F XP12”-0 Platen
F 24” 2 Platen
F 24” 1 Platen FL / FR F 24” 0 Platen FL / FR
F 36” 3 Platen
F 36” 1 Platen FL / FR F 36” 2 Platen FL / FR F 36” 0 Platen FL / FR
F Other (Please Specify) :
Gas Type
Actual Gas Type
_______________
Electric/3-Phase
Actual Input
x____ y____ z____ VAC per phase
F 200 VAC- Ͷ F 240 VAC- Ͷ
F Propane Gas F Other (Please Specify) F 208 VAC- Ͷ F 380 VAC- Y F Other (Please Specify)
F Natural Gas F 220 VAC- Ͷ F 400 VAC- Y
F Butane Gas
_____________________
F 230 VAC- Ͷ F 415 VAC- Y
_____________________
Ensure the grill is installed in accordance with Manitowoc /Garland manuals, mandatory, and local standards.
INSPECTION / OPERATIONAL CHECK
1) Ensure grill is installed under the correct type of exhaust hood with the minimum required air draw and height
distance of approximately 24 inches (2 feet) from cooking surface. OK F
2) Ensure electric connections are secure and have not become loose in shipping. OK F
3) Ensure the grill is positioned and set level when checked from the grill surface is leveled side to side / front to back / diagonally,
in location, under hood. Adjust casters to attain level. OK F
4) Turn Power Switch ON, controller displays are active, Controller Displays “OFF”. Platen rises automatically? OK F
5) Ensure operating parameters are set as indicated below for Gas and ELECTRIC: OK F
Gas
Rated Incoming Pressure
FNatural Gas 6 – 14 Inches W.C. Actual Incoming __________________
FPropane / Butane Gas 11 – 14 Inches W.C. Actual Incoming __________________
Rated Burner Pressure
FNatural Gas 4.0 Inches W.C. Actual Left Front: ______________ Left Back: ________________
FPropane/Butane Gas 4.0 Inches W.C. Actual Middle Front: ______________ Middle Back: ________________
Actual Right Front: ______________ Right Back: ________________
6) Check micro amp reading: Should be 1.4 or greater per zone. OK F
Actual Micro Amp Readings: Left front: ______________ Left Back: ________________
Actual Micro Amp Readings: Middle front: ____________ Middle Back: _____________
Actual Micro Amp Readings: Right front: _____________ Right Back: _______________
7) Disconnect exible gas hose or close gas valve handle and verify the unit tries to ignite three (3) times.
After 3rd attempted UI will display an Alarm. OK F
8) Select Press n Go, ensure unit preheats and display shows temperature rise. OK F
9) Lower and raise Upper Platen and ensure movement is smooth and continuous. If needed grease shafts accordingly with
a FOOD GRADE LUBRICANT. OK F
10) Select a product and lower platen - Timing cycle begins and counts down. OK F
11) Platen raises automatically when timed out and alarm sounds. OK F
12) Perform platen zero adjustment under Calibration as outlined in the service manual. OK F
13) Assist or obtain assistance with store personnel for Beef / Product Integrity Testing. OK F
14) Record cook times, gap settings / o sets, and any gap calibrations used to obtain beef/ product integrity. OK F
Problems / Special Circumstances / Damage:
Zone
Menu
Name
Cook Time
Platen
Yes / No
Top
Temp
Bottom
Temp
Gap
Setting
Note: If any zone is di erent please duplicate the chart or show di erences for each zone.
Submitted by: Accepted by:
Name: ___________________________________________ Name: ___________________________________________
Service Agency: _____________________________________ Are you satis ed with the Start-up procedure? YES / NO
Are You a factory certi ed technician? YES / NO Please indicate any comments
Date if Certi cation / / _________________________________________________
White Copy – Factory Yellow Copy – Service Agency Pink Copy – Customer
P/N 4601665 Rev1 (8 Dec 15)
SAMPLE
 Loading...