Glances
Your device comes preloaded with glances that provide quick information. Some glances require a Bluetooth
connection to a compatible phone (Pairing Your Phone, page3).
Hold to view the glance loop.
Compass: Displays an electronic compass.
Sunrise/Sunset: Displays sunrise and sunset times, based on your GPS position.
Weather: Displays the current temperature and weather forecast from your paired phone.
Moon Phase: Displays the moonrise and moonset times, along with the moon phase, based on your GPS
position.
Geocaching: Displays the nearest downloaded geocache. While navigating, this glance displays the geocache
you are navigating to.
Notifications: Alerts you to incoming calls, texts, social network updates, and more from your paired phone.
Customizing the Glance Loop
You can move, add, and delete items in the glance loop.
1 Hold to view the glance loop.
2 Select Edit.
3 Select an option:
• Select a glance, and press or to change the placement of the glance in the loop.
• Select a glance, and press OK to delete the glance from the loop.
• Select Add to add a new glance to the loop.
Tracking Pages
From the main menu, select Tracking, and select or to scroll through the pages. You can press OK to
open the options menu for each page.
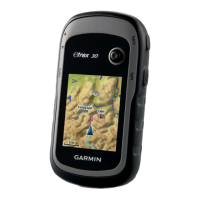
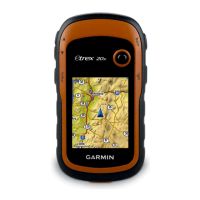
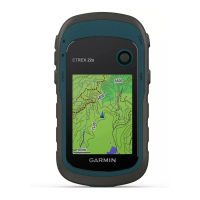
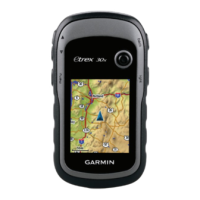
Map page: Shows your position and heading on the map.
As you travel, the position icon moves and leaves a track log (trail). Waypoint names and symbols appear on
the map.
Compass page: Guides you to your destination by displaying a compass and bearing pointer.
Trip computer: Displays helpful statistics such as your current speed, trip odometer, and elevation. You can
customize the data fields displayed.
Navigation page: This page appears while navigating. It displays the name of the location, the distance to the
final destination, the speed of travel, and a direction arrow. You can follow the arrow to navigate.
Navigating with the Map
1 Begin navigating to a destination (Navigating to a Destination, page12).
2 From the main menu, select Tracking, and press or to scroll to the map page.
The path to your destination is marked with a line on the map. A position icon represents your location. As
you travel, the icon moves and displays your path.
3 Press OK to open the options menu.
4 Select Pan/Zoom Map.
5 Select an option:
• To toggle between panning up and down, panning left and right, or zooming, press OK.
• To pan or zoom the map, press and .
• To quit, press .
4 Glances
 Loading...