13. Turn over the top cover and insert the second black plastic adapter through the back of the E-stop push button. Again,
the flat side of the adapter facing outward. Insert the plastic nut and tighten it first by hand and then by channel locks.
**Before tightening the plastic nut with the channel locks, make sure that the red E-stop switch (from the outside) is flush
with the black plastic adapter. There are two grooves (cut-outs) on the cylindrical part of the red E-stop button. These
grooves should be horizontal when the top cover lays flat on the table.
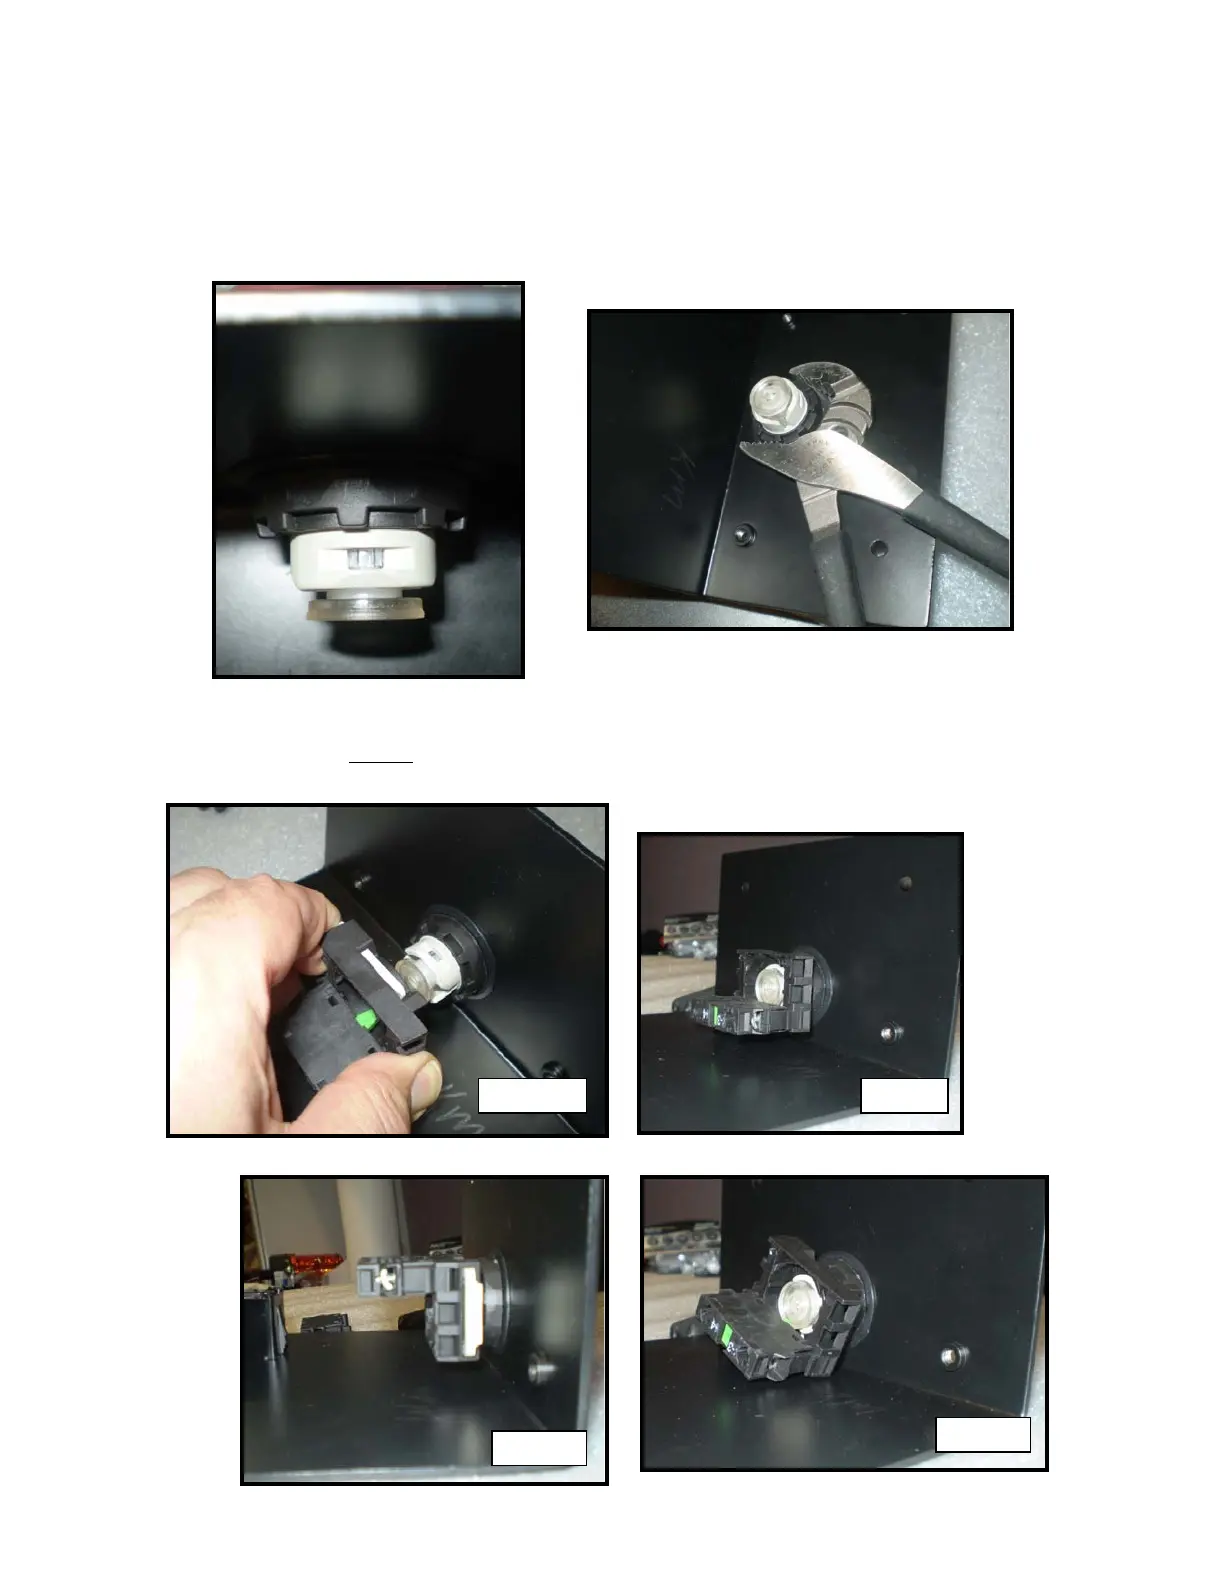
14. Insert the connector block with appropriate contact block attached to it through the cylindrical part of the red E-stop
button by pushing the "U" shaped, silver color plastic clip in and the whole connector block forward. **At this point make
sure the contact block is parallel to the top of the top cover. **