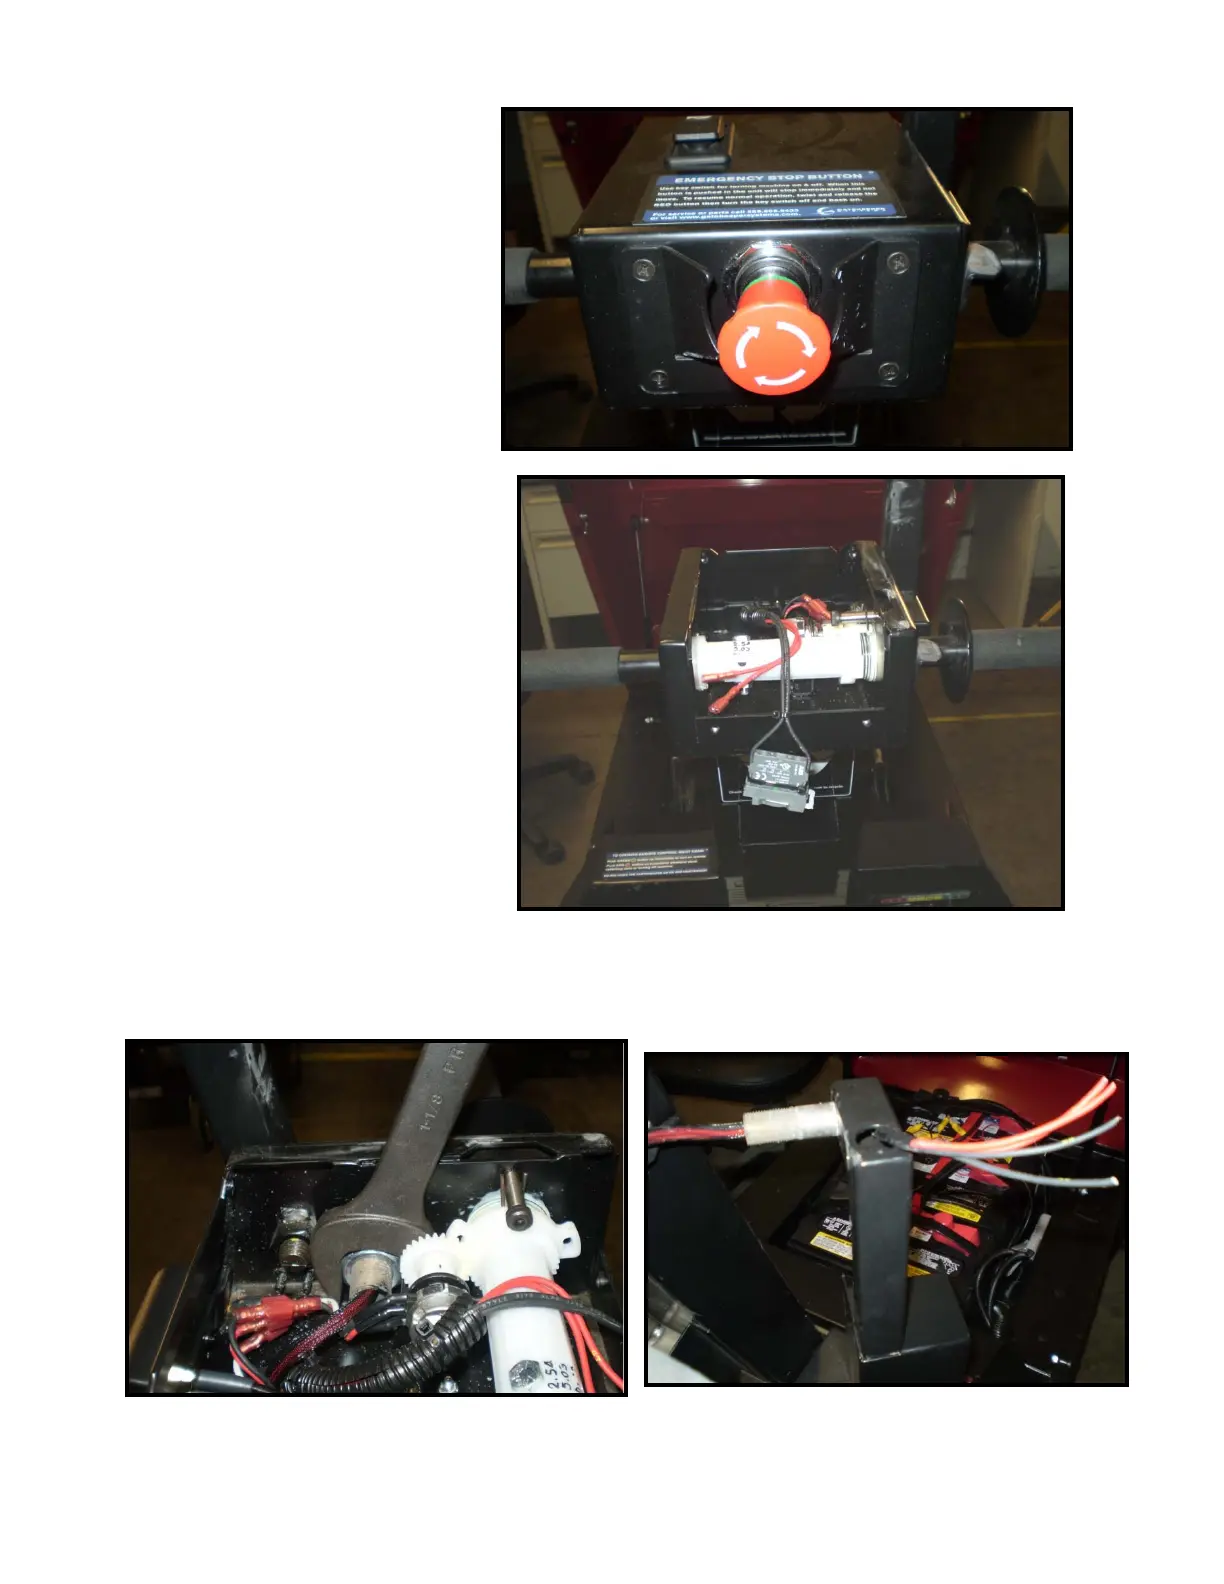
2. Using a #2 Phillips screwdriver,
remove the upper arm cover
(F14753-39) by removing the four
black counter-sunk screws from the
front and the back of the upper arm
cover. On the back of the cover
remove only two screws which are
located below the red E-stop button.
Remove the top cover completely by
disconnecting the horn switch and E-
stop.
3. Using 1-1/8" wrench, remove the 3/4-16 nut and pull out the light pole. **Note: by removing the plug at the bottom
of the light pole, you have access to the wire. It is easier to pull out the wire from the vertical pole first then from the
short horizontal pipe. After the pole has been removed, the wires need to be fed out as shown below.**
4. Remove the lower arm cover by sliding it upward while pushing it up and outward from bottom of the cover.
 Loading...