32 Maintaining and Troubleshooting Your E-3200 System
Replacing the hard drive
The hard drive is secured to a mounting plate that snaps out of and into the
chassis.
1.
Turn off the system and disconnect the power cord.
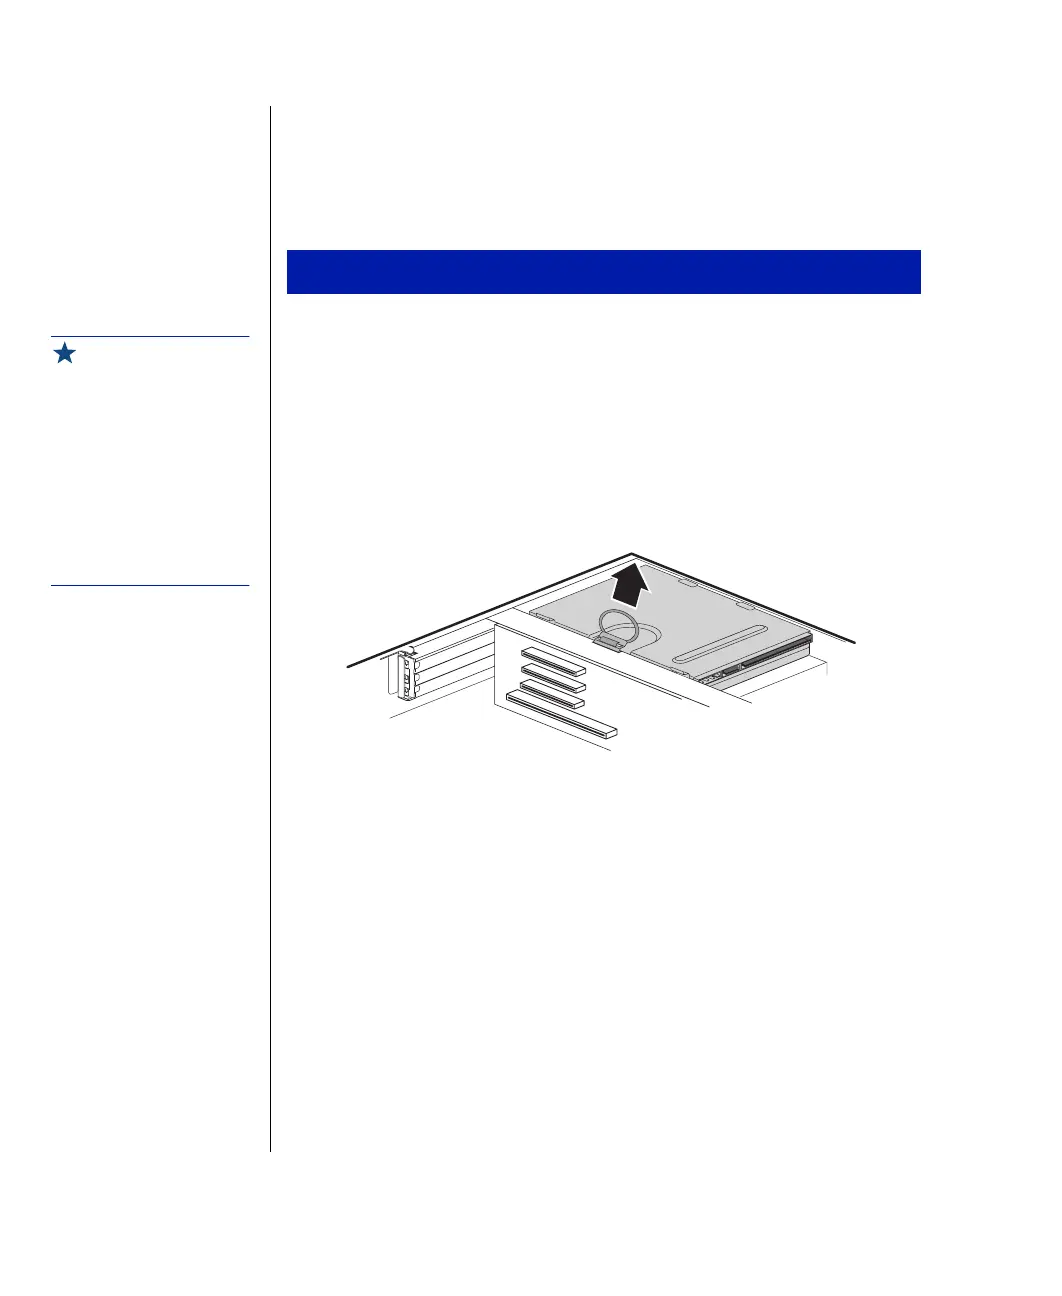
2.
Open the case, observing the “Static Electricity Precautions” on
page 2.
3.
Locate the 3.5-inch hard drive and mounting plate ring.
4.
Lift the ring slightly and then pull it towards the center of the drive
until the spring latch releases. Lift the drive out of the chassis.
5.
Remove the mounting plate from the old drive by lifting and sliding
one tab at a time until they unlock. Lift the mounting plate off the
drive.
6.
Position the new drive upside down in the mounting plate and snap it
into place.
7.
Place the drive back into the drive bay.
8.
Connect the power and data cables to the back of the drive. (See drive
documentation for proper drive jumper settings and cable orientation.)
9.
Close the case, as described in Chapter 1.
10.
Reconnect the power cord and turn on the system.
To replace the hard drive
Important!
Make sure the option ROMs
on your add-in cards
conform to the Phoenix
POST Memory Manager
Specification, Version 1.01
and BIOS Boot
Specification, Version 1.01.
For additional information,
refer to the following websit:
http://www.phoenix.com.

 Loading...


