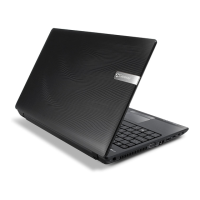
Connecting the AC adapter
www.gateway.com
11
Connecting the AC adapter
Warning
Do not attempt to disassemble the AC
adapter. The AC adapter has no
user-replaceable or user-serviceable
parts inside. The AC adapter has
dangerous voltages that can cause
serious injury or death. Contact Gateway
about returning defective AC adapters.
Caution
Make sure that you use the AC adapter
that came with your notebook or one of
the same type purchased from Gateway.
Replace the power cord if it becomes
damaged. The replacement cord must be
of the same type and voltage rating as
the original cord or your notebook may
be damaged.
Important
If the battery is not fully charged before
you use your notebook on battery power
for the first time, the battery life may be
much shorter than you expect. If the
battery life seems short even after being
charged for three hours, the battery may
need to be recalibrated. For information
on recalibrating the battery, see
“Recalibrating the battery” on page 33.
Important
If the battery charge indicator does not
turn blue after three hours, contact
Gateway Customer Care at
www.gateway.com
.
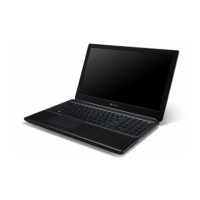
You can run your notebook using an AC adapter or your notebook’s battery. The
battery was shipped to you partially charged. You should use the AC adapter
right away to fully charge the battery. Allow three hours for the battery to fully
charge.
To connect the AC adapter:
1 Connect the power cord to the AC adapter.
2 Connect the AC adapter to your notebook’s power connector.
3 Plug the power cord into a wall outlet. The battery charge indicator turns
on (see “Front” on page 6 for the location of the battery charge indicator).
If the battery charge indicator does not turn on, complete the following
steps until it turns on:
a Unplug the adapter from your notebook, then plug it back in.
b Press Fn+F1 to toggle the status lights on and off.
4 When you finish using your notebook for the first time, turn off your
notebook and leave your notebook connected to AC power until the
battery charge indicator turns blue.