Replacing the hard drive kit
www.gateway.com
41
Replacing the hard drive kit
Tools Required
You need a small Phillips screwdriver to
replace the hard drive kit.
If you would like more hard drive capacity, you can replace your original drive
with a higher-capacity drive.
To replace the hard drive kit:
1 Create a Drivers and Applications Recovery disc. For more information, see
“Creating Drivers and Applications Recovery discs” in the online User
Guide.
2 Print the “Recovering Your System” chapter from the online User Guide for
use in Step 25.
3 Back up any data you want to transfer to the new hard drive. For more
information, see “Backing up files” in the online User Guide.
4 Follow the guidelines under “Preventing static electricity discharge” on
page 36.
5 Turn off your notebook.
6 Disconnect from the optional port replicator.
7 Disconnect the AC adapter, modem cable, and network cable if they are
connected to the notebook.
8 Disconnect all peripheral devices connected to the notebook and remove
any PC cards.
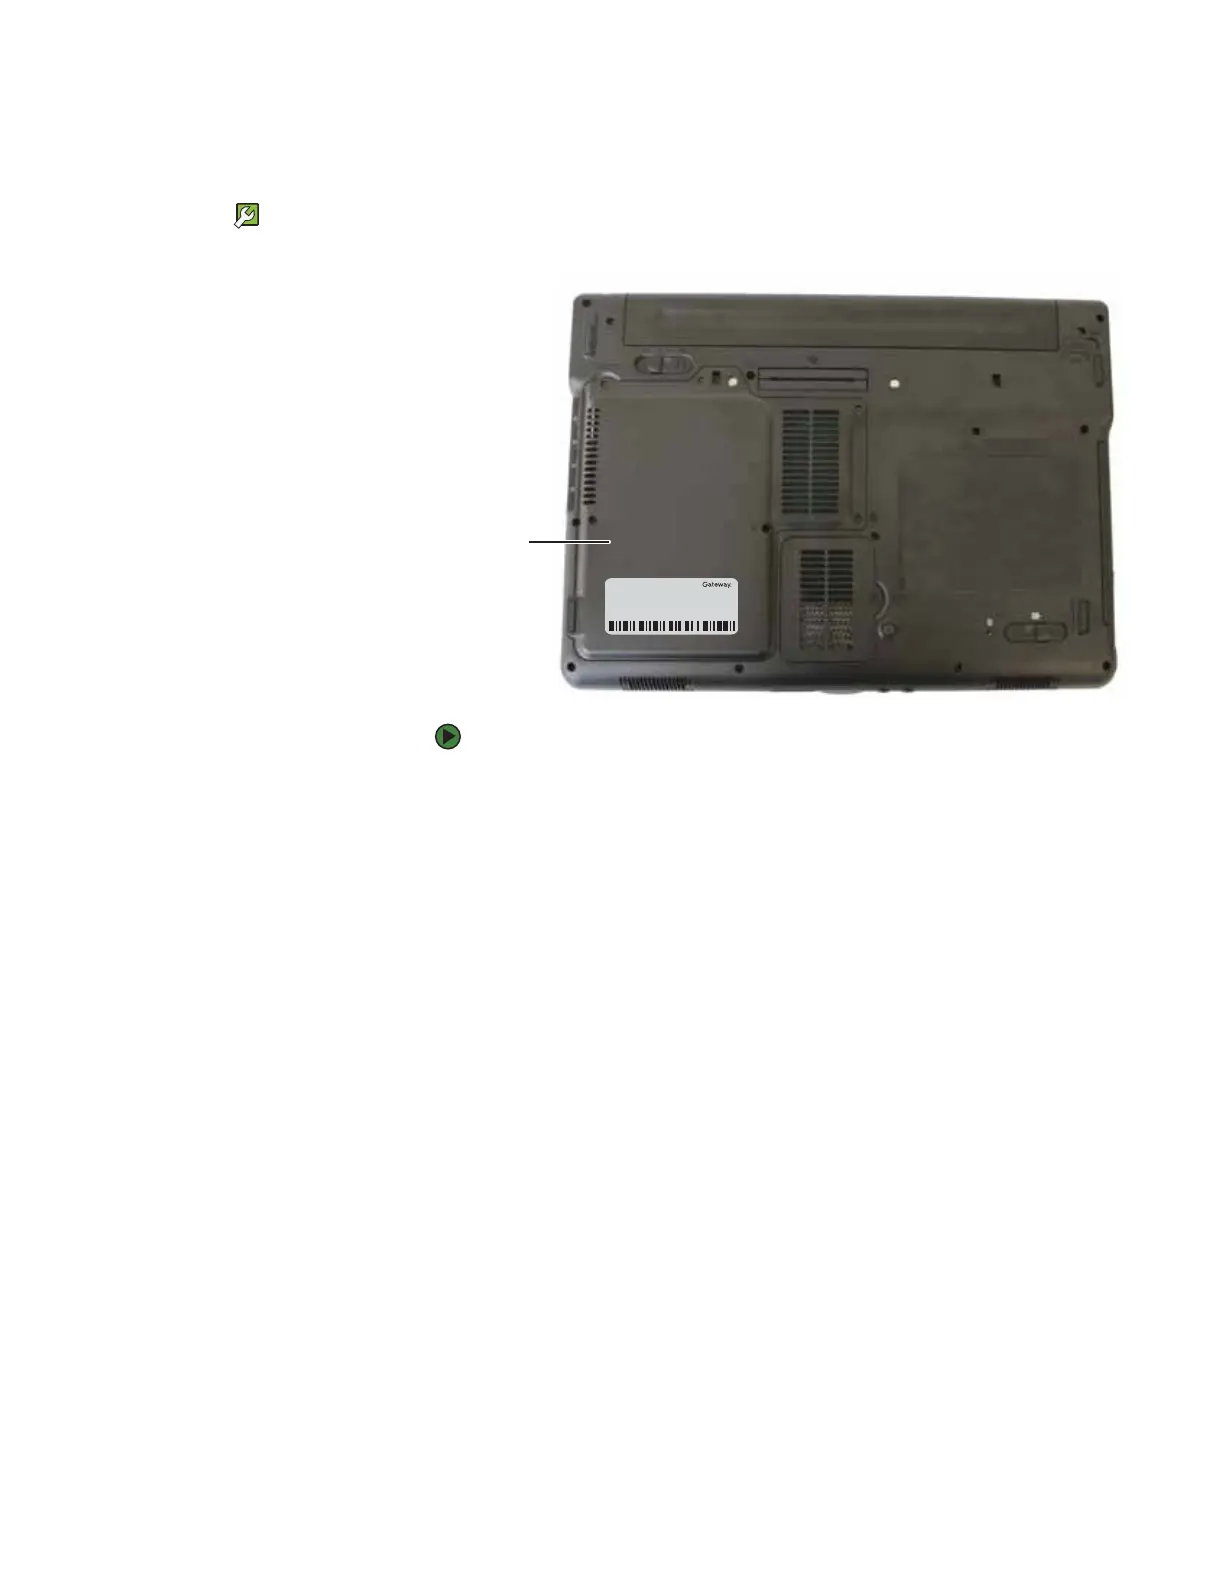
9 Turn your notebook over so the bottom is facing up, then remove the main
battery and optional secondary battery. For more information, see
“Changing batteries” on page 31.
Online Support:
Tech Support Phone:
Hours:
Model:
S/No:
Hard
drive bay