CHAPTER 3: Maintaining and Upgrading Your Notebook www.gateway.com
46
Replacing the keyboard
Important
Replace the keyboard only with a similar
keyboard provided by Gateway.
Tools Required
You need a small Phillips and a small
flat-blade screwdriver to replace the
keyboard.
If your keyboard becomes damaged, you can replace it with a similar keyboard
obtained from Gateway.
Removing the keyboard
To remove the keyboard:
1 Follow the guidelines under “Preventing static electricity discharge” on
page 36.
2 Turn off your notebook.
3 Disconnect from the optional port replicator.
4 Disconnect the AC adapter, modem cable, and network cable if they are
connected to the notebook.
5 Disconnect all peripheral devices connected to the notebook and remove
any PC cards.
6 Turn your notebook over so the bottom is facing up, then remove the main
battery and optional secondary battery. For more information, see
“Changing batteries” on page 31.
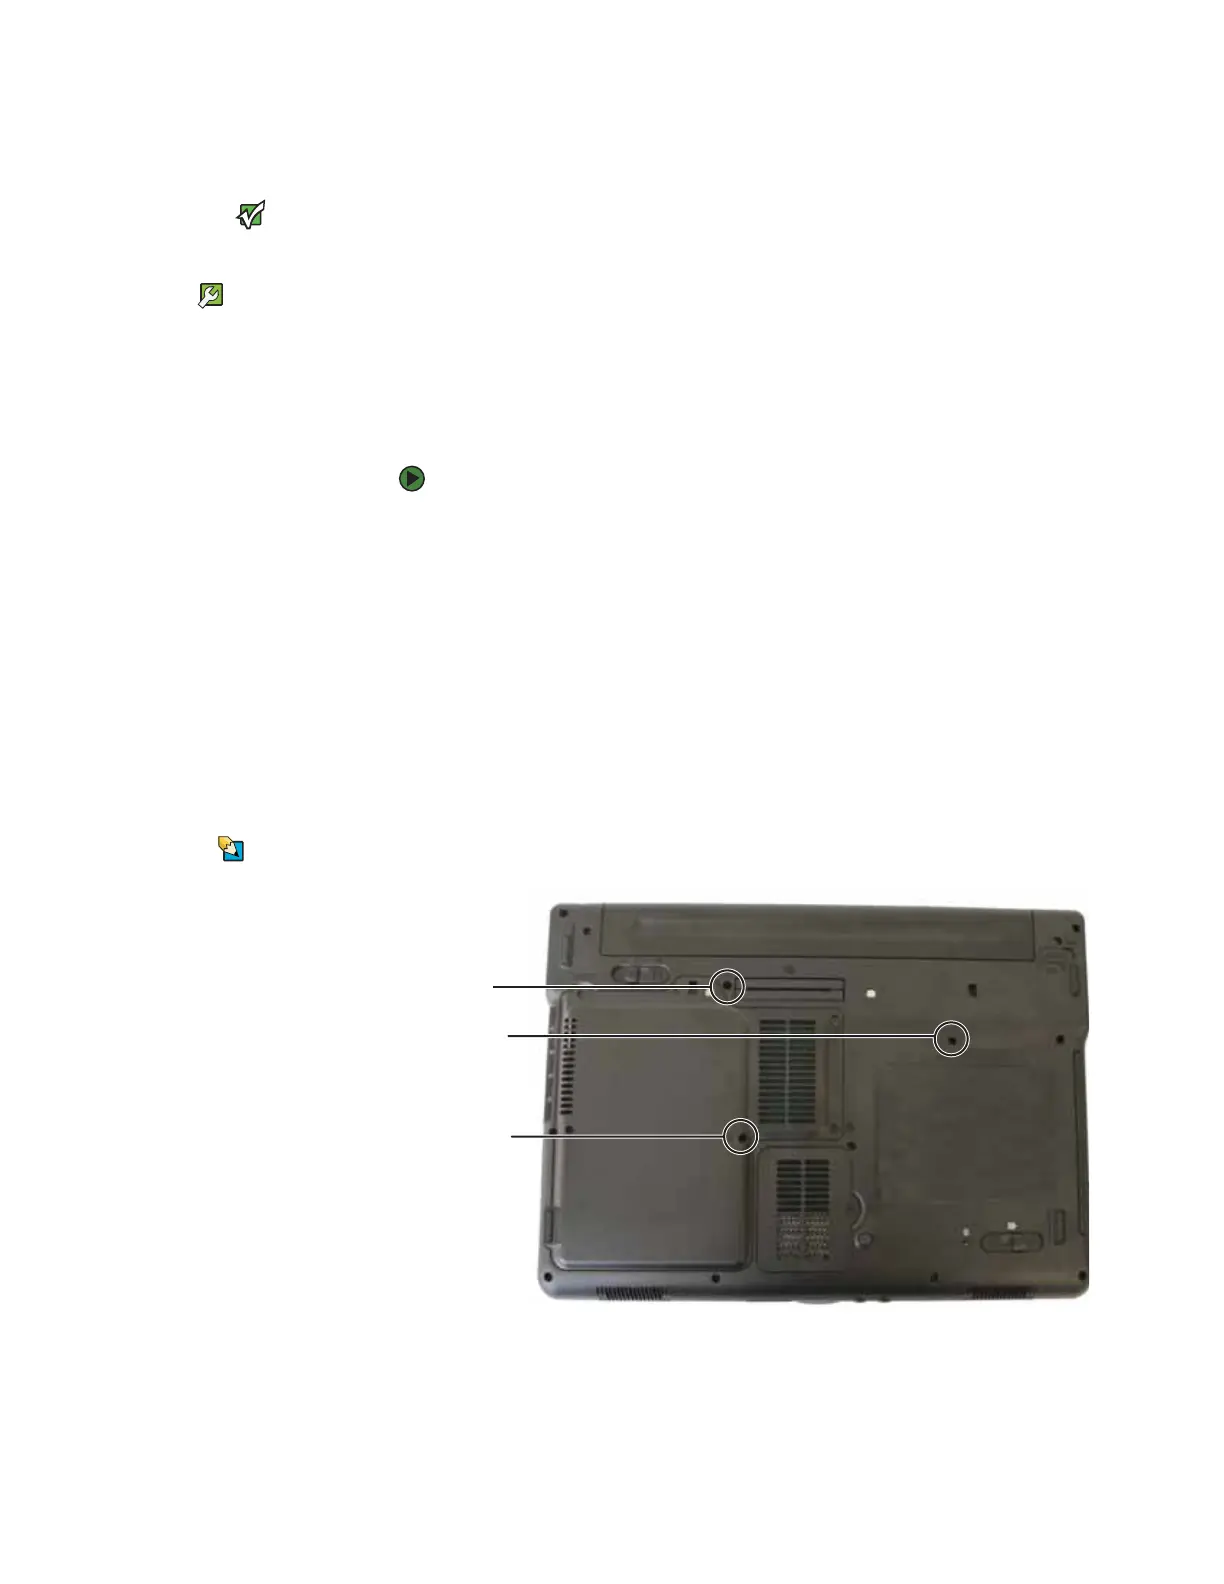
Tips & Tricks
The screw holes are marked with a K.
7 Remove the three keyboard screws.
8 Turn the notebook over so the top is facing up.
9 Carefully open the LCD panel to the fully opened position.
Screw
Screw
Screw