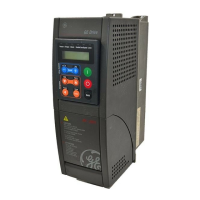
7.2.6 Inverter Module
1. Remove safety covers from front of inverter module by removing attaching screws.
2. If present, remove two (optional) brake bus bars by removing four screws (M8), one on each end of both bus bars.
3. Remove three output motor bus bars by removing six screws (M8), one on each end of each bus bars.
4. Disconnect ribbon cable from top of inverter module.
5. Unplug connectors (two or three, depending upon unit) from top of inverter module.
NOTE: For reinstallation, note that each connector is a different size.
6. Remove DC bus bars from top of both fuses by removing bolt (8mm) at top of fuse. (Fuse may remain connected to inverter module.)
NOTE: Four eye bolts and washers are stored at left bottom side or inverter cabinet for use in lifting inverter. If desired, attach bolts to holes provided at
top of inverter module. Module weighs approx. 136 kg / 300 lbs.
7. Remove 2 nuts (M6) from bracket at back of inverter securing module to cabinet.
8. Provide sufficient mechanical support to withstand weight of inverter module. Withdraw inverter from cabinet.
Reinstall inverter module in reverse order of these instructions.
1
2
3
4
5
6
7
8
9
11
12
13
14
15
10
16
1 DC link inductor 9 Module heatsink fan
2 Fan transformer 10 Fan door cover
3 (-)DC bus bar 11 (Optional) brake output bus bar (Step 2)
4 (+)DC bus bar 12 Motor output bus bar (Step 3)
5 Mounting bracket (Step 7) 13 SMPS fuse and fan fuse
6 DC Fuse (Step 6) 14 Control card
7 Panel connectors (Steps 4 and 5) 15 MDCIC board
8 Inverter module 16 Top cover plate
High Power Service Manual for Unit Sizes 6x
103
7