– 32 –
Top Control Console Cover
Top Control Console Cover Removal
1. Remove and separate the door.
2. Remove the bottom cover, UI, light pipe and
buttons.
3. Remove the top console and cover as an
assembly. There are six 1/4 in. hex head screws,
securing the assembly to the inner door (note
the length of the screws). A new cover should
be replaced in the event the cover is loose or
must be removed. The tabs are likely to break on
removal.
Installing a New Top Cover
1. The top cover is secured with sixteen tabs, and
the console has cutouts or slots to allow the top
cover to click lock together.
2. Position the tabs on the cover into the slots on
the console.
3. Press the top and console securely together and
slide the parts to engage the tabs into the slots.
Start from one end and work across to the other
HQG$VHULHVRI¿YHDXGLEOHFOLFNVZLOOEHKHDUG
as the cover and console snap together.
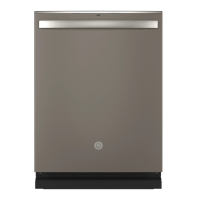
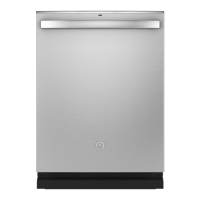
Outer Door Panel
Outer Door Panel Components
Bar Handle
The Bar Handle is attached to the outer door panel.
The handle is an assembly with end caps pre-
attached.
Bar Handle Removal
1. Remove and separate the door.
2. Remove the vent conduit (two 1/4 in. hex head
screws).
3. Remove two 3/8 in. hex head, 1/4 -28 thread
size screws holding the handle.
Six 1/4 in. hex
head screws
Close up
view of tabs
(reference point)
Bar Handle
Handle Brackets
Handle Screws
Vent Insulation
Vent Gasket
Vent Conduit
Gasket
Insulation
Badge
Pad
(SS Inner Door
Models)
Cross Brace
(SS Inner Door
Models)
Cross
Brace
Screws
 Loading...