37
5. Remove the drum lamp.
6. Remove the front drum support.
7. Remove the belt.
8. Pull the drum out the front of the dryer.
9. Remove the inlet ring.
10. Remove the 14 mm reverse thread blower wheel
back-up nut.
11. Unscrew the reverse thread blower wheel.
12. Unhook the idler pulley spring and spread the
pulley apart.
13. Remove the motor wire harness.
14. Remove the two motor mounting clips.
15. Remove the motor.
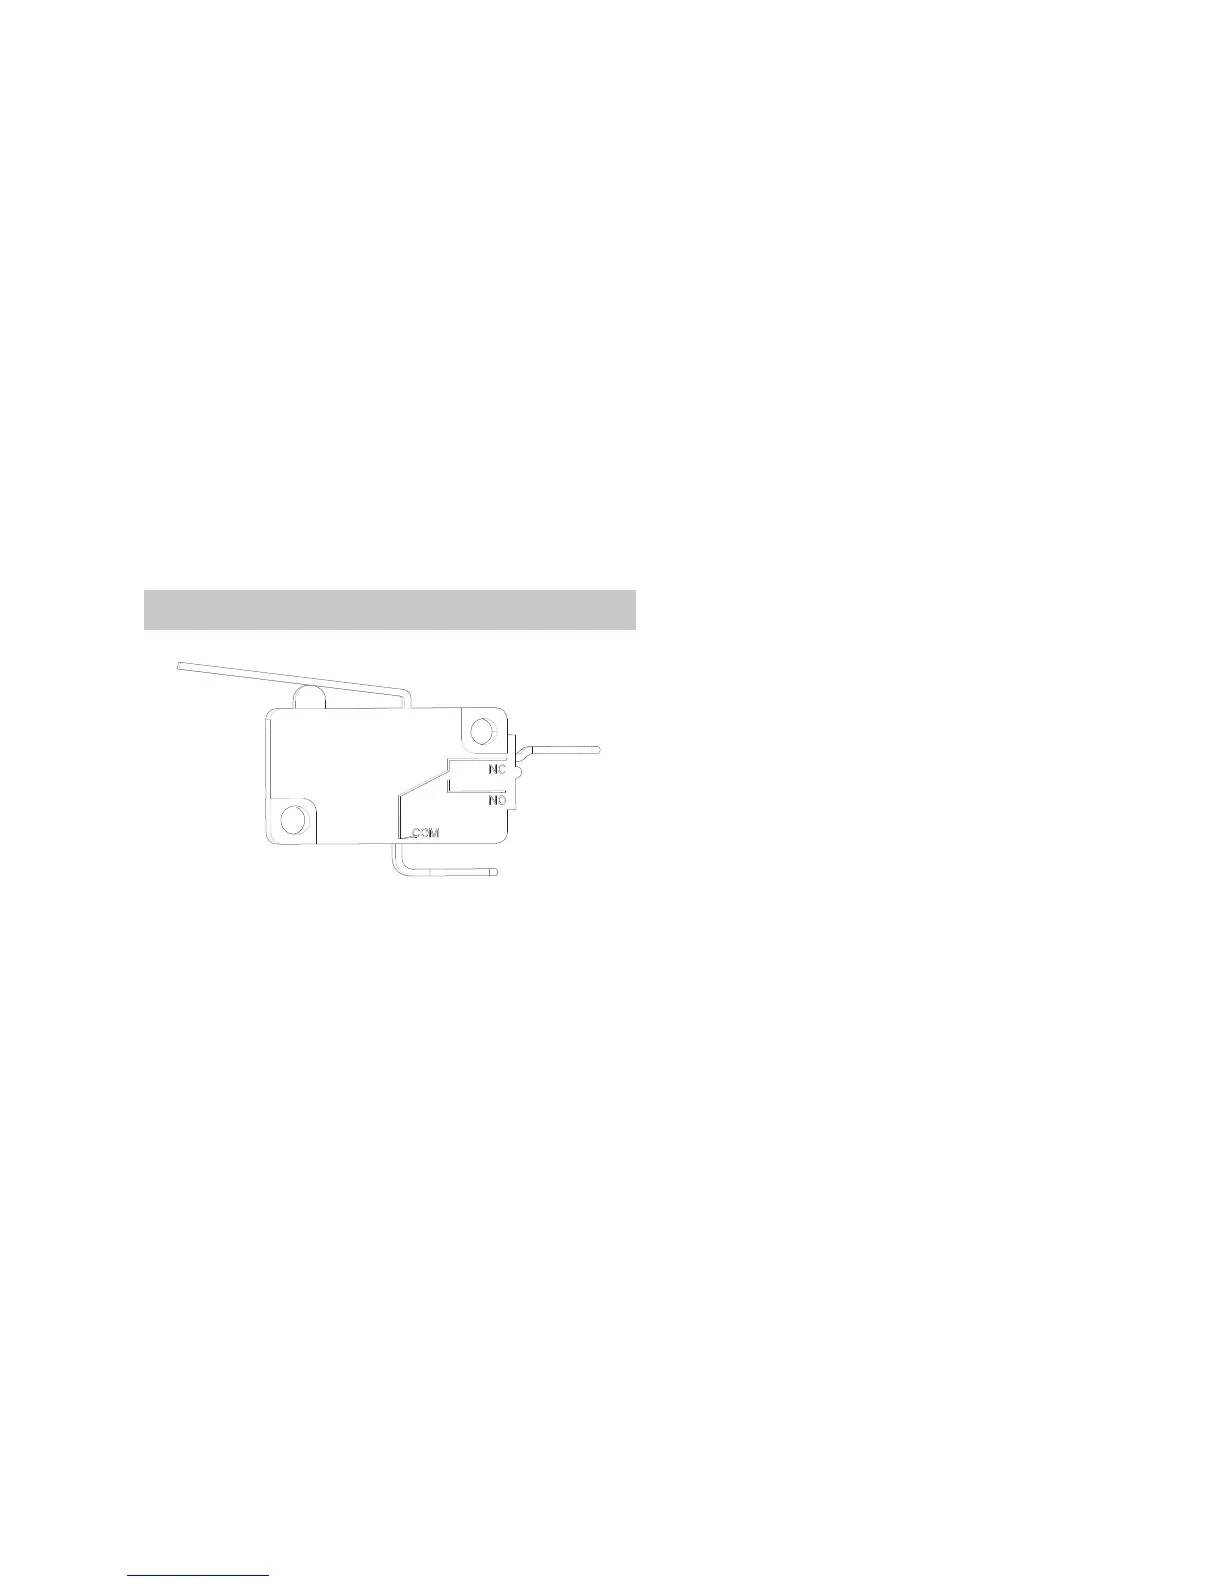
Belt Switch
Belt Switch Removal
1. Disconnect power from the unit.
2. Remove the control panel.
3. Remove the front panel.
4. Remove the trap duct.
5. Remove the drum lamp.
6. Remove the front drum support.
7. Remove the belt.
8. Pull the drum out from the front of the dryer.
9. Remove the two idler switch wires.
10. Remove the T-8 mounting screw.
11. Remove the belt switch.
12. NOTE: When reinstalling, make sure the align-
ment pin is in the second hole of the belt switch.
See Trap Duct Removal on page 38.
See LED Drum Lamp Removal on page 33.
See Incandescent Drum Lamp Removal on
page 34.
See Front Drum Support Removal on page 34.
See Inlet Ring Removal on page 39.
See Control Panel Removal on page 20.
See Front Panel Removal on page 24.
See Trap Duct Removal on page 38.
See LED Drum Lamp Removal on page 33.
See Incandescent Drum Lamp Removal on
page 34.
See Front Drum Support Removal on page 34.