– 20 –
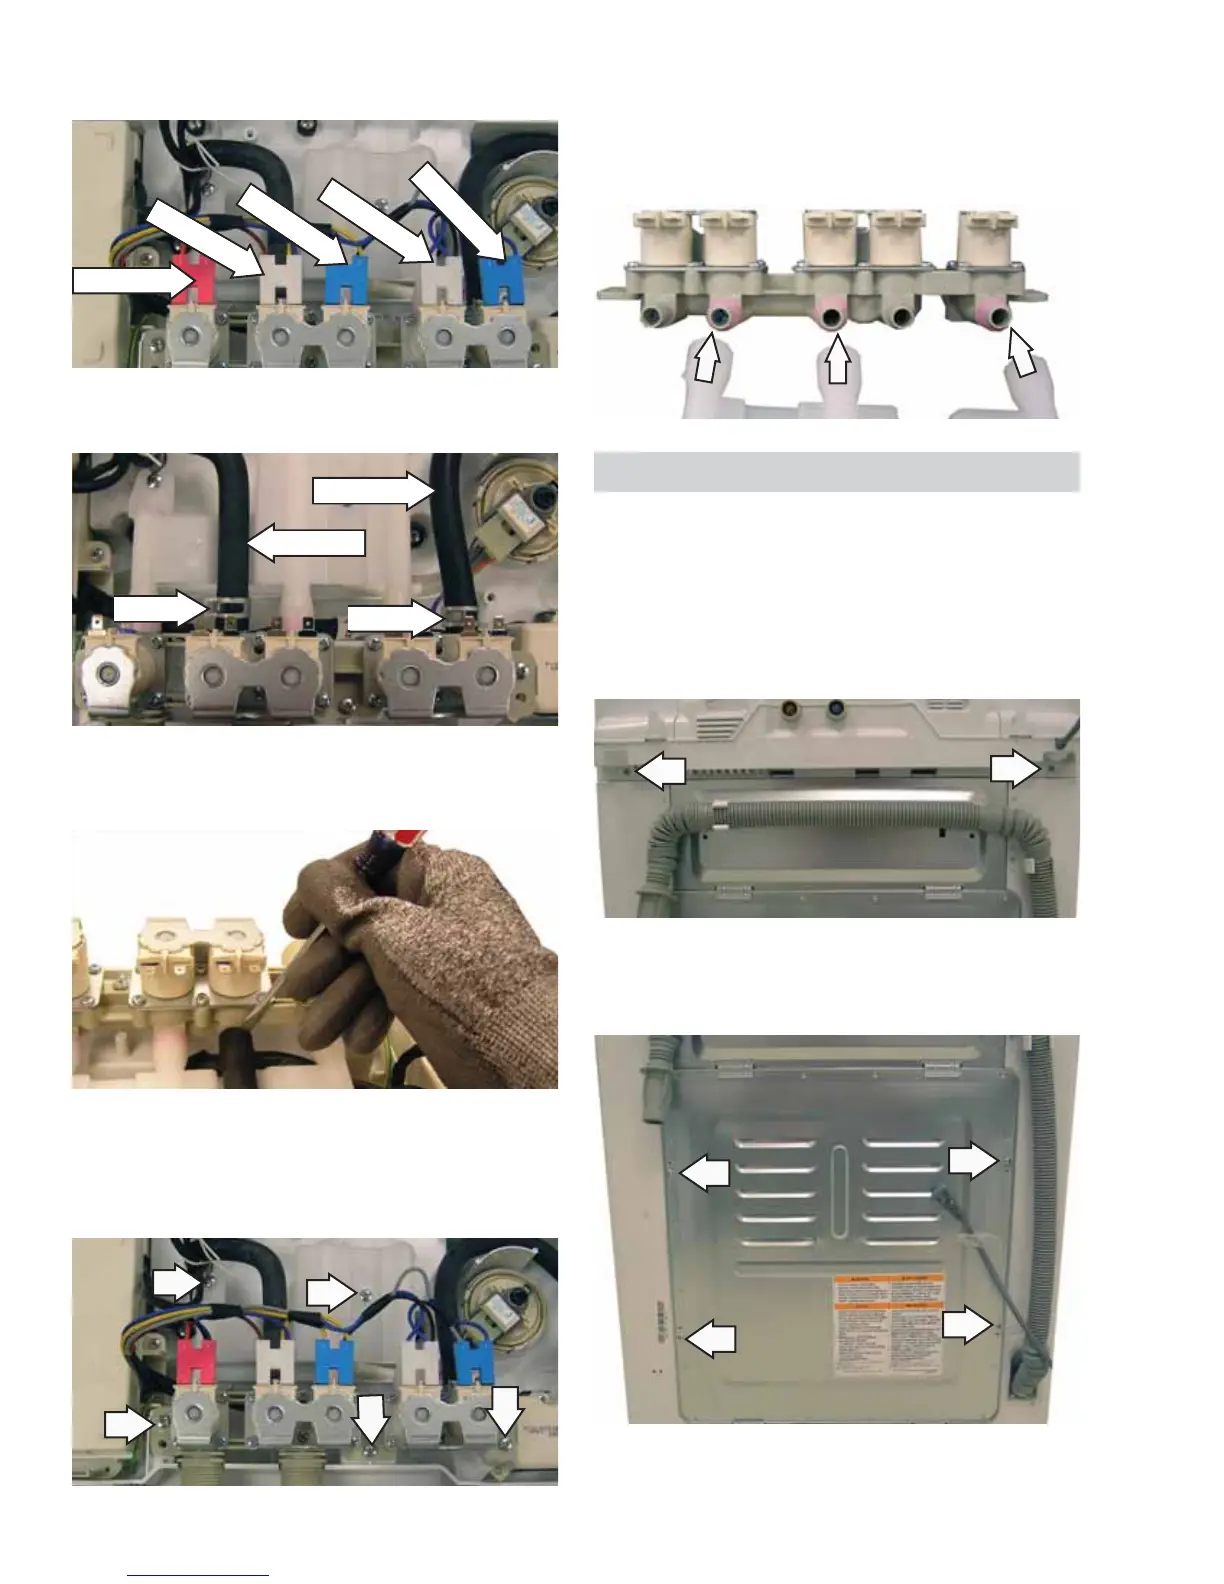
2. Note the placement of the wires, then
disconnect the wiring from the solenoid coils.
3. Squeeze the clamps on the 2 water inlet hoses
and slide back.
5. Remove the 3 Phillips-head screws that hold the
water valve assembly in place and the 2 Phillips-
head screws that hold the water distribution
pipe in place.
Disconnect
Disconnect
Disconnect
Disconnect
Disconnect
4. Carefully remove the 2 water inlet hoses. It
may be necessary to use a small fl at-blade
screwdriver to pry the hoses off.
(Continued Next Page)
Inlet Hose
Inlet Hose
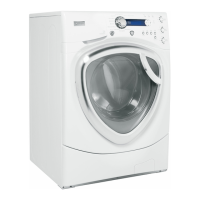
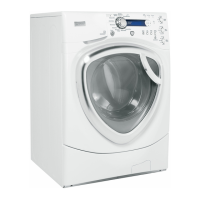
Top Cover
The top cover is held in place by 2 Phillips-head
screws located on the top/back of the washer and
two front tabs.
To remove the top cover:
Remove the 2 Phillips-head screws that hold the 1.
top cover in place.
2. Remove the 4 Phillips-head screws (2 on each
side) that hold the back cover in place. Remove
the back cover.
6. Remove the water valve assembly and
distribution pipe.
Note: The distribution pipe separates from the
water valve assembly as shown below.
Clamp
Clamp
 Loading...