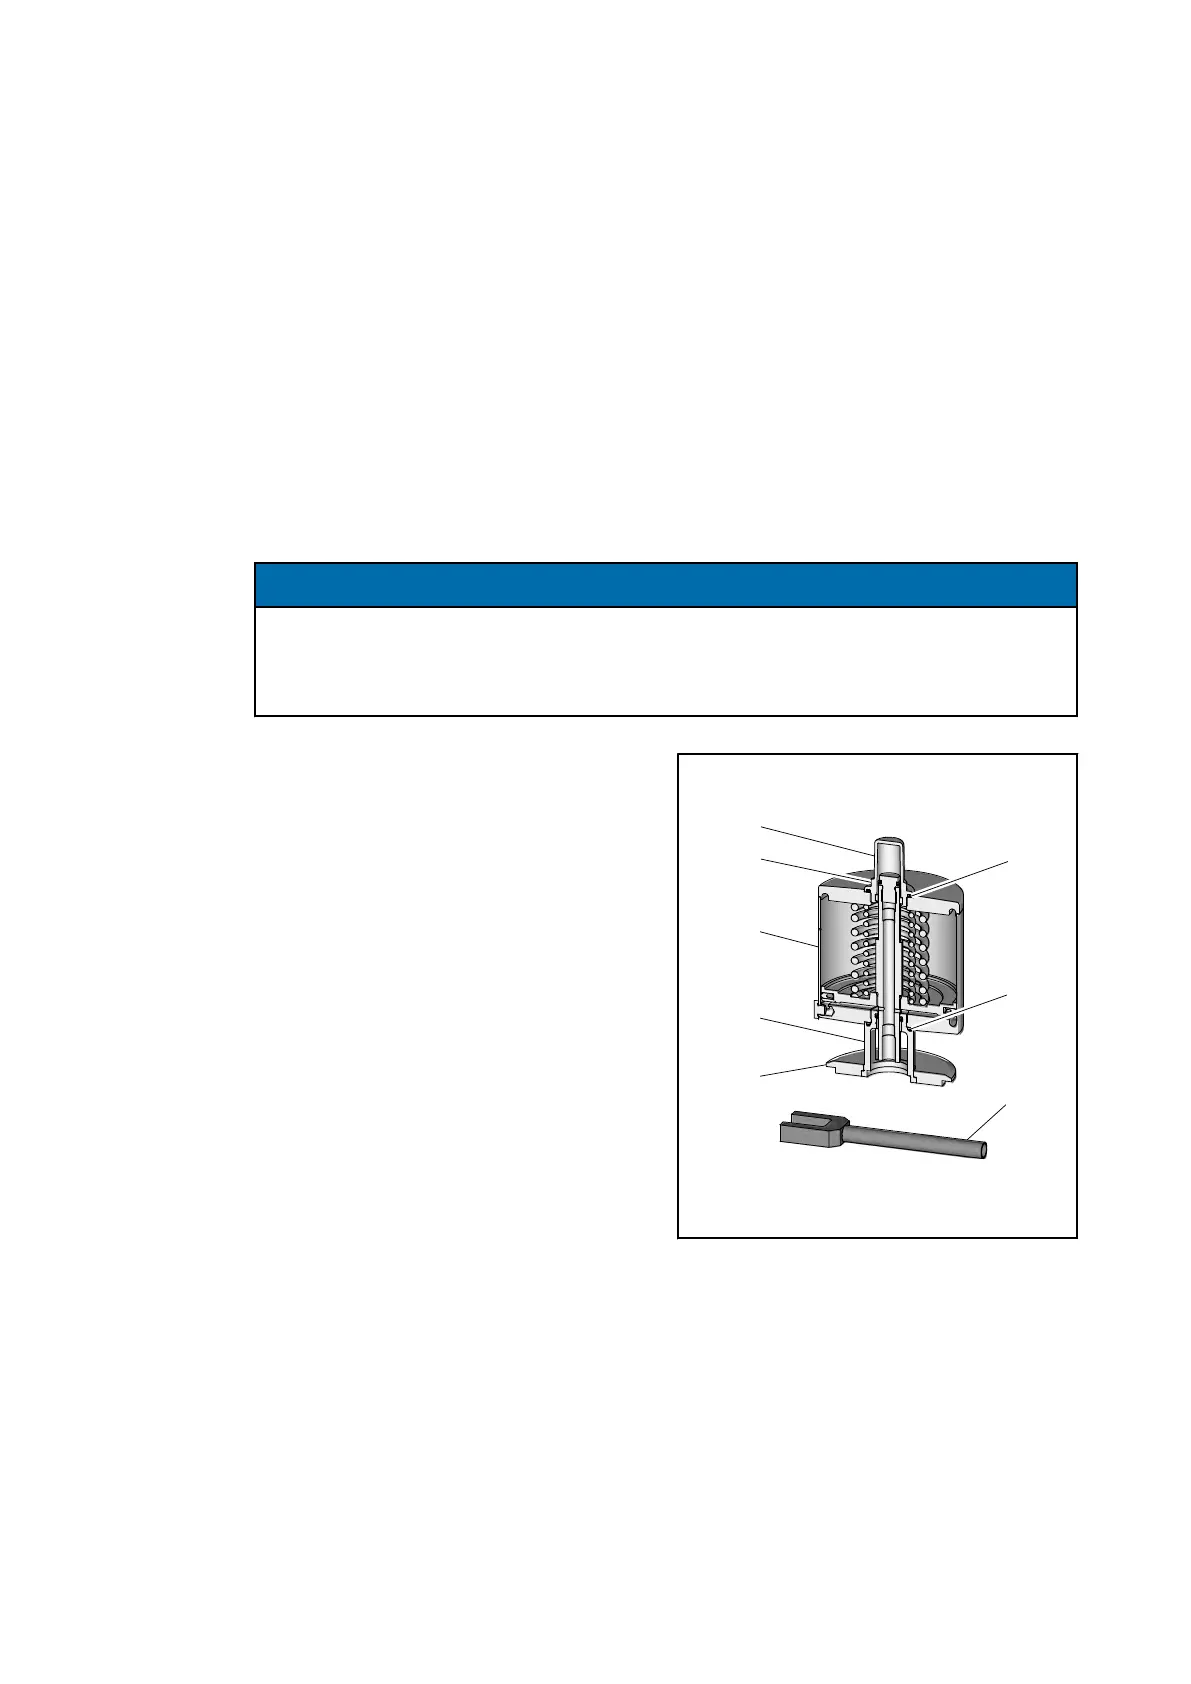
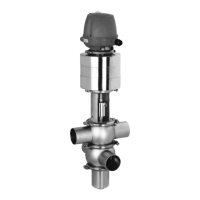
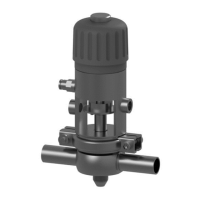
Spring-to-close valve (NC) without control head T.VIS
INFO Mounting step: assemble the valve insert from individual parts
Tools
●
Open-end plug tool ECO_LAT_DN100
●
Belt wrench
●
Jaw wrench, a/f 10/11
●
Jaw wrench, a/f 12/13
●
Jaw wrench a/f 24
●
Torque wrench size 2 (20-120 Nm
●
Plug tool extension size 1+2
●
Plug tool size 2 ¾”
●
Adjustable plug tool size 1 (1-27)
●
Articulated face spanner ¾” square adapter 5 mm journal
●
Torque wrench ¼“ 2.5-25 Nm
●
Socket for wrench ¼" long a/f10
ATTENTION
Sensitive sealing surfaces in the actuator
The sealing surfaces on the cylinder can become damaged.
●
Take care no dirt enters the actuator.
1. Push the O-ring (98) onto the lantern
(9).
2. Place the locking ring (4) onto the lan-
tern (9)
3. Screw the lantern (9) into the actuator
(140) and tighten with the open-end
plug tool ECO-Lat (Z). To do this, afx
with a belt wrench.
®
Observe torques, see table ‘Tight-
ening torques’.
9.6.1 Tightening
torques
.
4. Screw the blanking plate (35) with the O-ring (98) into the actuator on the wrench
at
surface (35.1) using a jaw wrench.
®
Observe torques, see table ‘Tightening torques’.
9.6.1 Tightening torques
.
80 / 128 - 9.6 Installing the valve
0000000607 - 002 - EN-GB





 To Next Page