13
AUTOMATIC DHCP CONFIGURATION
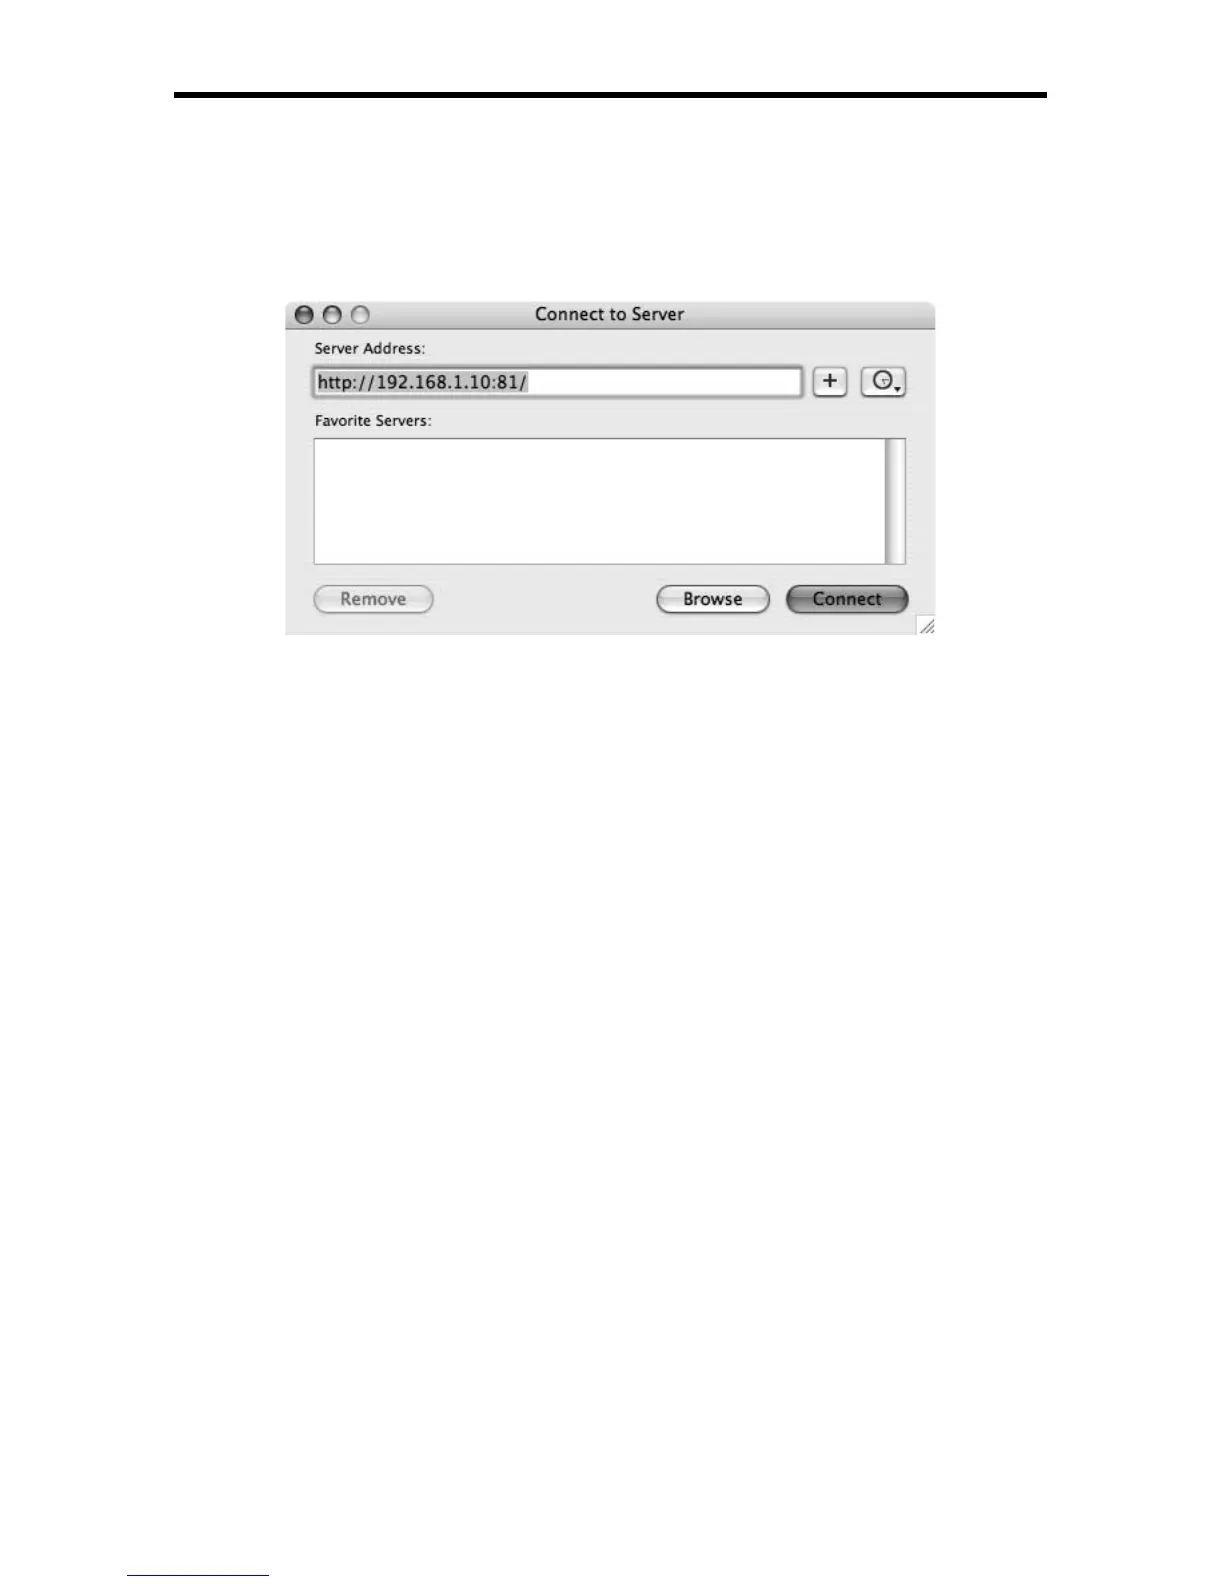
4. Click the Connect button. This will open the content folder on the EXT-DSC
unit in a Finder window.
5. The EXT-DSC unit is also added, using the typed network name or IP
address, to the list of connected network servers and one need not re-
connect to it using this procedure.
Accessing / Copying Content From / To The EXT-DSC Unit:
This section explains how to access content from or copy (upload) content on the
EXT-DSC unit.
1. Open a Finder window.
2. Select the EXT-DSC unit on the list of connected servers on the left of the
window, it appears by the network name or IP address that was typed when
the connection was done.
3. On the right pane you now see all the content fi les on the EXT-DSC unit, you
can manage them as regular fi les on Mac OS X.
4. To copy fi les to the EXT-DSC unit (i.e. upload) just drag and drop fi les from
another Finder window to the right pane.
5. After uploading fi les allow some time for the EXT-DSC unit to notice the new
fi les.
Automatic DHCP Confi guration
This tutorial explains how to manually confi gure an EXT-DSC unit to connect to a
specifi c network using DHCP for the distribution of network addresses. Note that
this procedure assumes that you can access the HTTP server of the EXT-DSC
unit through the Ethernet interface.
1. Access the HTTP server of your EXT-DSC unit.
► If you have just received an EXT-DSC unit see the previous sections to