918215/CP0407 60 Printed in U.S.A
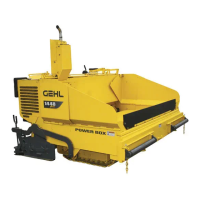
SERVICE AND STORAGE 1448 PLUS
NOTE: Use only genuine OEM engine
replacement filters.
8. Apply a thin coat of clean oil to the gasket on
the new oil filter.
9. Install and tighten the new filter until the filter
gasket contacts the engine sealing surface.
10. Use a filter wrench to tighten the filter another
3/4 turn.
11. Refill the crankcase with new oil. Follow
specifications in “Lubrication” on page 47 for
oil type and viscosity.
12. Test run the engine at idle speed until the oil
pressure lamp on the instrument module is
OFF. Check the drain plug and around the oil
filter for leakage. Tighten as required to stop
any leaking.
Check Torque Hub Oil Level
Fig. 41 - Fill and Check Plugs
1. After raising the hopper, position the track so
that one plug is in the 3 or 9 o'clock position
and the other plug is in the 12 o'clock position.
2. Remove the check plug (1, Fig. 41) at the 3 or
9 o’clock position. If oil appears, replace the
plug. If oil does not appear, remove the fill
plug (2) and add oil until it flows from the
check plug.
3. Replace both plugs. Repeat for the other torque
hub.
SERVICE EVERY 500 HOURS
Along with all service checks in this section, also
complete the service checks in “Service Every 10
Hours or Daily” on page 54; “Service Every 50
Hours or Weekly” on page 56; and “Service Every
250 Hours” on page 58.
Change Fuel Filter
The cleanliness of available fuel, the care used in
storing fuel supplies, and the operating conditions
in which the paver is used may require more
frequent fuel filter changing intervals.
1. Perform the Mandatory Safety Shutdown
Procedure on page 15. Allow the engine to
cool completely.
WARNING
NEVER service the fuel system while smoking,
while near an open flame, or when the engine
is hot.
2. Close the fuel shut-off valve (1, Fig. 42) on the
oil/water separator
Fig. 42 - Fuel Shut-Off and Fuel Filter
1
2
1
2
Courtesy of Machine.Market