33 / 44
550_us
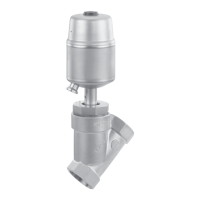
Assembly - Flange connection:
Install the valve in the condition it is delivered
in:
1. Pay attention to clean, undamaged
sealing surfaces on the mating fl anges.
2. Align fl anges carefully before installing
them.
3. Centre the seals accurately.
4. Use all fl ange holes.
5. Connect the valve fl ange and the piping
fl ange using appropriate sealing material
and matching bolting (sealing material
and bolts are not included in the scope
of the delivery).
Tighten the bolts diagonally!
6. Only use connector elements made of
approved materials!
Observe appropriate regulations for
connections!
After the assembly:
G Reactivate all safety and protective
devices.
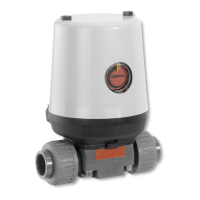
11.2 Operation
Optical position indicator
Valve open Valve closed
11.3 Control functions
The following control functions are available:
Control function 1
Normally closed (NC):
Valve resting position: closed by spring force.
Activation of the actuator (connector 2)
opens the valve. When the actuator is vented,
the valve is closed by spring force.
Control function 2
Normally open (NO):
Valve resting position: opened by spring
force. Activation of the actuator (connector
4) closes the valve. When the actuator is
vented, the valve is opened by spring force.
Control function 3
Double acting (DA):
Valve resting position: no defi ned normal
position. The valve is opened and closed
by activating the respective control medium
connectors (connector 2: open / connector 4:
close).
Only for control valves: Control function 8
Double acting (normally open):
Valve resting position: opened by spring
force. The valve is opened and closed by
activating the respective control medium
connectors (connector 2: open / connector 4:
close).