MAINTENANCE
Section 4 - Maintenance
Air-cooledGenerators
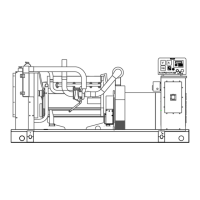
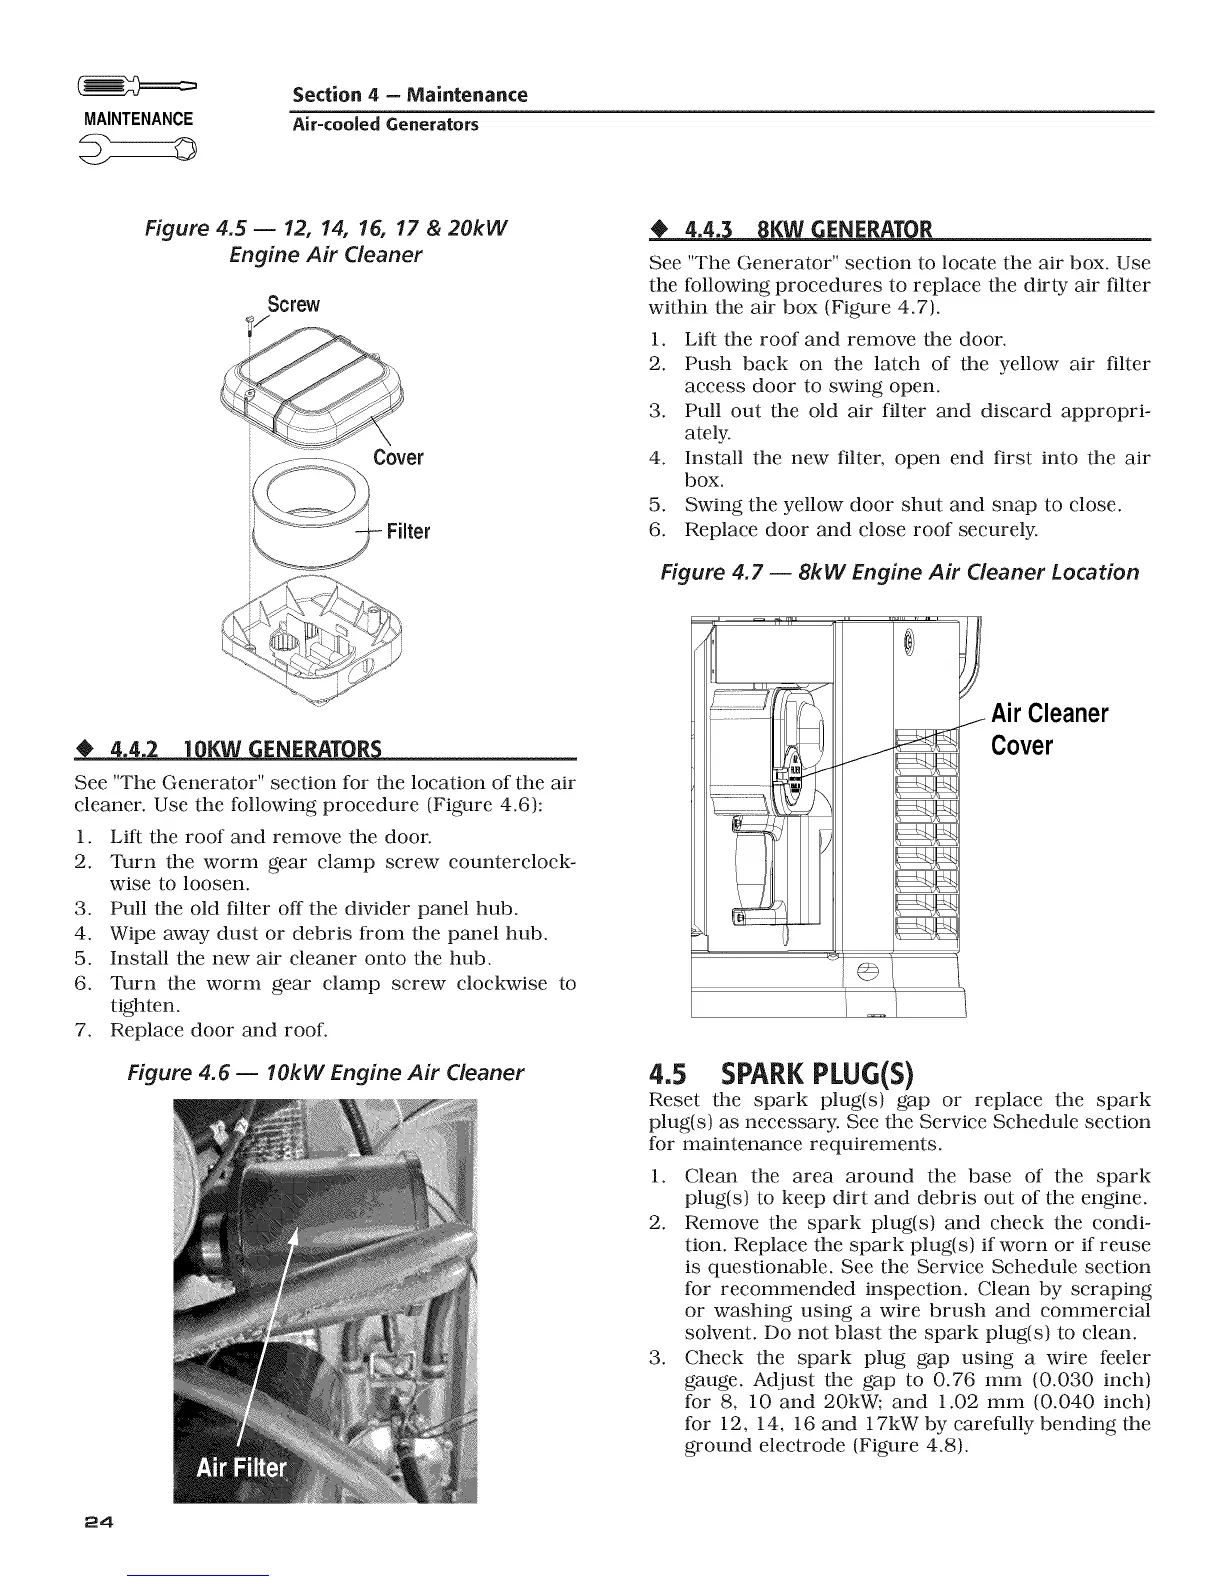
Figure 4.5 -- 12, 14, 16, 17 & 20kW
Engine Air Cleaner
Screw
:z
Cover
_ENERAT_
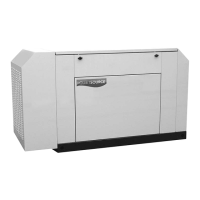
See "The Generator" section for the location of the air
cleaner. Use the following procedure (Figure 4.6):
1. Lift the roof and remove the door.
2. Turn the worm gear clamp screw counterclock-
wise to loosen.
3. Pull the old filter off the divider panel hub.
4. Wipe away dust or debris from the panel hub.
5. Install the new air cleaner onto the hub.
6. Turn the worm gear clamp screw clockwise to
tighten.
7. Replace door and roof.
Figure 4.6 -- lOkW Engine Air Cleaner
24
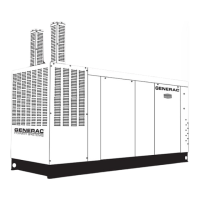
_,_TL_tJf_W_ ENERAT(_.
See "The Generator" section to locate the air box. Use
the following procedures to replace the dirty air filter
within the air box (Figure 4.7).
1. Lift the roof and remove the door.
2. Push back on the latch of the yellow air filter
access door to swing open.
3. Pull out the old air filter and discard appropri-
ately.
4. Install the new filter, open end first into the air
box.
5. Swing the yellow door shut and snap to close,
6. Replace door and close roof securely,
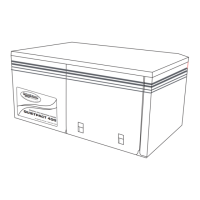
Figure 4.7 -- 8kW Engine Air Cleaner Location
J
j AirCleaner
Cover
4.5 SPARK PLUG(S}
Reset the spark plug(s) gap or replace the spark
plug(s) as necessary. See the Service Schedule section
for maintenance requirements.
1. Clean the area around the base of the spark
plug(s) to keep dirt and debris out of the engine.
2. Remove the spark plug(s) and check the condi-
tion. Replace the spark plug(s) if worn or if reuse
is questionable. See the Service Schedule section
for recommended inspection. Clean by scraping
or washing using a wire brush and commercial
solvent. Do not blast the spark plug(s) to clean.
3. Check the spark plug gap using a wire feeler
gauge. Adjust the gap to 0.76 mm (0.030 inch)
for 8, 10 and 20kW; and 1.02 mm {0.040 inch)
for 12, 14, 16 and 17kW by carefully bending the
ground electrode (Figure 4.8).