34 WWW.GENESISRESCUE.COM
STRUCTURE AND FUNCTION
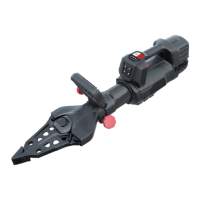
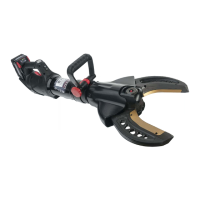
4.11 Replacing Blade Inserts (NXT GEN)
During a change of blades, ensure the cutter is xed in place. Any movement should be avoided.
Replacing the blades requires a soft-face hammer, the tensioning pins supplied, the punch and
the blade inserts themselves. It is practical to replace both blade inserts to continue optimum
cutting performance.
i
NOTE!
The blade inserts should not be regrounded, simply cleaning off any
debris is recommended.
Procedure:
When the blade insert is being changed, the battery must be removed from the tool. The
cutter blades are wide open, but the cutter is not under load. The means that the cutter is
not completely open or closed. Now the blade insert can be changed on the cutter blade
with the smooth surface, using the punch to knock out the tensioning pin downwards.
After the tensioning pin has been knocked out of its position, the blade insert can be pulled out.
If the blade insert is stuck, it is advisable to level it slightly with the punch in the holes and
thereby loosen it.
Carefully remove dirt and grime before inserting the new blade insert. When inserting,
make sure that the blade insert does not tilt. To do this, approach with the rounded side
of the insert rst.
If the blade insert cannot be inserted by hand, it is advisable to use lubricant and a soft-face
hammer.
After the new blade insert has been fully inserted, the blades are turned and the tensioning pin
is driven in again from the rear. Make sure that the tensioning pin is fully driven in again with
the punch.
"uncontrolled if printed"