6
NO'}q_:;:©u_<;gopen_}_®_"cl,,,chW hhyfouc'®
_j ,fsm en< _he _' o_oY p<o_x,:<_c_o_may shu of 7
p®we_ °_o he ope_s_ ®s # _hh}soccu_,_, wv}_F_hou
20 _'ffmAes _o _/;ow _he motoJ," pm_ec_o_ _o mseL
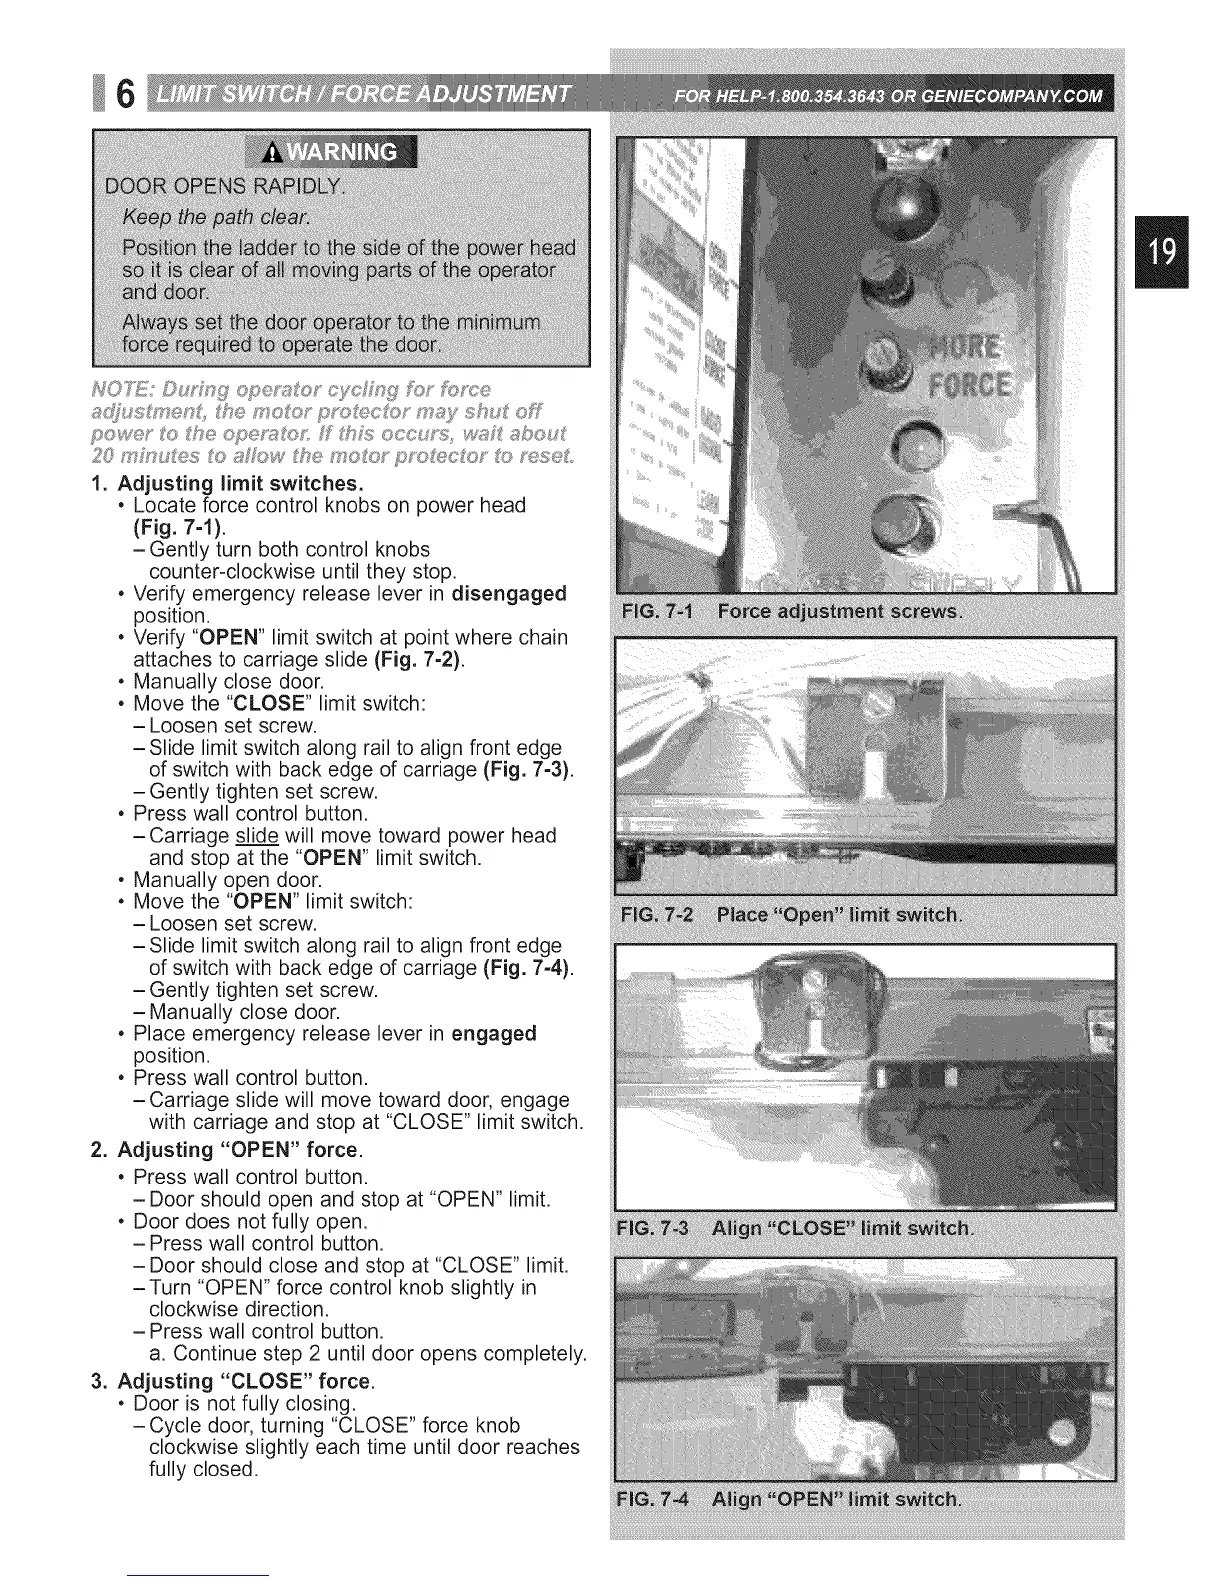
1. Adjusting limit switches,
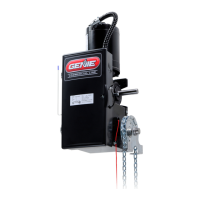
• Locate force control knobs on power head
(Fig, 7-1).
-Gently turn both control knobs
counter-clockwise until they stop.
• Verify emergency release lever in disengaged
position.
• Verify "OPEN" limit switch at point where chain
attaches to carriage slide (Fig. 7-2).
• Manually close door.
• Move the "CLOSE" limit switch:
-Loosen set screw.
-Slide limit switch along rail to align front edge
of switch with back edge of carriage (Fig. 7-3).
-Gently tighten set screw.
• Press wall control button.
-Carriage slide will move toward power head
and stop at the "OPEN" limit switch.
• Manually open door.
• Move the "OPEN" limit switch:
-Loosen set screw.
-Slide limit switch along rail to align front edge
of switch with back edge of carriage (Fig. 7-4).
-Gently tighten set screw.
-Manually close door.
• Place emergency release lever in engaged
position.
• Press wall control button.
-Carriage slide will move toward door, engage
with carriage and stop at "CLOSE" limit switch.
2. Adjusting "OPEN" force.
• Press wall control button.
- Door should open and stop at "OPEN" limit.
• Door does not fully open.
-Press wall control button.
- Door should close and stop at "CLOSE" limit.
-Turn "OPEN" force control knob slightly in
clockwise direction.
-Press wall control button.
a. Continue step 2 until door opens completely.
3. Adjusting "CLOSE" force.
• Door is not fully closing.
-Cycle door, turning "CLOSE" force knob
clockwise slightly each time until door reaches
fully closed.
 Loading...