Description of the System Zone20 H | 11
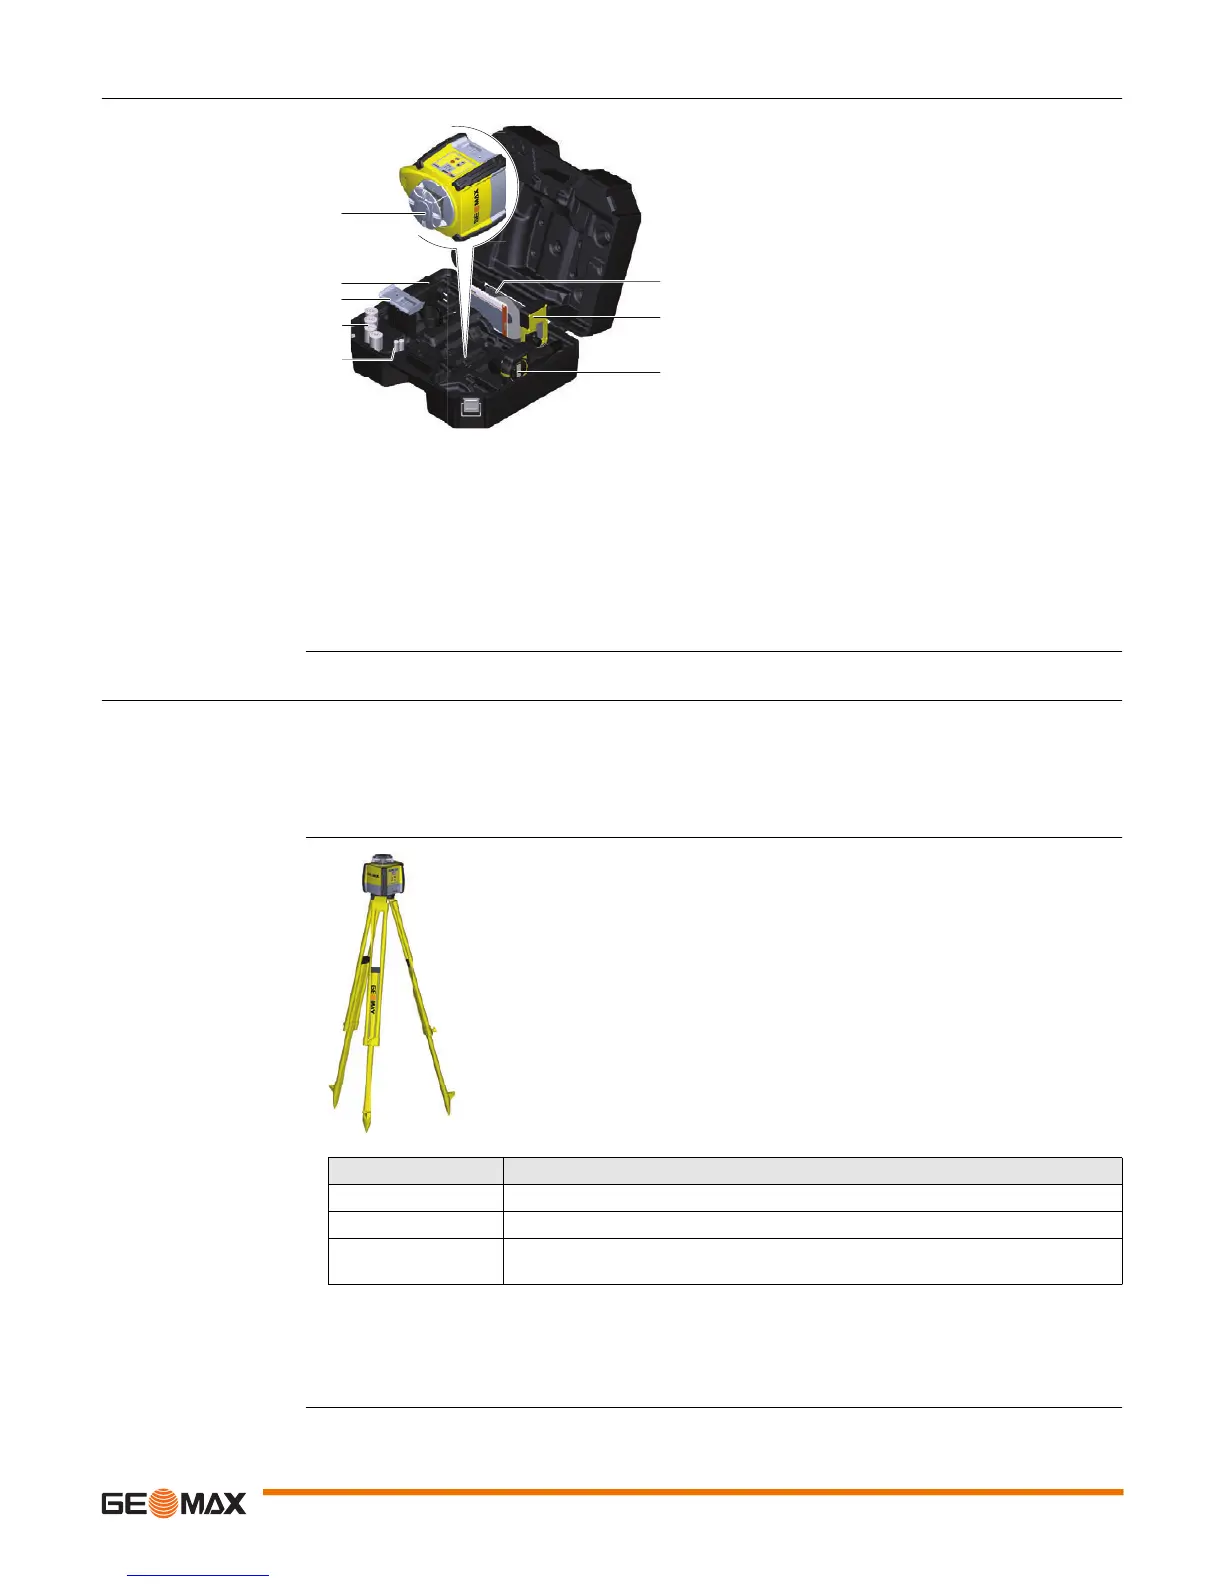
2.3 Case Components
Case components
2.4 Setup
Location • Keep the location clear of possible obstructions that could block or reflect the laser beam.
• Place the Zone20 H on a stable ground. Ground vibration and extremely windy conditions can affect
the operation of the Zone20 H.
• When working in a very dusty environment place the Zone20 H up-wind so the dirt is blown away from
the laser.
Setting up on a Tripod
• Attach the Zone20 H securely to a tripod or laser trailer, or mount on a stable level surface.
• Always check the tripod or laser trailer before attaching the Zone20 H. Make sure all screws, bolts and
nuts are tight.
• If a tripod has chains, they should be slightly loose to allow for thermal expansion during the day.
• Secure the tripod on extremely windy days.
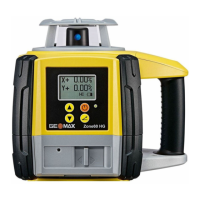
a) Zone20 H laser
b) Charger (for Li-Ion versions only)
c) Li-Ion battery pack or Alkaline battery pack
d) 4 x D-cell battery (for alkaline versions only)
e) 2x AA-cell battery
f) User Manual/CD
g) Receiver mounted on the bracket
h) Second receiver (can be purchased separately)
011249_001
a
b
c
d
g
h
e
f
Step Description
1. Set up the tripod.
2. Place the Zone20 H on the tripod.
3. Tighten the screw on the underside of the tripod to secure the Zone20 H on the
tripod.
011250_001
 Loading...