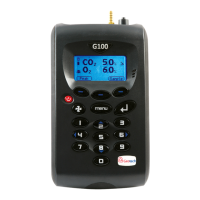
Logging
Data logging mode can be started or stopped via ‘Key 6 - Logging’ accessed from the ‘Utilities’ menu.
Press ‘Key 4 – Start/Stop Logging’ to start and stop data logging.
Whilst in data logging mode the instrument will automatically record data at the pre-set intervals
including running the pump for a pre-set time.
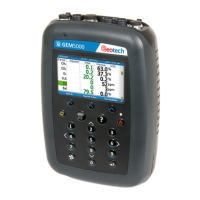
Active logging mode is indicated on the ‘Main Read Screen’ by the icon.
The operator is able to edit the default ID, pump run-time, interval and start/stop logging.
From the ‘Main Read Screen’ press the ‘Menu’ key on the instrument panel.
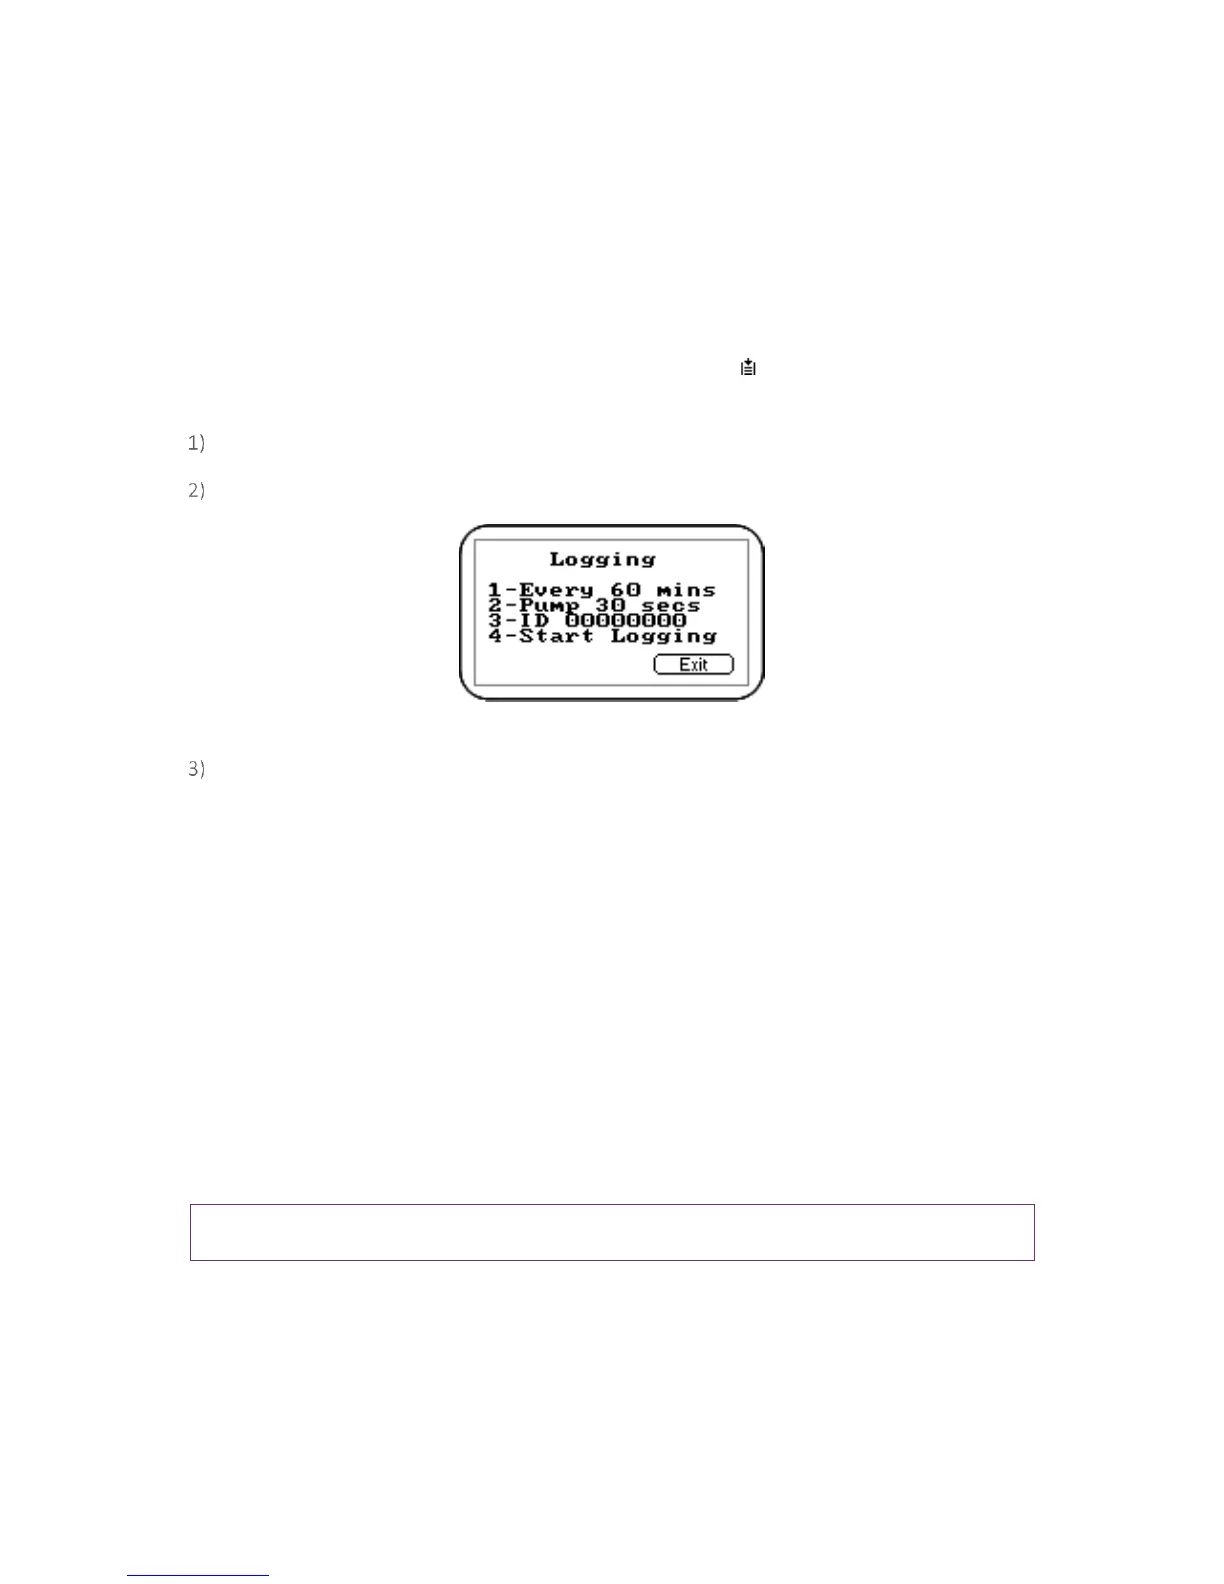
Press ‘Key 6’ to display the ‘Logging’ menu and the following screen is displayed:
Screen 9 - Logging menu
Select the desired option by pressing ‘Keys 1 to 4’. Then enter the appropriate setting using the
keypad followed by the ‘Enter’ key.
1 – Every 00 mins: Press ‘Key 1’ to enter the time in minutes for the timeframe between
sample readings. The interval controls the reading frequency in minutes, i.e. every 10
minutes.
2 – Pump 00 secs: Press ‘Key 2’ to enter the time in seconds for the length of time you wish
the pump to run when taking a sample reading. The pump run-time is the time in seconds for
which the pump runs prior to the reading being stored. This figure will also need to take into
account the length of sample tube and the volume of the sample gas. For example, there is
little point setting a pump run-time of 10 seconds if it takes 30 seconds to draw in a new
sample.
3 – ID 00000000: Press ‘Key 3’ to create an 8-digit numeric ID Code.
4 – Start/Stop Logging: Press ‘Key 4’ to start and stop data logging.
Note: Data logging mode is automatically stopped when the instrument is switched off or if the
logging parameters are edited.
Reset
The instrument can be reset by pressing ‘Key 7 - Reset’ accessed via the ‘Utilities’ menu. Selecting this
option will clear all user settings and any stored data including the event log.
A confirmation code (12345678) must be entered to confirm that a reset is really required.