Calibration Method
Before you begin ensure the unit is turned on and allowed to stabilise at its working temperature
before performing any of the calibration options, this will typically be 15-20 minutes.
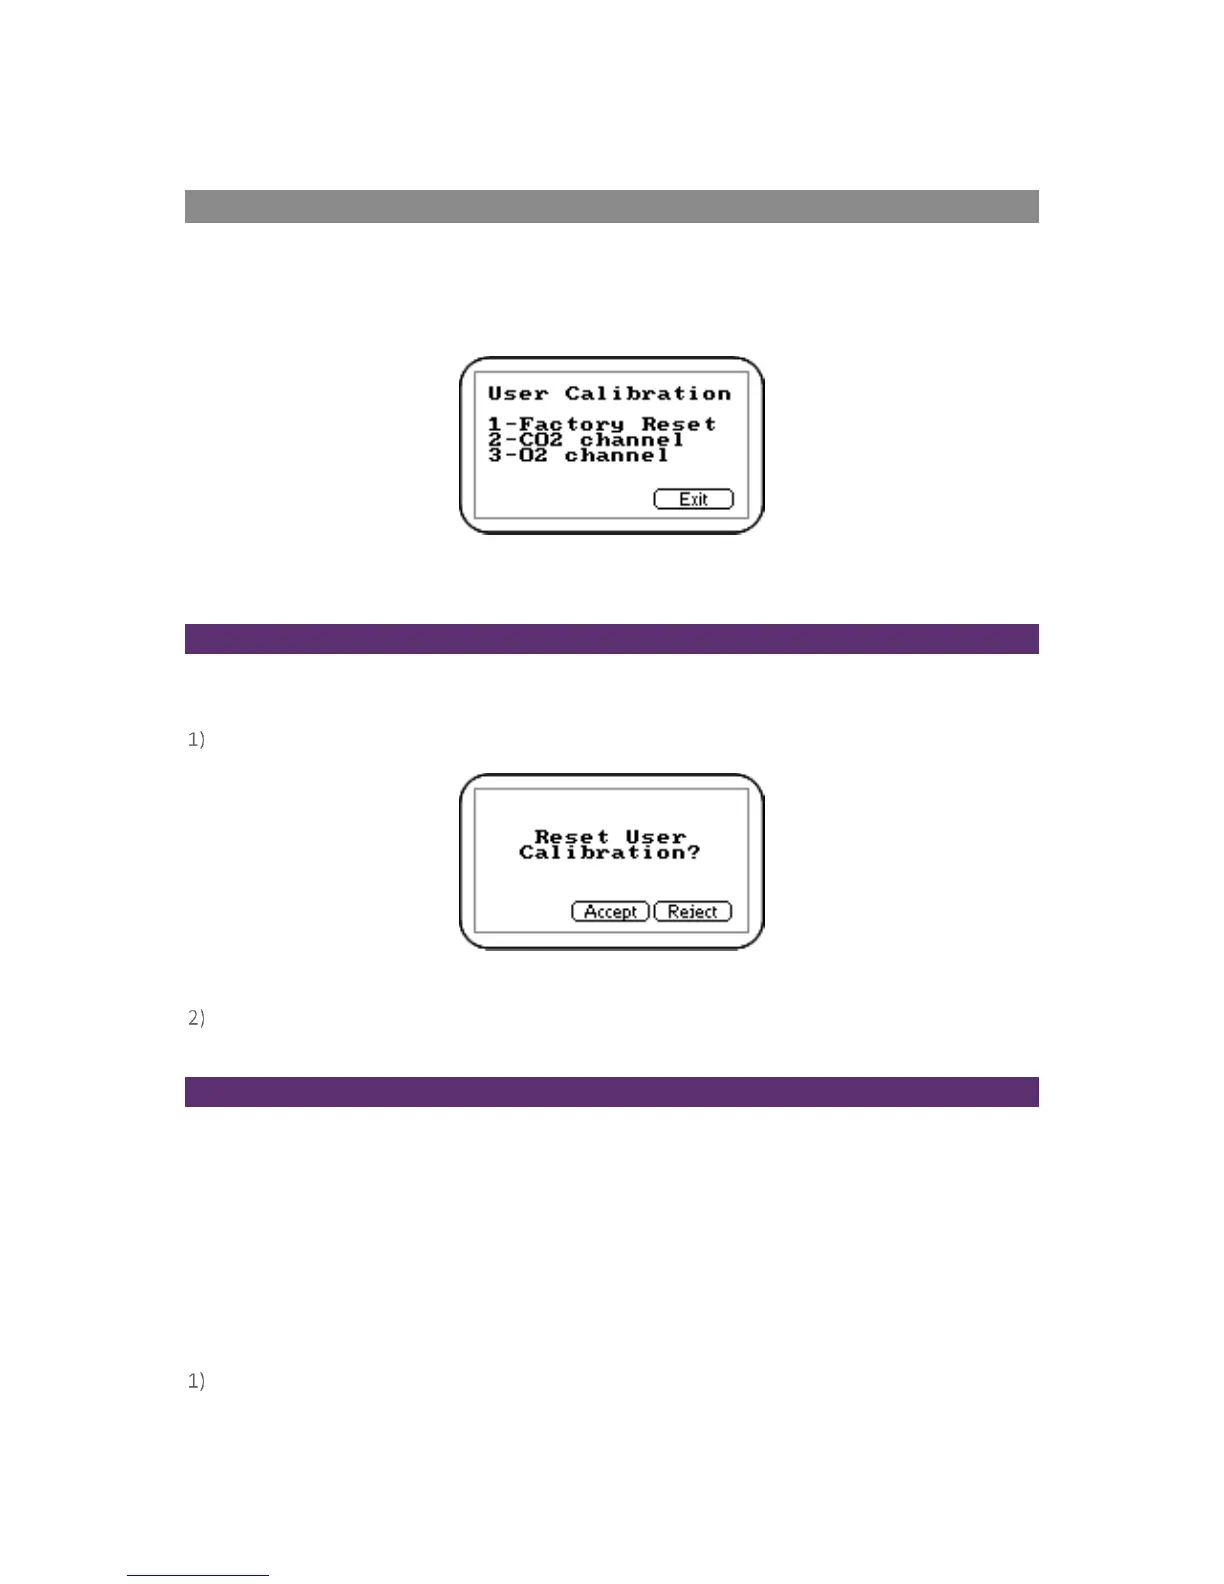
To achieve the processes set out in this section, press ‘Key 3 – Calibration’ from the ‘Main’ menu. The
first screen displayed provides the option to select the gas that requires calibration.
Screen 14 - Calibration menu
The exact calibration method can vary depending on the gases used.
Reset Factory Settings
This option will reset the instrument to its factory programmed calibration characteristics and will
clear the user calibration points for both gas channels.
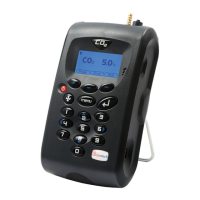
To reset to factory settings, press ‘Key 1 - Factory Reset’ from the ‘Calibration’ menu.
Screen 15 - Reset calibration screen
To prevent the user calibration data being accidentally erased the user must confirm the action
by pressing the soft-key ‘Accept’, or soft-key ‘Reject’ to exit without change.
Zero CO
2
Channel
For maximum accuracy it is recommended that the CO
2
Channel is zeroed using bottled gas (certified
100% N
2
). However, if nitrogen
gas is not available the optional soda lime filter kit can be fitted to the
gas inlet. This allows the user to perform a zero using normal air as the soda lime filter will
absorb virtually all CO
2
from the sample air. For both these options select 'Key 1-Zero with N
2
' from
the user calibration menu.
If neither of the recommended methods is available the user can select the option to perform an air
calibration. This option assumes that the user has access to fresh air at around 390ppm. Generally,
this can be found outside or in a well ventilated corridor (typically, an office or lab would
have a higher CO
2
concentration).
From the ‘Calibration’ Menu, press ‘Key 2 - CO
2
channel’.