Getting Started
11
3
3.4 Setting Up IP Cameras
After you have installed the necessary cables and IP cameras, you are ready to display the
channels on GV-NVR System Lite V2.
Setting Up GV IP Cameras
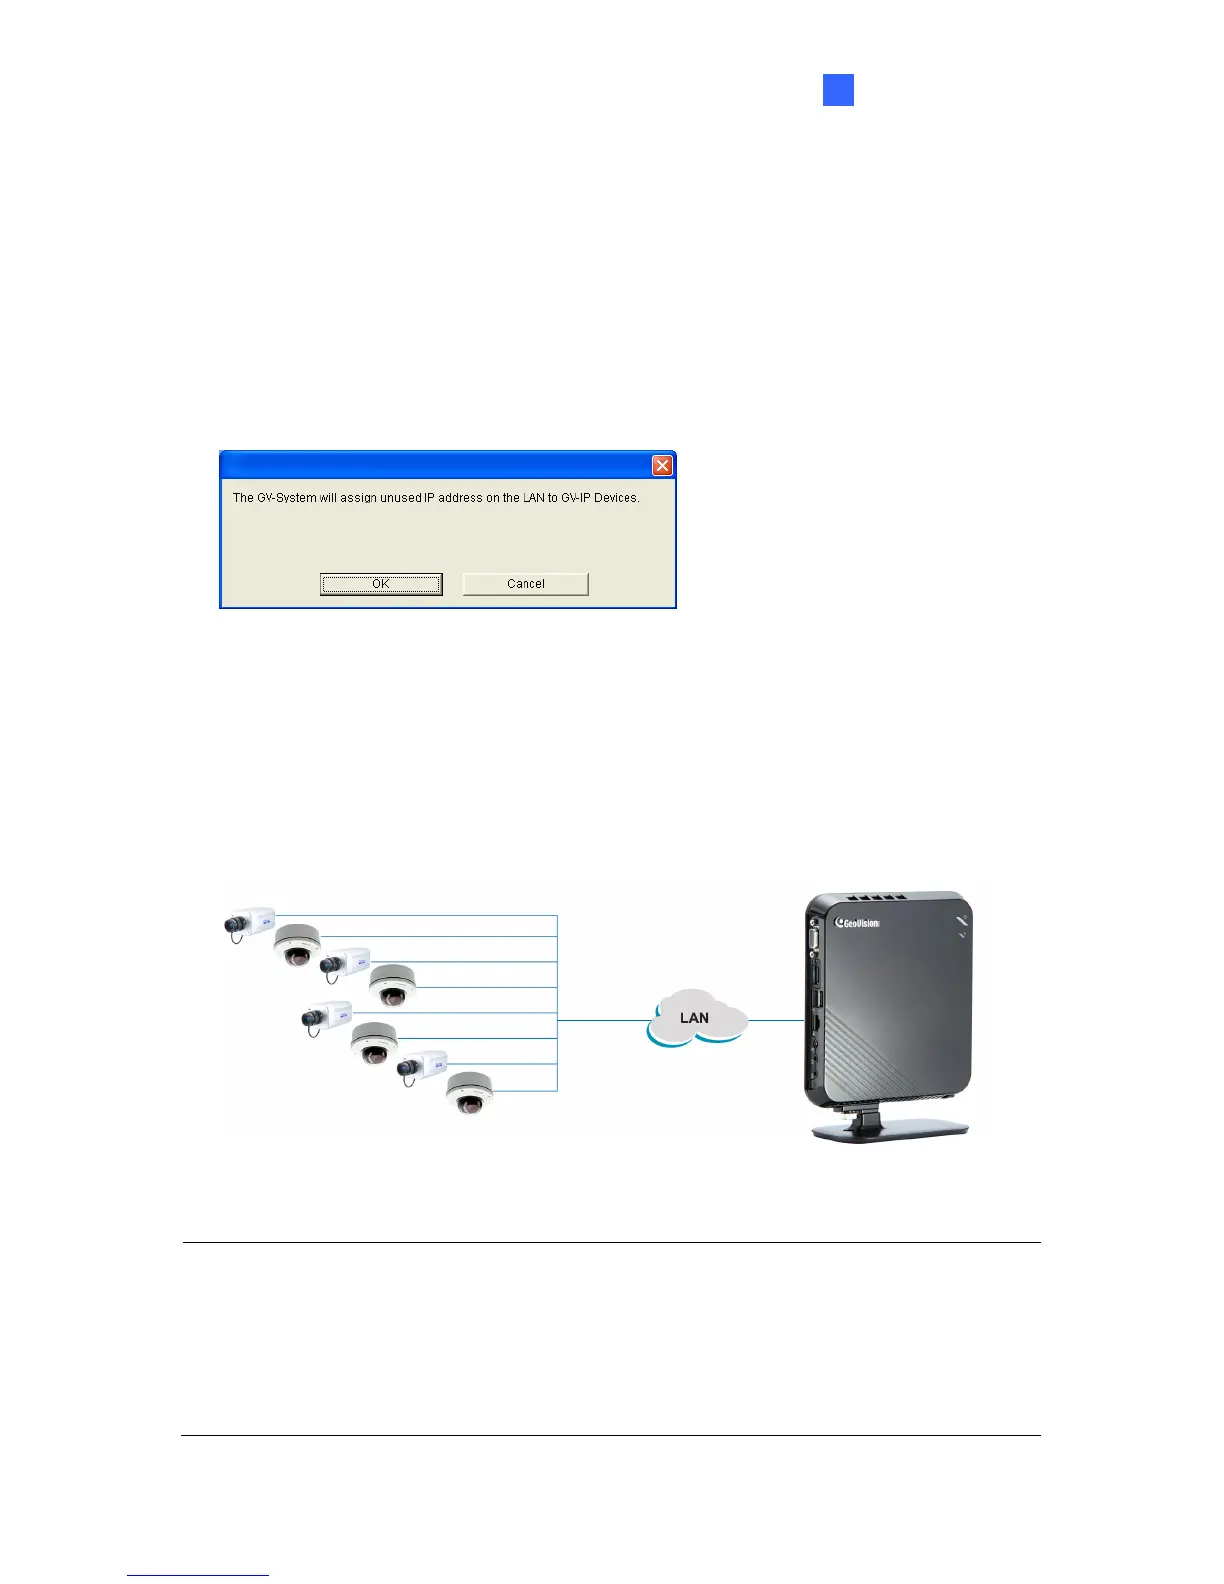
1. Power on the GV-NVR System Lite V2. When GV IP cameras with the default IP address,
ID and password are detected, this message appears.
Figure 3-6
For automatic IP assignment
2. To automatically assign IP addresses and display the channels on the main screen, click
OK. The GV-NVR System Lite V2 will assign unused IP addresses to each of the GV IP
camera in the form of 192.168.X.X. The channel will then be displayed on the main
screen.
Automatic Connection
IP Address: 192.168.X.X
Subnet Mask: 255.255.255.0
Default IP Address: 192.168.0.200
Subnet Mask: 255.255.255.0
Figure 3-7
Note:
1. This automatic setup is only applicable for GV IP cameras with default IP address
(192.168.0.10), and ID (admin) and password (admin).
2. You can change the automatically assigned IP address of a GV IP camera. See step 3
and 4 below.
 Loading...