- 78 -
B. Installing Windows XP
BeforeinstallingWindowsXP,connectaUSBoppydiskdrivetoyourcomputerrstbecauseyouneedtoinstall
theSATARAID/AHCIdriverfromaoppydiskthatcontainsthedriverduringtheOSinstallation.Withoutthe
driver,theharddrive(s)maynotberecognizedduringtheWindowssetupprocess.First,copythedriverfrom
themotherboarddriverdisktoaoppydisk.Refertothemethodsbelow.
Method A:
• FortheAMDA85XChipset,copyalllesinthe\BootDrv\Hxpfoldertoyouroppydisk.
Method B:
Steps:
1. Use an alternative system and insert the motherboard driver disk.
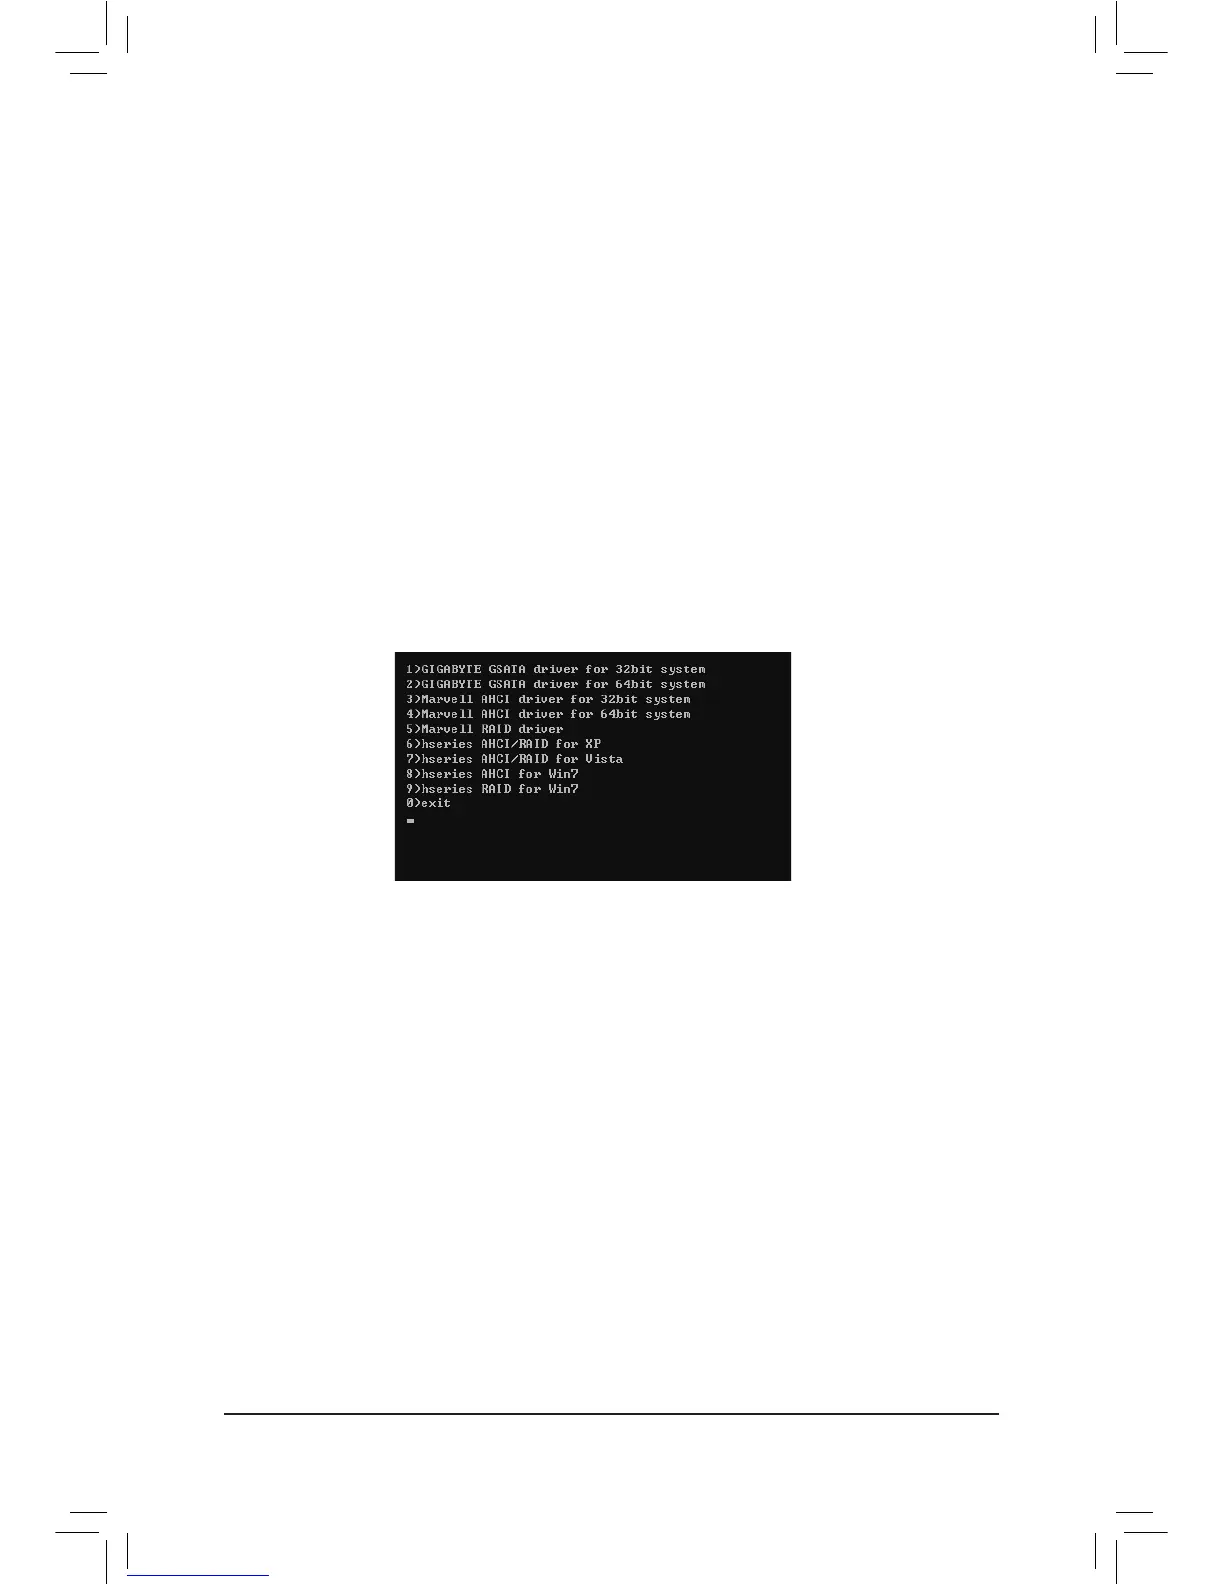
2. From your optical drive folder, double click the Menu.exeleintheBootDrv folder. A Command Prompt
window will open similar to that in Figure 2.
3. Inserttheblankformatteddisk(ifyou'reusingaUSBoppydiskdrive,makesureitisdesignatedasdrive
A).Selectthecontrollerdriverbypressingthecorrespondingletterfromthemenuandpress<Enter>.For
example, from the menu in Figure 2, for the AMD A85X Chipset, select 6) hseries AHCI/RAID for XP. Your
systemwillthenautomaticallycopythedriverlestotheoppydisk.Pressanykeytoexitwhennished.
Figure 2

 Loading...